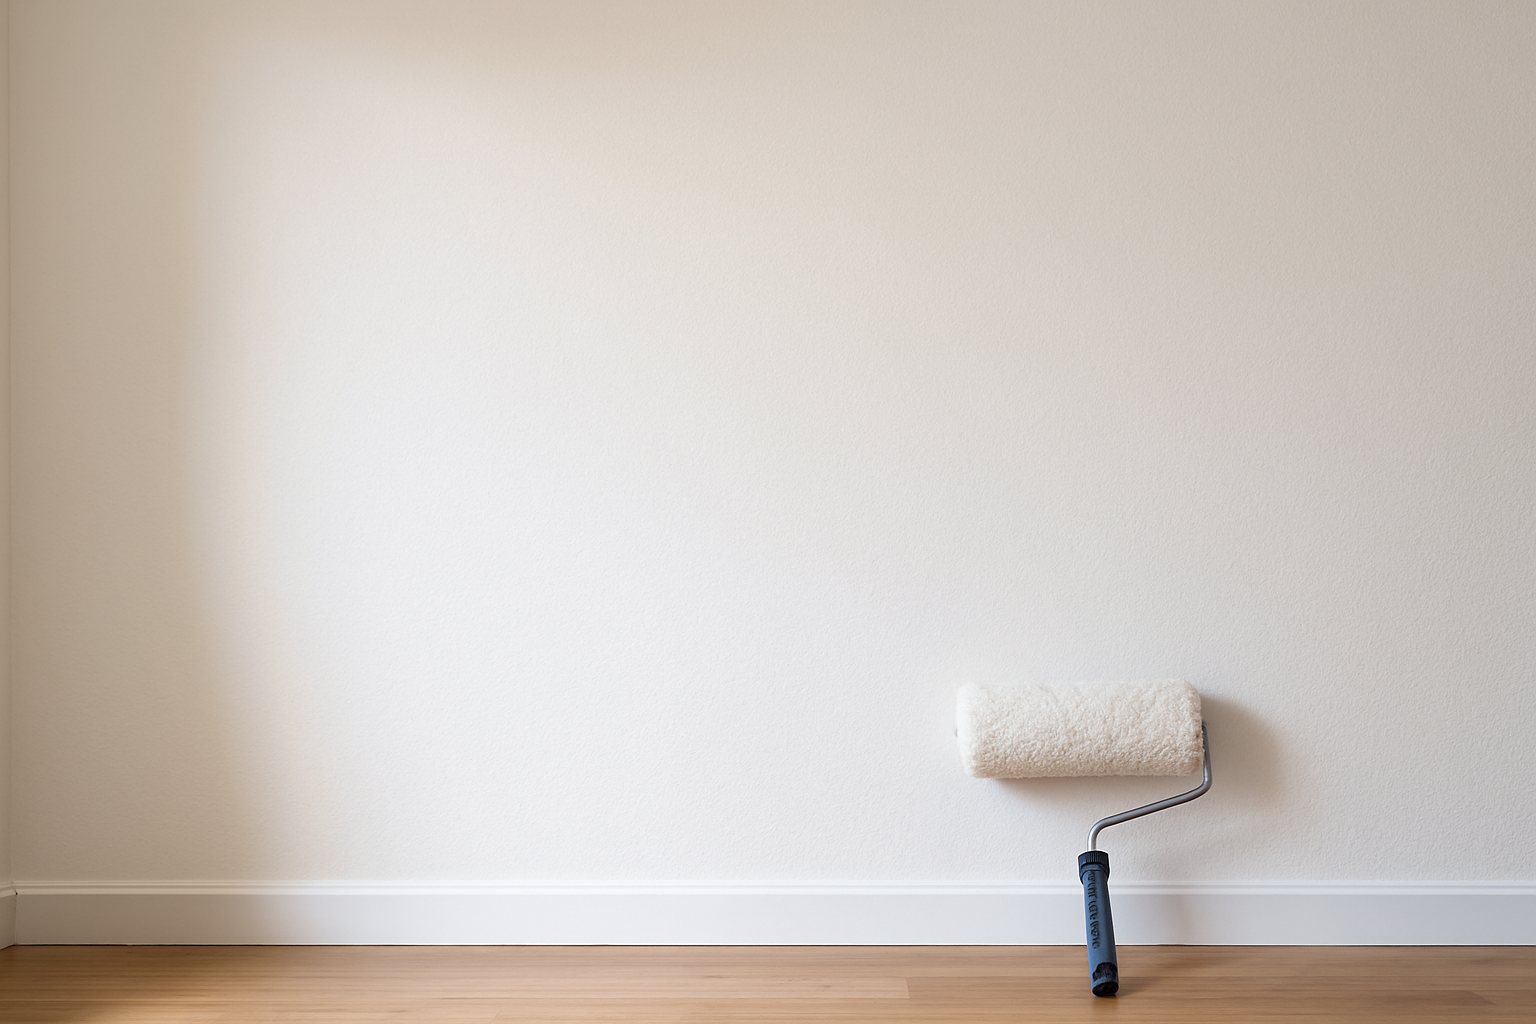
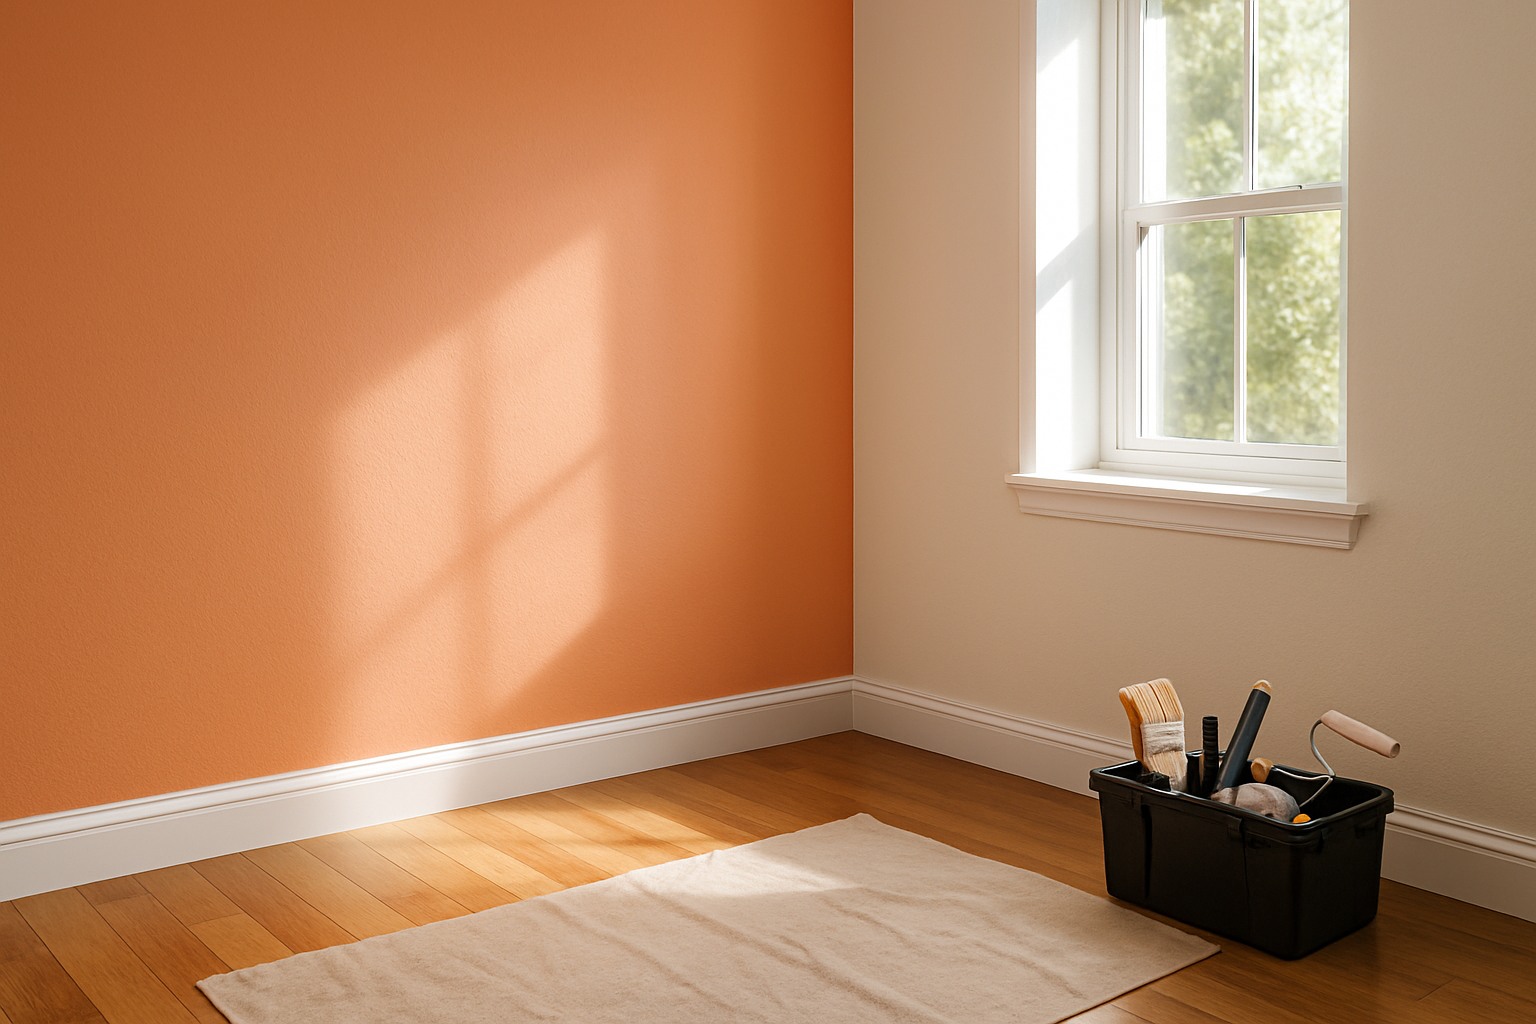
When it comes to painting, proper surface preparation is the secret sauce for a flawless finish. Whether you’re sprucing up your living room or tackling an outdoor project, prepping the surface can make or break your results. Skip this step, and you might end up with a paint job that peels, bubbles, or just looks plain sloppy. Trust me, you don’t want to spend all that time painting only to redo it in a few months.
Overview of Common Mistakes and Their Impact
We all make mistakes, but some can be pretty costly when it comes to painting. Common blunders like skipping cleaning, ignoring imperfections, or using the wrong materials can ruin your hard work and waste your time and money. Imagine painting over a dirty wall and seeing stains seep through your beautiful new colour – not a pretty sight! So, let’s dive into the common mistakes people make during surface preparation and how to avoid them.
Understanding Surface Preparation
Definition and Importance
Surface preparation is all about getting your surface ready for paint. It’s like laying a solid foundation before building a house. If the foundation is shaky, the house won’t stand strong. The same goes for painting – if your surface isn’t prepped right, the paint won’t adhere properly. This could lead to peeling, cracking, or uneven finishes, and no one wants that.
Types of Surfaces and Their Requirements
Different surfaces require different prep methods. Here’s a quick rundown:
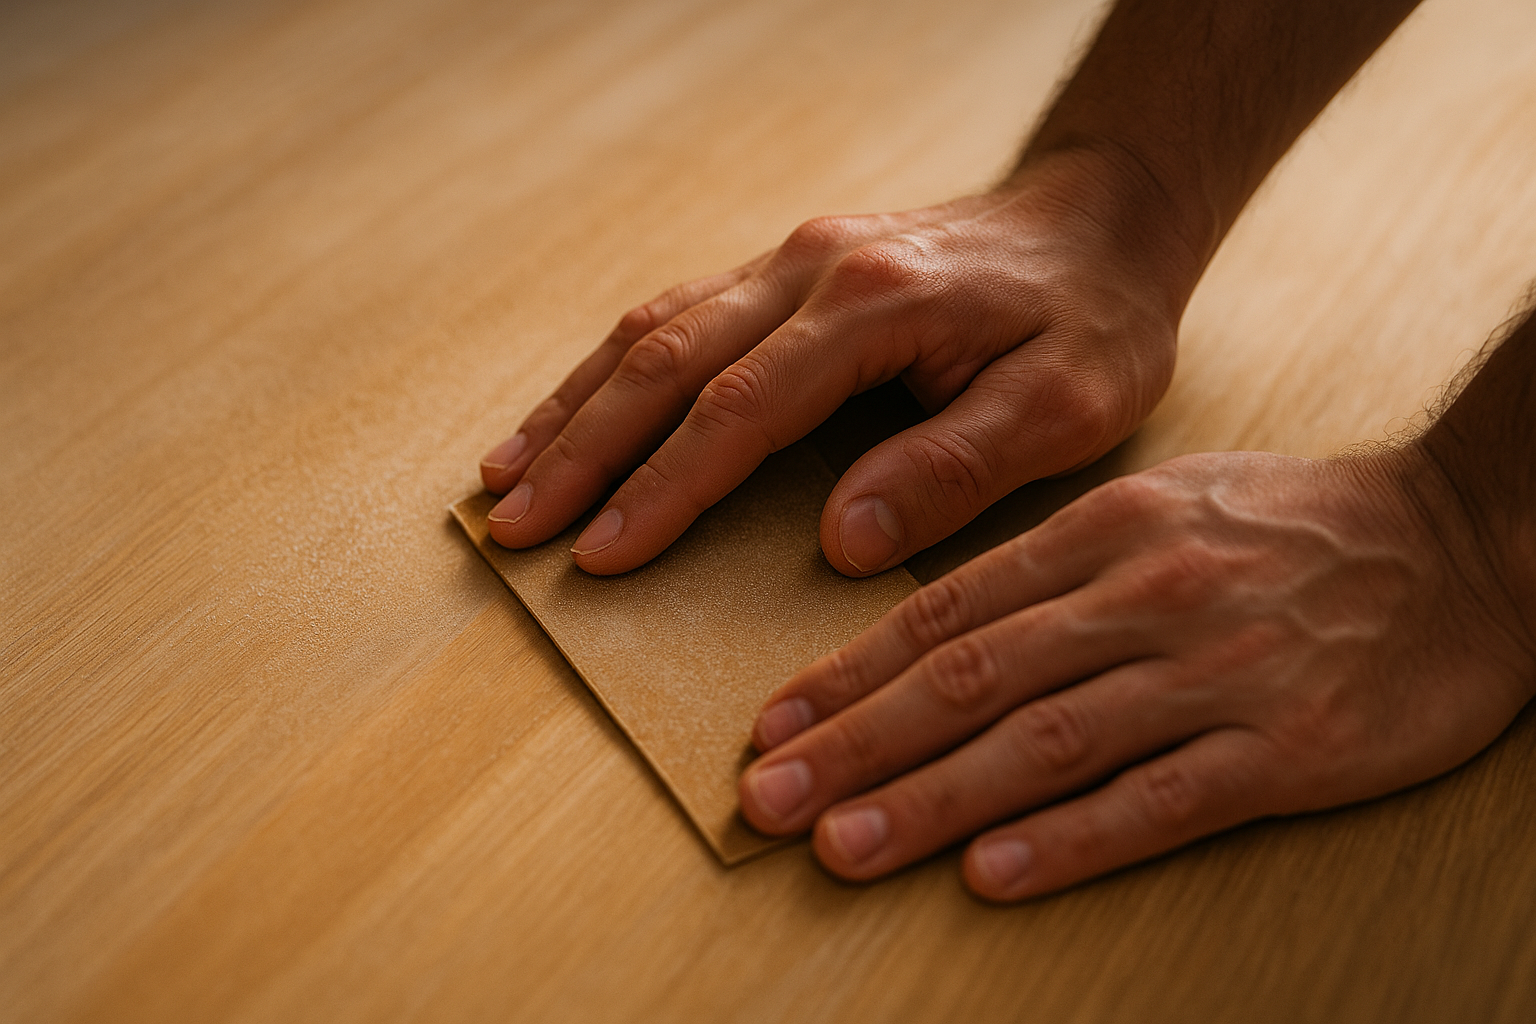
- Wood: Sanding is crucial to smooth out the surface. Fill any cracks or holes with wood filler.
- Metal: Remove rust and apply a primer to prevent future rusting.
- Drywall: Sand to remove any rough spots and patch up holes or cracks with joint compound.
- Concrete: Clean thoroughly and repair any cracks. A primer might be necessary for better adhesion.
Fun Fact: Did you know that the ancient Egyptians were among the first to paint their homes, using a mixture of natural pigments and binders to decorate their walls?
Common Mistakes in Surface Preparation
1. Skipping Surface Cleaning
Cleaning might seem like an extra step, but it’s a game-changer. Paint won’t stick well to dirty, greasy, or dusty surfaces. Plus, any debris left on the surface can show through the paint, ruining the finish.
Common Cleaning Methods
- For Walls: Use a mixture of water and mild detergent. Wipe down with a damp cloth to remove any soap residue.
- For Wood: Sand the surface and then use a tack cloth to pick up the dust.
- For Metal: Remove rust and clean with a degreaser.
- For Concrete: Power wash to remove dirt and debris.
Pro Tip: Always rinse your cleaning tools thoroughly to avoid leaving any soap or chemical residue on the surface.
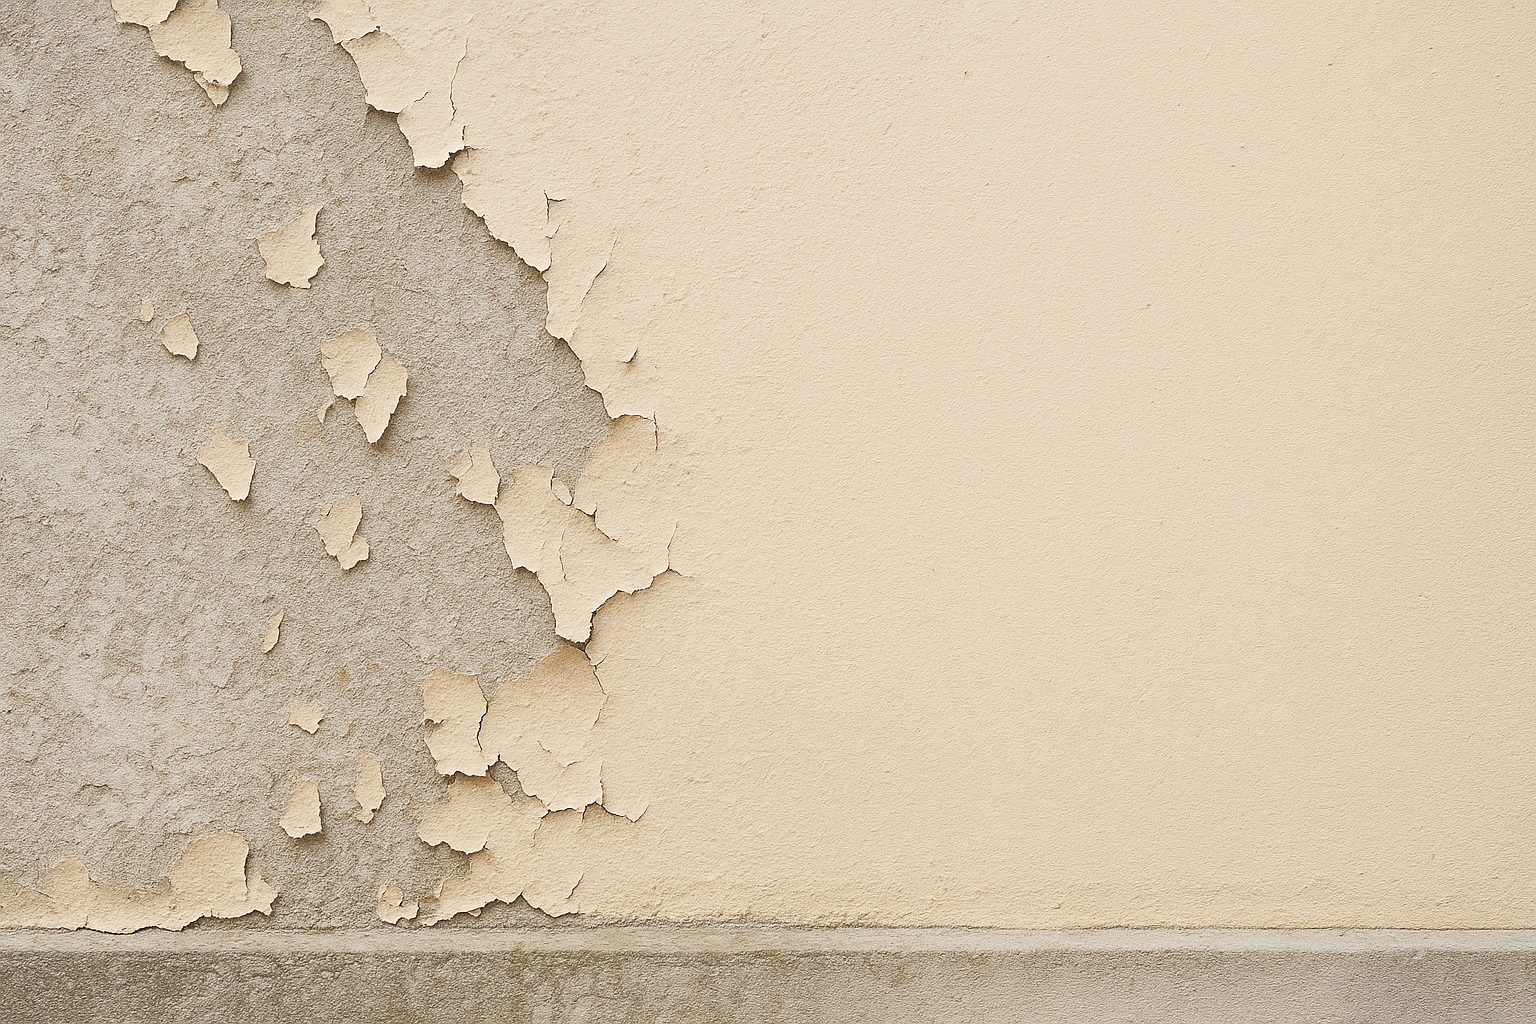
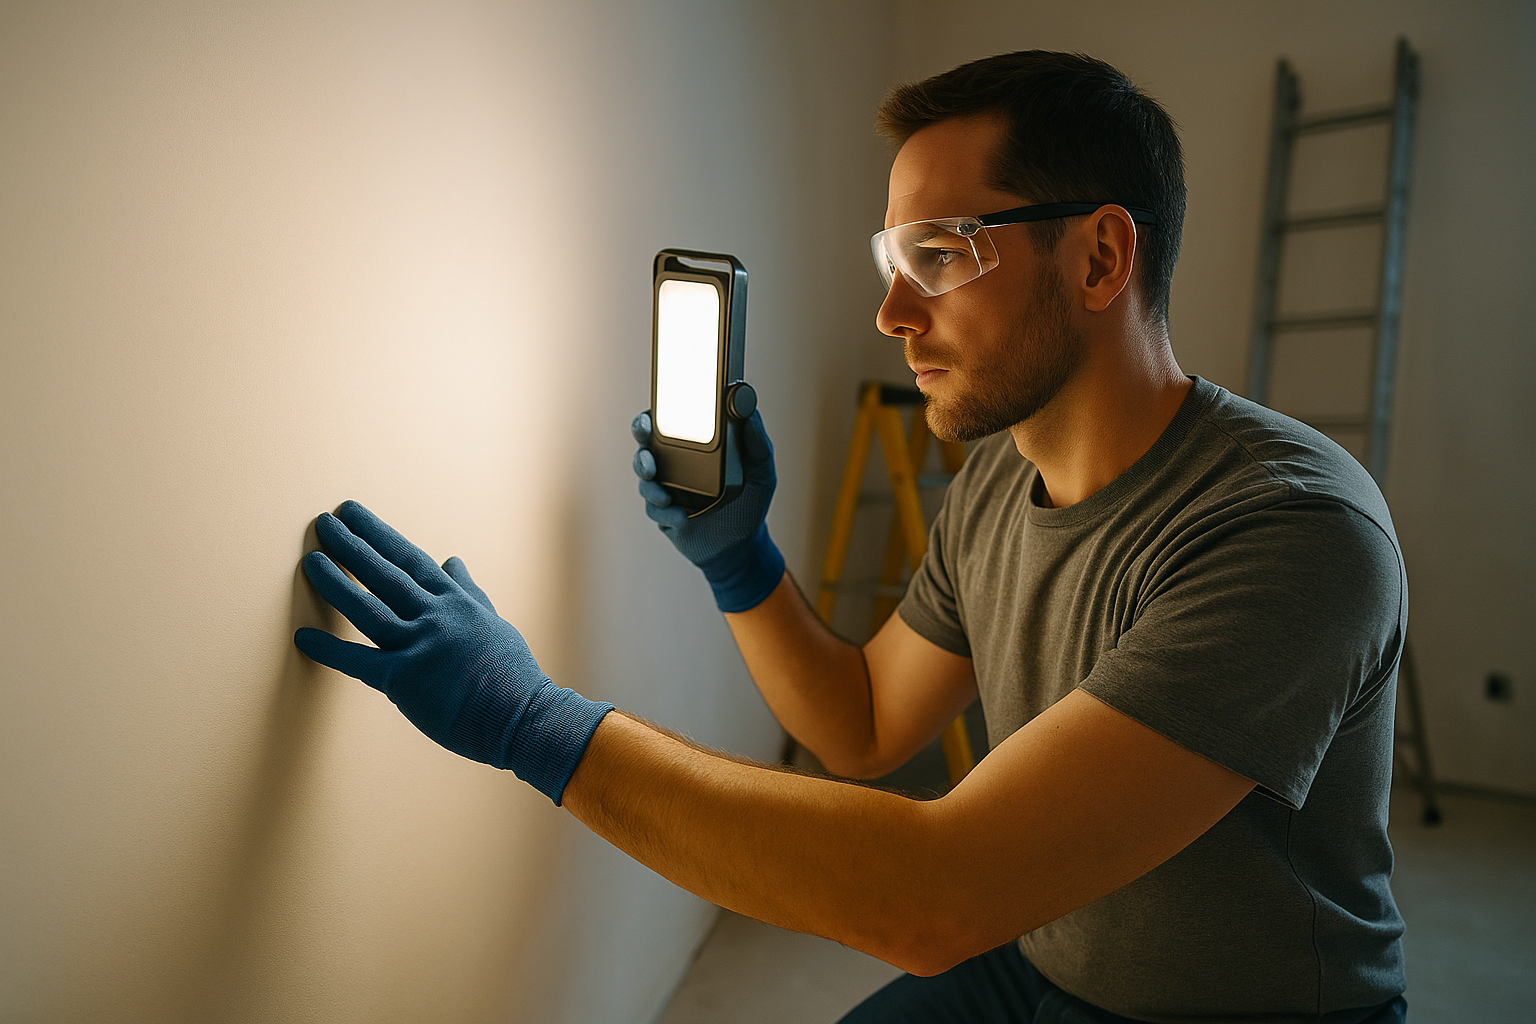
2. Ignoring Surface Imperfections
Imperfections like cracks, holes, and rough patches are the enemies of a smooth finish. They can be caused by a variety of factors, including structural issues, wear and tear, or just plain age.
How to Fix Imperfections
- Cracks and Holes in Drywall: Use a joint compound to fill the gaps. Sand smooth once it’s dry.
- Wood Imperfections: Fill cracks with wood filler and sand once dry.
- Metal Imperfections: Use a metal filler to smooth out any dents or holes.
3. Inadequate Drying Time
Patience is key when it comes to drying times. If you rush, you risk trapping moisture under the paint, which can lead to blistering and peeling.
Recommended Drying Times for Different Surfaces
- Drywall: 24 hours after applying joint compound.
- Wood: 24-48 hours, especially if you’ve used filler.
- Metal: At least 24 hours after priming.
- Concrete: 48-72 hours, depending on the humidity and temperature.
Pro Tip: If you’re in a hurry, use fans or dehumidifiers to speed up the drying process.
4. Using the Wrong Tools and Materials
Essential Tools for Surface Preparation
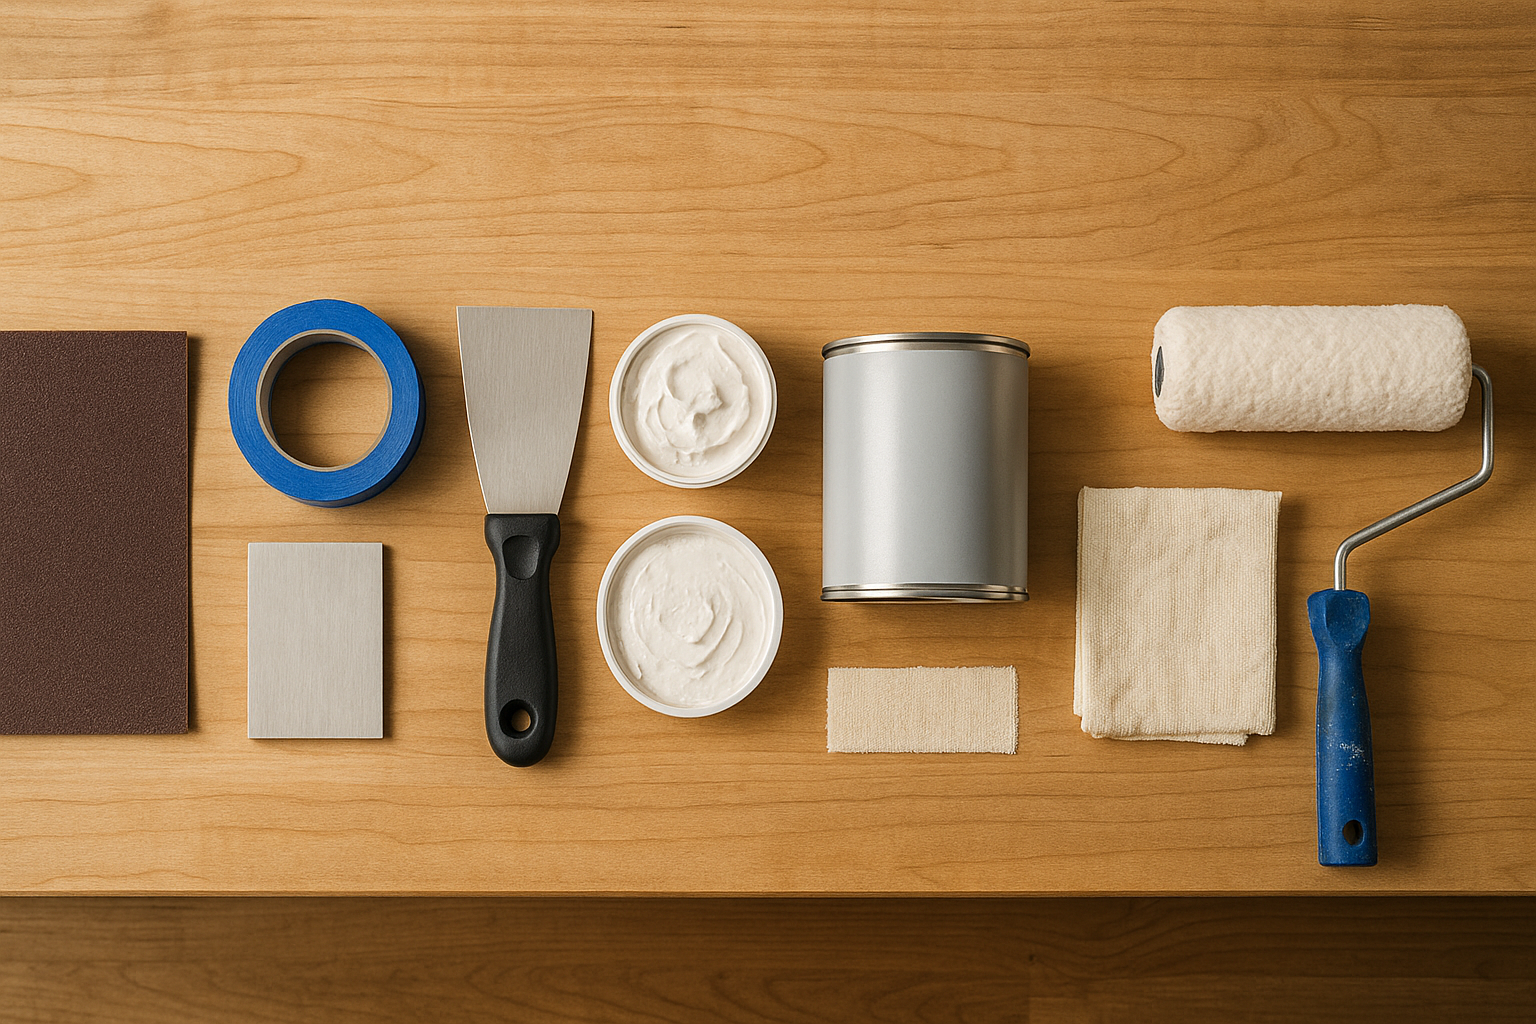
Having the right tools can make all the difference. Here are some must-haves:
- Sandpaper (various grits)
- Tack cloth
- Joint compound
- Putty knife
- Primer
- Paintbrushes and rollers
- Drop cloths
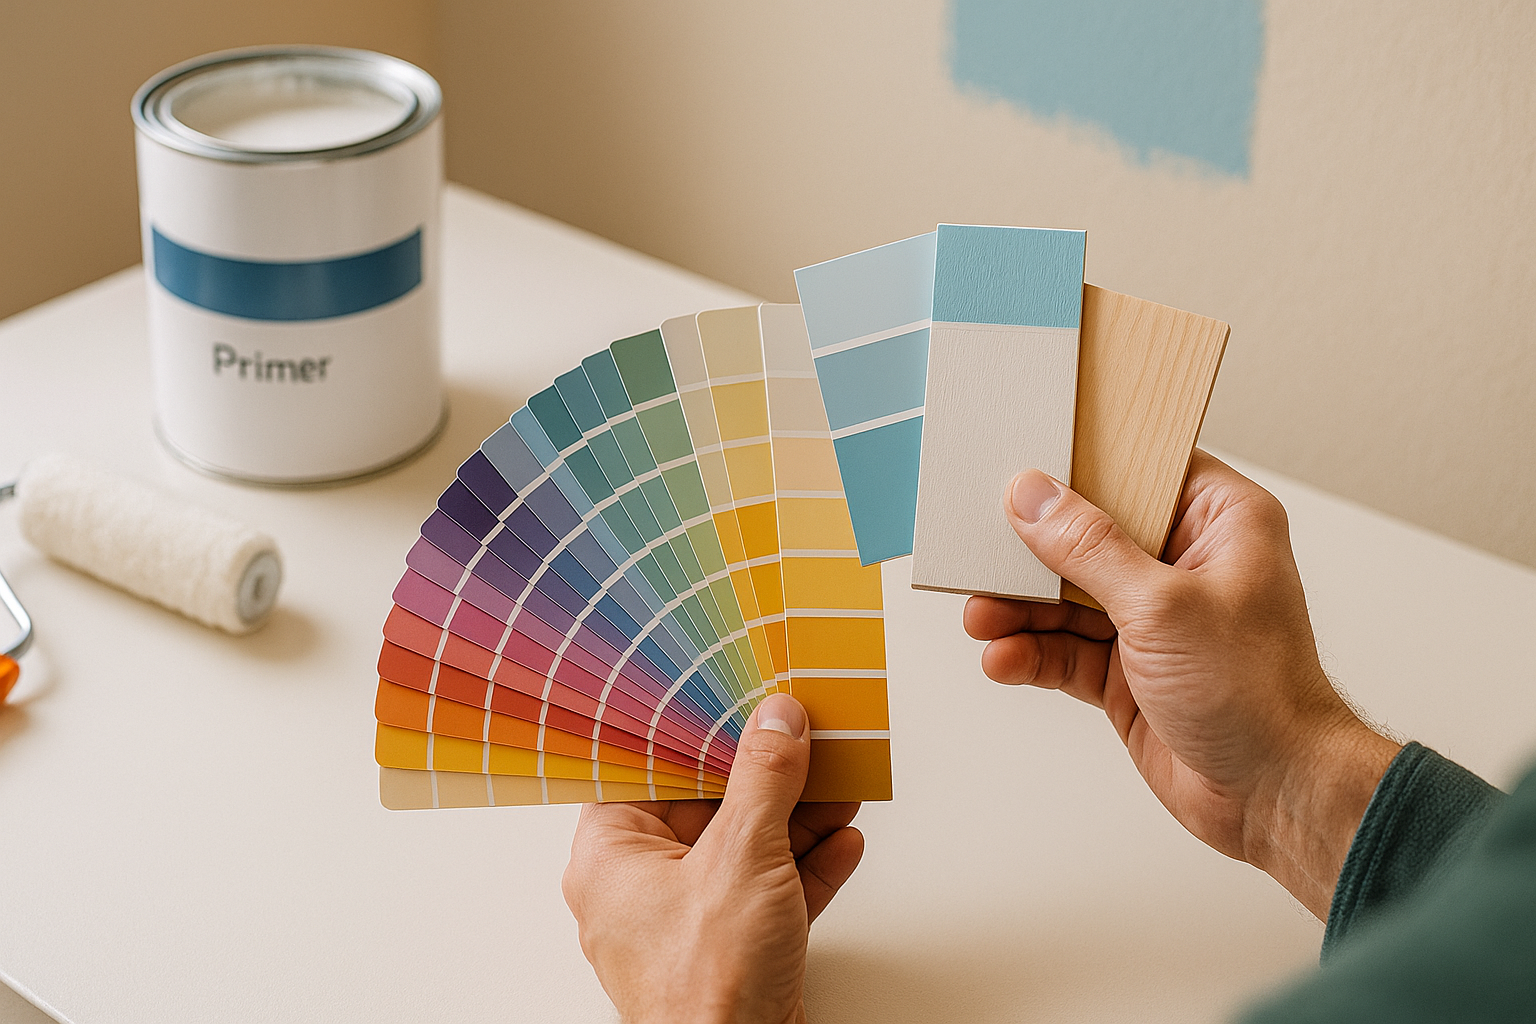
Choosing the Right Materials
Selecting the right primer and paint is crucial. Here’s a quick guide:
- For Drywall: Use a drywall primer to seal the surface.
- For Wood: Use a wood primer to prevent tannins from bleeding through.
- For Metal: Use a rust-inhibiting primer.
- For Concrete: Use a masonry primer for better adhesion.
Key Takeaway: Always read the labels on your paint and primers to ensure they’re suitable for the surface you’re working on.
Detailed Steps for Proper Surface Preparation
Cleaning the Surface
Methods for Different Surface Types
Each surface requires a specific cleaning method:
- Drywall: Wipe down with a damp cloth to remove dust.
- Wood: Sand with fine-grit sandpaper and wipe with a tack cloth.
- Metal: Use a wire brush to remove rust and clean with a degreaser.
- Concrete: Power wash and allow to dry completely.
Tools and Products for Effective Cleaning
- Drywall: Sponge and mild detergent.
- Wood: Sandpaper and tack cloth.
- Metal: Wire brush and degreaser.
- Concrete: Power washer.
Pro Tip: Always use a clean, damp cloth to remove any dust or residue after sanding.
Repairing Imperfections
Identifying Surface Defects
Common defects include cracks, holes, and rough patches. Look closely and feel for any irregularities.
Techniques for Repairing Common Defects
- Drywall: Fill cracks with joint compound, let dry, then sand smooth.
- Wood: Use wood filler for cracks and holes, then sand.
- Metal: Apply a metal filler and sand once dry.
Pro Tip: For large repairs, consider using a patching kit for added strength.
Ensuring Proper Drying
Drying Time Recommendations
Follow these guidelines for optimal drying times:
- Drywall: 24 hours for joint compound.
- Wood: 24-48 hours after applying filler.
- Metal: 24 hours after priming.
- Concrete: 48-72 hours.
Tips for Accelerating Drying
- Use fans to increase air circulation.
- Dehumidifiers can help in humid conditions.
- Keep the area well-ventilated.
Pro Tip: Avoid painting in high humidity as it can extend drying times significantly.
Selecting the Right Tools and Materials
Overview of Essential Tools
Here’s a quick checklist of what you’ll need:
- Sandpaper (various grits)
- Tack cloth
- Joint compound
- Putty knife
- Primer
- Paintbrushes and rollers
- Drop cloths
Choosing the Right Primers and Paints
Make sure you’re using the right products for the job:
- Drywall: Drywall primer and latex paint.
- Wood: Wood primer and oil-based or latex paint.
- Metal: Rust-inhibiting primer and enamel paint.
- Concrete: Masonry primer and concrete paint.
Tools and Materials Checklist
| Tool | Purpose |
| Sandpaper | Smoothing surfaces |
| Tack cloth | Removing dust |
| Joint compound | Filling cracks and holes |
| Putty knife | Applying joint compound |
| Primer | Sealing surfaces |
| Paintbrushes and rollers | Applying paint |
| Drop cloths | Protecting floors |
Testing for Surface Compatibility
Methods for Testing
To ensure compatibility, do a test patch. Apply a small amount of primer and paint to a hidden area and see how it adheres.
Adjusting Techniques Based on Test Results
If the paint doesn’t adhere well, try a different primer or adjust your surface prep method.
Pro Tip: Always do a test patch before committing to a full paint job.
Tips for Avoiding Common Mistakes
1. Create a Preparation Checklist
Having a checklist ensures you don’t miss any steps. Here’s a sample:
- Clean the surface.
- Repair any imperfections.
- Sand the surface.
- Apply primer.
- Test for compatibility.
2. Consult Professional Guidelines
When in doubt, consult the pros. Look for reliable information from paint manufacturers, home improvement websites, and professional painters.
3. Regularly Inspect Your Work
Keep an eye on your progress. If you spot any issues early, they’re much easier to fix.
Conclusion
Proper surface preparation is crucial for a lasting paint job. Clean thoroughly, fix imperfections, allow for adequate drying, and choose the right tools and materials.
Don’t rush the prep work. It’s the foundation of your painting project, and doing it right will save you time and frustration in the long run.
Take your time, follow the steps, and don’t hesitate to consult the pros for advice.
FAQs
- What are the consequences of poor surface preparation?
- Poor prep can lead to peeling, cracking, and an uneven finish.
- How do I know if I’ve cleaned the surface thoroughly?
- Run a clean cloth over the surface. If it comes away dirty, keep cleaning.
- Can I use any primer for any surface?
- No, use a primer specific to the surface type for the best results.
- How long should I wait between surface preparation and painting?
- Ensure all prep materials are completely dry, typically 24-48 hours.
- What should I do if I notice imperfections after painting?
- Sand down the imperfection, clean the area, and touch up with primer and paint.

