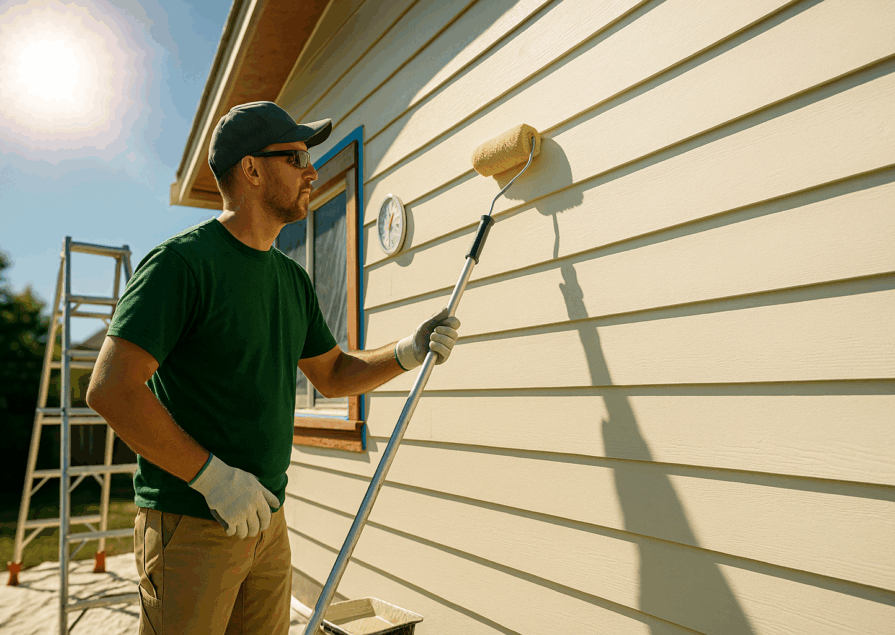
Painting a room might seem like a straightforward task, but overlooking key preparation steps can lead to frustrating results. From peeling paint to uneven finishes, many common mistakes stem from poor prep work. In this section, we’ll walk through essential preparation steps to ensure a flawless paint job.
1. Preparing for a Successful Paint Job
Importance of Proper Preparation
Before you even open a paint can, thorough preparation is crucial. Skipping prep work can lead to a messy application, poor adhesion, and a finish that doesn’t last.
Why Preparation Makes or Breaks the Final Result
- Proper prep ensures paint adheres smoothly and lasts longer.
- Skipping steps can result in uneven coverage, peeling, or premature wear.
- Investing time in preparation saves time and money on future touch-ups and repaints.
Common Pitfalls of Skipping Prep Work
- Not cleaning the walls, leading to poor adhesion.
- Skipping primer, causing uneven coverage.
- Ignoring surface imperfections, resulting in visible cracks and bumps.
- Using the wrong type of paint for the surface.
Not Cleaning the Walls Before Painting
Many homeowners overlook this step, assuming that a fresh coat of paint will cover everything. However, dust, grease, and grime can prevent paint from adhering properly.
How Dust and Grime Affect Paint Adhesion
- Dirt and oil create a barrier between the paint and the surface.
- Leftover residue can lead to patchy, uneven coverage.
- In high-humidity areas like kitchens and bathrooms, unseen grease buildup can cause paint to bubble or peel.
Best Cleaning Methods Before Painting
- Mild Soap and Water: Ideal for general dust and dirt.
- TSP (Trisodium Phosphate) Cleaner: Best for removing grease and stubborn stains, especially in kitchens.
- Dry Cloth or Tack Cloth: Helps remove fine dust after washing.
- Vacuum with Brush Attachment: Useful for baseboards and textured walls.
Pro Tip: Always allow walls to dry completely before priming or painting to avoid trapping moisture under the paint.
Skipping Primer: A Costly Mistake
Primer acts as the foundation for a smooth and long-lasting paint job. While some high-quality paints include built-in primer, skipping a separate primer when needed can lead to noticeable issues.
When Primer is Essential and When You Can Skip It
You MUST use primer when:
- Painting over a dark color with a light shade.
- Painting over bare drywall, fresh plaster, or patched areas.
- Covering stains, smoke damage, or water marks.
- Using paint with a significantly different sheen (e.g., switching from gloss to matte).
You MAY be able to skip primer when:
- Repainting a similar color with the same type of paint.
- Using a high-quality paint-and-primer-in-one product.
- Painting over a clean, previously painted surface that’s in good condition.
Best Primers for Different Wall Types
- Oil-Based Primer: Great for covering stains and high-traffic areas.
- Water-Based (Latex) Primer: Best for drywall and general interior painting.
- Shellac-Based Primer: Excellent for blocking tough stains and sealing odors.
Pro Tip: If you’re unsure whether you need a primer, do a small test patch—if the new paint doesn’t adhere well, a primer is needed.
Choosing the Wrong Paint for the Job
Not all paints are created equal. The type of paint you choose impacts durability, appearance, and maintenance.
Differences Between Matte, Satin, and Semi-Gloss
| Finish Type | Best For | Pros | Cons |
| Matte (Flat) | Bedrooms, ceilings | Hides imperfections, soft finish | Harder to clean, less durable |
| Satin | Living rooms, hallways | Slight sheen, easier to clean | Shows brush strokes more than matte |
| Semi-Gloss | Kitchens, bathrooms, trim | Durable, moisture-resistant | Highlights surface imperfections |
| High-Gloss | Doors, cabinets | Reflective, easy to clean | Requires perfect surface prep |
Choosing Paint Based on Room Function and Lighting
- High-Traffic Areas: Opt for satin or semi-gloss for easier cleaning.
- Low-Light Rooms: Lighter colors and satin finishes help reflect light.
- Ceilings: Matte finishes reduce glare and hide imperfections.
- Bathrooms & Kitchens: Use moisture-resistant semi-gloss to prevent mold and mildew.
Pro Tip: Always test a small sample on your wall under different lighting conditions before committing to a color.
2. Application Mistakes That Ruin the Finish
Even with the best prep work, using the wrong tools or rushing through the process can result in an uneven, streaky, or peeling finish. Here are the most common mistakes painters make during application and how to avoid them.
Using Low-Quality Brushes and Rollers
Choosing the right tools is just as important as selecting the right paint. Many DIY painters try to save money by purchasing cheap brushes and rollers, but this can lead to poor coverage, visible brush strokes, and a frustrating painting experience.
Why Tool Quality Matters
- Low-quality brushes shed bristles, leaving them stuck in the paint.
- Cheap rollers don’t hold enough paint, leading to uneven application.
- Inferior tools don’t distribute paint smoothly, causing streaks and roller marks.
- High-quality tools allow for better control, smoother finishes, and more efficient application.
How to Choose the Right Brushes and Rollers
- For Trim and Edges: Use an angled synthetic brush (2-2.5 inches) for precision.
- For Large Walls: A high-density woven roller (3/8” to 1/2” nap) provides even coverage.
- For Textured Surfaces: A thicker nap roller (3/4” to 1” nap) reaches into crevices.
- For Smooth Surfaces: A foam roller or 1/4” nap roller prevents roller marks.
Pro Tip: Invest in a quality brush and roller set—it will make a significant difference in achieving a professional finish and will last for multiple projects.
Overloading or Underloading the Paintbrush/Roller
Many DIY painters either overload their brush or roller, causing drips and streaks, or underload it, resulting in patchy coverage.
How Much Paint is Too Much?
- Too Much Paint: Leads to thick, uneven coats, excessive dripping, and pooling.
- Too Little Paint: Causes streaks, poor coverage, and extra coats needed.
Proper Rolling and Brushing Techniques
- For Brushes: Dip only 1/3 of the bristles into the paint and tap (don’t wipe) the excess on the side of the can.
- For Rollers: Fully load the roller by rolling it back and forth in the tray until evenly coated, then roll off excess before applying to the wall.
- Rolling Technique:
- Use a “W” or “M” motion to distribute paint evenly.
- Go over it lightly to smooth out any excess paint.
- Maintain a wet edge to avoid lap marks.
Pro Tip: Always work in small sections, ensuring the previous area is still wet when rolling the next one.
Ignoring Proper Drying Times
Patience is key when painting. Rushing to apply a second coat before the first one has dried properly leads to streaking, peeling, and uneven color.
Why Patience Leads to Better Results
-
- Paint needs time to cure and bond to the surface.
- Applying a second coat too soon lifts the first layer, creating texture and ruining smoothness.
- Drying time varies by paint type, humidity, and temperature.
Recommended Drying Times Between Coats
| Paint Type | Touch Dry | Recoat Time | Full Cure |
| Latex (Water-Based) | 1-2 hours | 4-6 hours | 2-4 weeks |
| Oil-Based | 6-8 hours | 24 hours | 7-14 days |
Pro Tip: If unsure, gently press a finger on the wall—if paint feels tacky or comes off, it’s not dry enough for another coat.
Painting in the Wrong Conditions
Environmental factors like temperature and humidity directly impact how paint dries. Painting in extreme conditions can cause blistering, cracking, or slow drying.
How Temperature and Humidity Affect Paint Application
- Too Hot (Above 85°F/29°C): Paint dries too fast, making blending difficult and causing brush/roller marks.
- Too Cold (Below 50°F/10°C): Paint takes too long to dry, leading to drips and poor adhesion.
- High Humidity: Moisture in the air prevents paint from drying properly, causing bubbling or a tacky finish.
- Low Humidity: Can cause paint to dry too quickly, leading to uneven application.
Best Conditions for Painting Indoors
- Ideal Temperature Range: 55°F-75°F (13°C-24°C) for best results.
- Humidity Levels: Keep between 40-50% for proper drying.
- Ventilation: Open windows, use fans, or turn on a dehumidifier to maintain airflow.
Pro Tip: Avoid painting on rainy or extremely humid days, especially in poorly ventilated rooms.
3. Technique Mistakes That Lead to a Messy Job
Even with the best preparation and tools, improper painting techniques can leave you with uneven lines, streaky finishes, and paint drips. Below are the most common technique mistakes DIY painters make—and how to fix them.
Not Using Painter’s Tape Correctly
Painter’s tape is a great tool for achieving sharp, professional-looking lines, but when applied incorrectly, it can cause paint bleeding, jagged edges, or even pull off existing paint.
Common Mistakes with Tape Application
- Not pressing it down firmly: Gaps under the tape allow paint to seep through.
- Using the wrong tape: Cheap masking tape can cause bleeding or leave residue.
- Leaving it on too long: Can cause peeling when removed after the paint dries completely.
- Removing it too soon: If the paint is too wet, it may smudge.
How to Get Crisp, Clean Edges
Use high-quality painter’s tape (e.g., FrogTape or 3M Blue).
Press down the edges with a putty knife for a tight seal.
Remove the tape at a 45-degree angle while the paint is still slightly damp.
If the tape is dry, score along the edge with a utility knife before peeling it off.
Pro Tip: For ultra-crisp lines, paint a thin coat of the wall color over the edge of the tape before applying the final color. This seals the tape and prevents bleeding.
Painting in the Wrong Order
Painting in the wrong order leads to smudging, extra touch-ups, and unnecessary mess. Professional painters follow a specific sequence to ensure efficiency and clean results.
Why You Should Start with Ceilings and Trim
- Painting the ceiling first prevents paint drips from ruining freshly painted walls.
- Starting with trim allows you to clean up any smudges when painting the walls later.
- If you paint walls first, rolling too close to the trim can cause roller marks on the edges.
The Proper Sequence for Painting Walls
- Ceiling – Use a roller with an extension pole for smooth coverage.
2. Trim & Baseboards – Use a brush for precise edges and allow proper drying.
3. Walls – Start with cutting in, then roll for an even finish.
4. Doors & Windows – Finish with a brush for detail work.
Pro Tip: If you’re painting two contrasting colors, let the first color fully dry before applying painter’s tape for the second color.
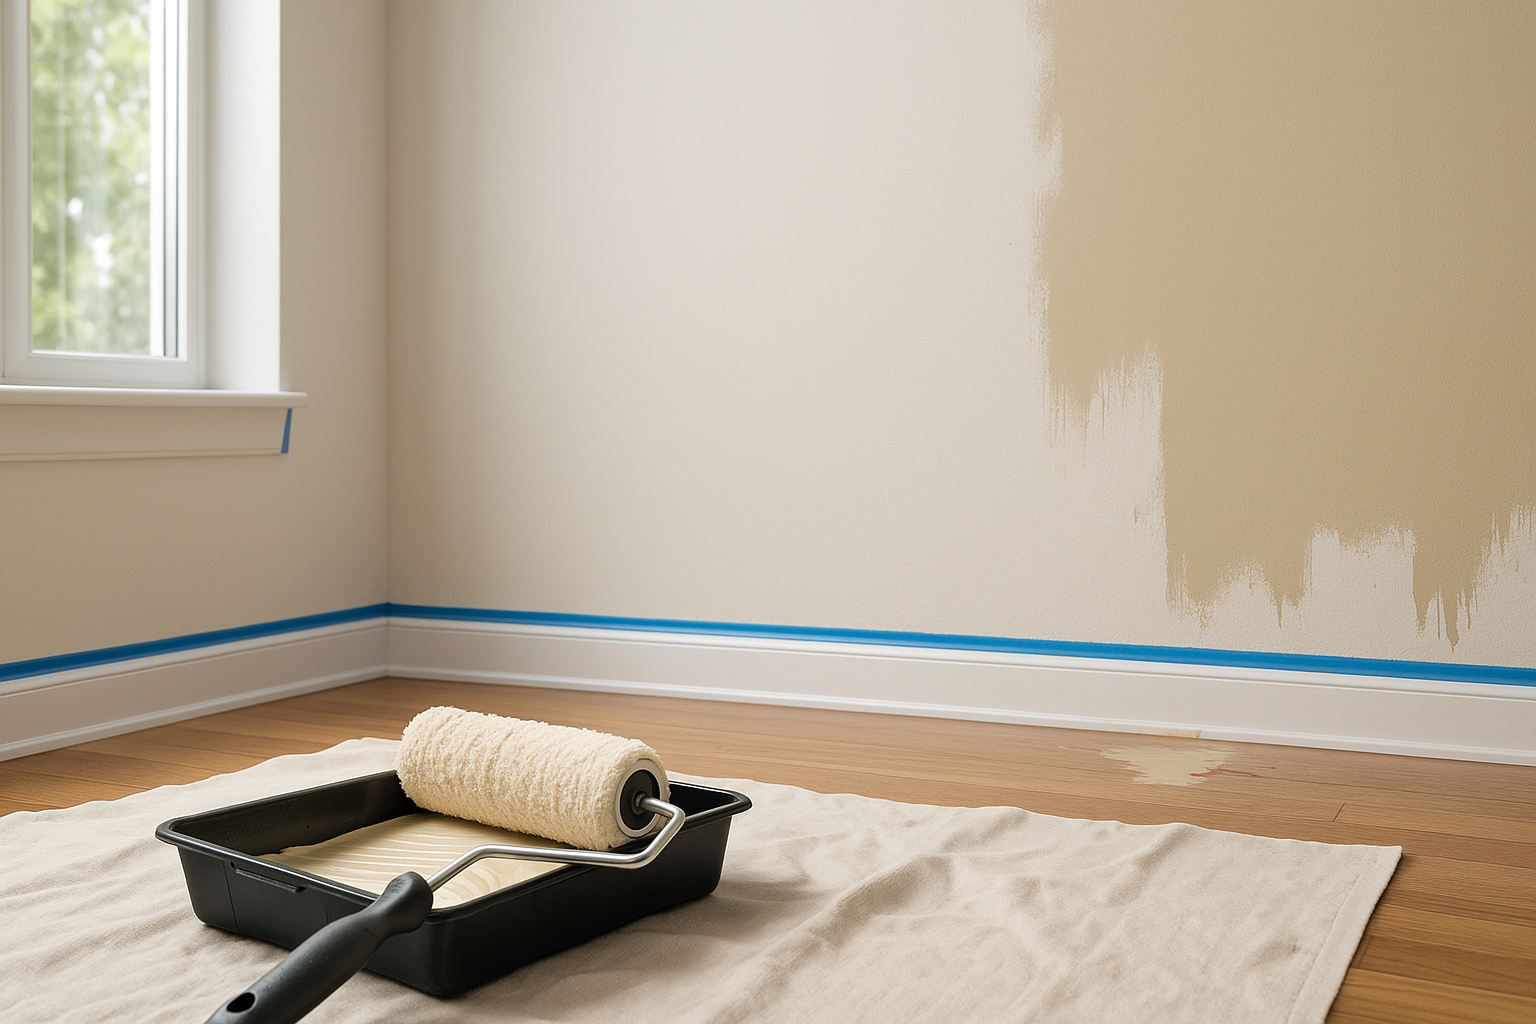
Applying Uneven Coats
One of the most frustrating painting mistakes is streaky, patchy coverage. This often happens due to poor technique, improper loading of the roller/brush, or uneven pressure.
What Causes Streaky or Patchy Paint?
- Not using enough paint: Leads to thin, uneven coverage.
Applying too much paint at once: Can cause drips and roller marks.
Pressing too hard with the roller or brush: Leaves streaks and inconsistent texture.
Not maintaining a wet edge: Creates lap marks where one section dries before the next is applied.
Techniques to Achieve a Smooth, Even Finish
- Use high-quality rollers and brushes to ensure even distribution.
Load the roller properly – it should be evenly coated but not dripping.
Apply paint in a “W” or “M” pattern, then roll it out smoothly.
Maintain a wet edge by working in small sections and overlapping slightly.
Feather out the edges to blend the paint seamlessly.
Pro Tip: Dark and bold colors often require multiple thin coats to prevent patchiness.
Rushing the Second Coat
Applying the second coat too soon is a common mistake that can cause streaking, peeling, and uneven texture.
How Long Should You Really Wait?
Each type of paint has a recommended recoat time:
| Paint Type | Touch Dry | Recoat Time | Fully Cured |
| Latex (Water-Based) | 1-2 hours | 4-6 hours | 2-4 weeks |
| Oil-Based | 6-8 hours | 24 hours | 7-14 days |
The Risks of Applying a Second Coat Too Soon
- Peeling and lifting: The first coat may still be tacky, causing it to pull away.
- Visible roller/brush marks: Wet paint disturbs the semi-dry first coat.
- Uneven sheen: Some areas may absorb the second coat differently.
Pro Tip: If you’re unsure, gently touch the surface – if it still feels cool or sticky, it’s not ready for a second coat.
4. Post-Painting Mistakes That Impact Longevity
A perfect paint job doesn’t end when you put the brush down. Neglecting proper cleanup, touch-ups, and ventilation can reduce the lifespan of your work. Here’s how to avoid the most common post-painting mistakes to ensure your fresh paint stays vibrant, smooth, and long-lasting.
Improper Cleanup of Tools
Neglecting your brushes, rollers, and leftover paint can lead to dried-out tools, wasted materials, and messy cleanup next time you paint. Taking a few extra minutes to clean up properly will save you money and extend the life of your tools.
How to Clean Brushes and Rollers for Reuse
- Latex (Water-Based) Paint:
- Rinse brushes and rollers under warm running water immediately after use.
- Use mild dish soap and work it into the bristles with your fingers or a brush comb.
- Rinse thoroughly until water runs clear.
- Shake out excess water and let them dry hanging or flat.
- Oil-Based Paint:
- Wipe off excess paint with a paper towel or rag.
- Soak brushes in mineral spirits or paint thinner in a glass jar.
- Swirl the brush, then wipe clean with a cloth.
- Wash with soapy water and rinse well.
Storing Paint Properly to Extend Its Life
- Seal the lid tightly using a rubber mallet (not a hammer) to prevent air from drying out the paint.
- Store paint cans upside down (after ensuring the lid is fully sealed) to create an airtight seal.
- Keep paint in a cool, dry place away from direct sunlight and extreme temperatures.
- Label leftover paint with the room it was used in and the date.
Pro Tip: If paint has thickened slightly but isn’t expired, add a small amount of water (for latex) or paint thinner (for oil-based) and stir well to restore consistency.
Not Checking for Touch-Ups
Even with careful painting, it’s common to miss small spots, uneven areas, or roller marks. Skipping a final check can leave visible flaws that are harder to fix later once the paint fully cures.
How to Spot and Fix Missed Spots Before It’s Too Late
- Use natural and artificial lighting to inspect the walls from different angles.
- Look for uneven color, missed spots, and streaks.
- Use a pencil (not a marker!) to lightly mark areas needing touch-ups.
- Check edges and corners, where coverage is often inconsistent.
Blending Touch-Ups Seamlessly
- Use the same brush or roller you originally painted with to maintain texture.
- Apply a thin, feathered coat instead of a thick patch.
- If touching up a larger area, repaint the entire section to prevent noticeable differences.
- Match the drying time—if your paint has already cured, reapplying without a seamless blend can result in a visible sheen difference.
Pro Tip: If using leftover paint, stir it thoroughly before touching up, as settled pigments can cause color variations.
Forgetting to Ventilate the Room
Many DIY painters focus on aesthetics but forget that proper ventilation is essential for both safety and paint durability. Poor ventilation can lead to strong lingering fumes, slow drying times, and even long-term indoor air pollution.
Why Fresh Air Matters for Curing and Safety
- Paint releases VOCs (volatile organic compounds), which can cause headaches and dizziness in poorly ventilated spaces.
- Lack of airflow delays drying and curing, leading to a sticky or uneven finish.
- Trapped moisture can cause paint to peel, bubble, or develop a dull appearance.
Best Practices for Ventilating an Indoor Paint Job
Open windows and doors before, during, and after painting.
Use fans to create cross-ventilation and speed up drying.
If working in a windowless room, consider using an air purifier to reduce fumes.
Keep ventilation going for at least 24-48 hours after painting to allow proper curing.
Pro Tip: For low-VOC or odorless paints, ventilation is still necessary for curing, even if the fumes aren’t as strong.
5. How to Fix Common Interior Painting Mistakes
Even with the best preparation and careful application, painting mistakes can still happen. Whether it’s drips, peeling, or uneven coverage, knowing how to correct these issues can save your walls from a complete repaint. Here’s how to fix the most common interior painting mistakes.
Fixing Drips and Streaks After Drying
Drips and streaks occur when too much paint is applied in one area, often from overloading the brush or roller. If left unaddressed, they can dry into noticeable raised spots on the wall.
Sanding and Repainting Techniques
- Wait until the paint is fully dry before attempting any fixes—wet paint can smear and make things worse.
- Use fine-grit sandpaper (180-220 grit) to gently sand down the raised drip or streaked area.
- Wipe the area with a damp cloth to remove dust before repainting.
- Apply a thin, even coat of paint over the sanded spot, feathering out the edges to blend with the surrounding area.
Pro Tip: When repainting, use long, smooth strokes to avoid adding new streaks.
Dealing with Peeling or Bubbling Paint
Peeling or bubbling paint can be frustrating and is often caused by moisture, poor surface preparation, or painting over dirty walls. If left unchecked, it can lead to larger sections of paint flaking off.
Causes and Solutions for Peeling Issues
| Cause | Solution |
| Painting over dirty, greasy, or dusty surfaces | Clean walls thoroughly with a degreaser or TSP before painting. |
| Skipping primer on porous surfaces | Use a high-quality primer before applying paint. |
| Trapped moisture (e.g., painting over a damp wall) | Ensure the wall is completely dry before painting—use a dehumidifier in humid spaces. |
| Applying too many thick coats too quickly | Apply thin, even coats and follow the recommended drying times. |
How to Fix Peeling or Bubbling Paint
- Scrape away loose or peeling paint with a putty knife or paint scraper.
- Sand the edges of the affected area to smooth out the transition.
- Prime the surface to ensure proper adhesion.
- Repaint the area, blending the new coat with the existing paint.
Pro Tip: If peeling occurs in high-moisture areas like bathrooms or kitchens, consider using moisture-resistant paint.
How to Correct Uneven or Blotchy Paint
Blotchy or uneven paint is usually caused by poor roller technique, skipping primer, or not allowing proper drying time between coats. The result? Walls that appear patchy or inconsistent in color.
Techniques to Blend and Smooth Out Problem Areas
- Identify the problem areas by inspecting under different lighting conditions.
- Sand any rough or uneven areas with fine-grit sandpaper to smooth the surface.
- Apply a primer if the blotchiness is due to poor coverage over a previous color.
Repaint using the correct technique:
- Use consistent pressure on the roller to avoid uneven texture.
- Apply paint in overlapping sections to maintain an even finish.
- Feather out edges by lightly rolling over painted areas to blend.
Consider a third coat if the paint still looks uneven after drying.
Pro Tip: Always stir paint thoroughly before use to ensure even pigment distribution and prevent blotchiness.
Conclusion
A flawless interior paint job requires more than just picking a color and applying it to the walls. By avoiding common mistakes in preparation, application, technique, and post-painting care, you can achieve a smooth, long-lasting finish that looks professionally done.
Key Takeaways:
- Preparation is crucial—clean walls, use primer when needed, and choose the right paint for each room.
Use quality tools—cheap brushes and rollers lead to uneven coverage and frustration.
Apply paint correctly—use the right amount of paint, follow a logical painting order, and avoid streaks or blotchiness.
Be patient—allow proper drying time between coats and avoid painting in extreme temperatures.
Finish strong—clean tools, check for touch-ups, and ensure proper ventilation.
Taking the time to prep thoroughly, use the right techniques, and follow best practices will not only make painting easier but also ensure your walls look great for years to come. A little extra effort now prevents costly touch-ups and repainting later!
FAQs
How many coats of paint should I apply for full coverage?
Most walls require at least two coats for even coverage, especially when painting over a darker color. If using high-quality paint with excellent coverage, one coat might be enough in some cases. However, always follow the manufacturer’s recommendations and assess the coverage after the first coat dries.
Can I paint over old paint without priming?
It depends on the condition of the existing paint. If the old paint is clean, smooth, and a similar color, you may be able to skip primer. However, use a primer if:
- Painting over a dark color with a light shade.
- The existing paint is glossy or oil-based.
- The walls have stains, repairs, or patches.
What’s the best way to avoid roller marks on walls?
To prevent roller marks:
- Use a high-quality roller (with the right nap for your wall texture).
- Keep a wet edge—work in sections and overlap slightly before the paint dries.
- Apply even pressure—don’t press too hard or roll too fast.
- Use proper rolling technique—start in a “W” or “M” motion and fill in smoothly.
Why does my paint look different after drying?
Paint color can look different due to lighting, sheen level, and drying time.
- Sheen affects perception—matte absorbs light, while gloss reflects it.
- Wet paint appears darker or lighter until it fully dries and cures.
- Lighting changes throughout the day can make colors appear warmer or cooler.
Pro Tip: Always test paint samples on the wall before committing to a full coat.
Can I speed up paint drying time?
Yes, but it’s important to do so without compromising the finish. To help paint dry faster:
- Increase air circulation—use fans and open windows.
- Reduce humidity—run a dehumidifier if the room is damp.
- Use thinner coats—thick layers take longer to dry.
- Choose fast-drying paint—some formulas dry faster than others.