The Importance of Proper Room Preparation
Properly preparing a room before painting is a crucial step that often determines the quality of the final result. Skipping or rushing this stage can lead to uneven paint application, damaged surfaces, and unnecessary frustration. Here’s why preparation matters and what pitfalls to avoid.
Why Preparation Matters
- Ensures a Smooth Painting Process
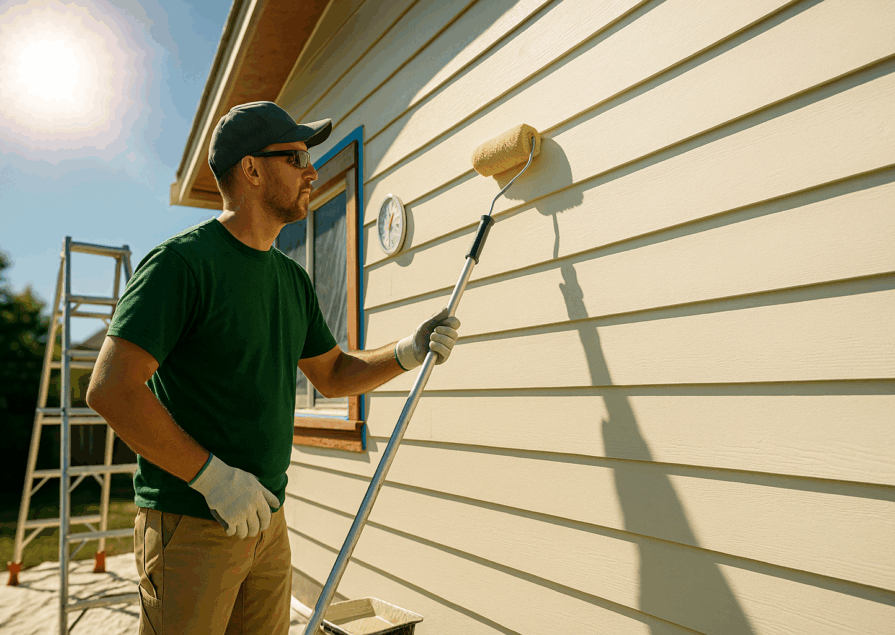
Taking the time to prepare your room simplifies the painting process. Clean, repaired walls ensure that paint adheres evenly and looks professional. Properly covering floors and furniture minimizes distractions and cleanup, allowing you to focus solely on applying paint. - Prevents Damage to Furniture and Floors
Without preparation, paint splatters and spills can permanently stain carpets, furniture, and hardwood floors. Using drop cloths, painter’s tape, and plastic coverings shields your belongings from damage and saves you time and money on repairs or replacements.
Common Mistakes to Avoid
- Rushing the Process
Skipping steps, like not cleaning walls or hastily applying painter’s tape, can result in uneven paint lines, dust particles in the paint, or stains showing through. Taking the time to prepare thoroughly ensures a polished, professional finish. - Ignoring Wall Imperfections
Painting over cracks, holes, or rough patches leads to a bumpy, unappealing surface. Small imperfections can become glaringly obvious once painted, so it’s essential to fill and sand these areas before you start.
By understanding the importance of preparation and steering clear of common mistakes, you set yourself up for a successful and stress-free painting experience.
Tools and Supplies You’ll Need
Having the right tools and supplies on hand is essential for efficient and thorough room preparation. Gathering these items beforehand ensures you won’t have to pause mid-task to search for missing equipment.
Essential Tools Checklist
- Painter’s Tape
Use painter’s tape to protect trim, edges, and areas where you want sharp, clean paint lines. Ensure you select high-quality tape to prevent paint from seeping through. - Drop Cloths
Protect your floors, furniture, and other surfaces from paint splatters and spills. Canvas drop cloths are durable and reusable, while plastic sheets offer lightweight, budget-friendly options. - Step Ladder
A sturdy step ladder allows you to easily reach higher areas like ceilings and the tops of walls. Always ensure it’s stable before use to avoid accidents. - Putty Knife
A putty knife is essential for applying spackle or filler to repair cracks, dents, or holes in the walls. Opt for a flexible blade for smooth application.
Cleaning Supplies
- Mild Detergent
Mix a gentle detergent with water to remove grease, dirt, and dust from walls and surfaces. This step ensures better paint adhesion and a cleaner finish. - Sponges
Use soft sponges to scrub walls without damaging the surface. Ensure you have extras for rinsing and wiping away soap residue. - Buckets
Fill buckets with cleaning solutions for easy access while scrubbing and rinsing walls. A sturdy bucket with a handle makes the process more convenient.
Protective Gear
- Dust Masks
Prevent inhalation of dust, paint particles, and fumes by wearing a dust mask, especially when sanding walls or using strong cleaning agents. - Gloves
Protect your hands from harsh chemicals and paints with durable, disposable gloves. Latex or nitrile options work well for most tasks. - Goggles
Safety goggles shield your eyes from dust, cleaning sprays, and accidental splashes of paint or filler.
By equipping yourself with these tools, cleaning supplies, and protective gear, you’ll ensure a safe, organized, and efficient room preparation process. Proper preparation starts with being well-equipped!
Step-by-Step Guide to Preparing a Room for Painting
Proper room preparation is a systematic process that ensures a smooth painting experience and professional results. Follow these steps to get your room ready for painting day.
Step 1: Declutter and Remove Furniture
- Start by clearing as much furniture and clutter from the room as possible to create a safe and open workspace.
- For large or heavy items that cannot be moved out, group them in the center of the room and cover them with durable drop cloths. Secure the cloths to prevent paint splatters from reaching exposed areas.
Tips for safely moving heavy furniture: Use furniture sliders or ask for help to prevent injuries. Take care to avoid scratching floors or damaging walls during the process.
Step 2: Take Down Wall Décor and Hardware
- Remove all curtains, blinds, and rods from windows. Take down pictures, mirrors, and other wall décor.
- Unscrew outlet covers, light switch plates, and any other hardware attached to the walls. Store these items in labeled bags for easy reinstallation later.
- Check for nails, hooks, or other protrusions on the walls and carefully remove them to prepare for patching.
Step 3: Clean the Walls Thoroughly
- Use a soft sponge and a mixture of mild detergent and water to clean the walls. Focus on areas with visible grease, dust, or stains, especially near windows, doors, and high-touch areas.
- For stubborn spots, use a degreaser or specialized wall cleaner.
- Rinse the walls with clean water to remove soap residue, and allow them to dry completely before moving to the next step. A damp wall can affect paint adhesion and lead to uneven results.
Step 4: Repair Cracks and Holes
- Inspect the walls for cracks, nail holes, or other imperfections. Use spackle or a patching compound to fill these areas. Apply with a putty knife, ensuring a smooth, even finish.
- Once the filler is dry, sand the repaired areas with fine-grit sandpaper until they blend seamlessly with the rest of the wall.
- This step ensures that your painted walls will look flawless and professional.
Step 5: Tape Off Areas
- Apply painter’s tape along the edges of trim, baseboards, door frames, and windows to achieve clean, crisp lines.
- Press the tape firmly to prevent paint from bleeding underneath. For curved areas or corners, use flexible painter’s tape to maintain precision.
- Painter’s tape also works well for temporarily protecting hardware or surfaces that cannot be removed.
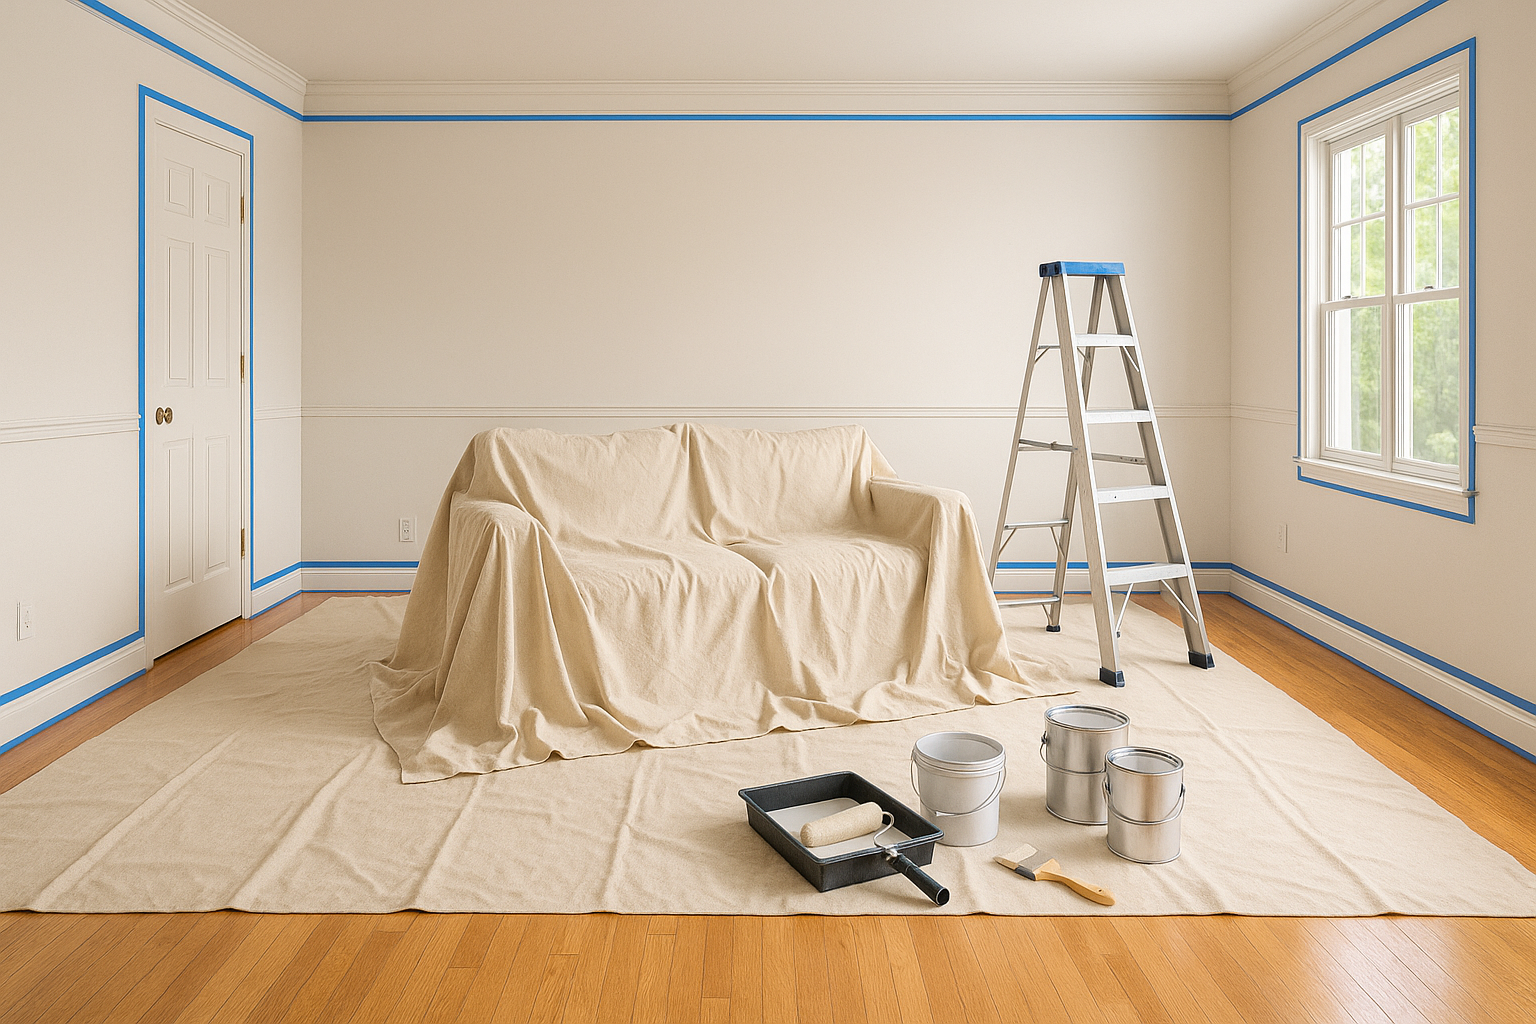
Step 6: Protect Floors and Surfaces
- Lay drop cloths across the entire floor to shield it from paint splatters and spills.
- Canvas drop cloths: Durable and reusable, ideal for larger projects.
- Plastic sheets: Lightweight and cost-effective for smaller areas.
- Use painter’s tape to secure the drop cloth edges to ensure full coverage.
- Cover vents, light fixtures, and ceiling fans with plastic or specialized covers to prevent dust or paint from settling on them.
Preparing Different Room Types
Each type of room comes with its unique challenges when preparing for painting. Tailoring your preparation process to the specific room ensures a smooth painting experience and long-lasting results.
Kitchens
- Dealing with Grease and Food Stains
Kitchens are prone to grease splatters and sticky residues, especially near cooking areas. Use a degreaser or a mixture of warm water and dish soap to clean the walls thoroughly. Pay special attention to areas behind stoves and countertops, as grease buildup can prevent paint from adhering properly.
Bathrooms
- Handling Mold and Humidity-Prone Areas
Bathrooms often have mold, mildew, or water stains due to high humidity. Use a mold-killing cleaner to treat these areas before painting. Ensure walls are completely dry and consider using a dehumidifier to reduce moisture levels. For added protection, opt for mold-resistant primer or paint.
Bedrooms and Living Rooms
- Addressing Large Wall Spaces and Delicate Surfaces
Bedrooms and living rooms typically feature larger wall surfaces and may include delicate features like textured finishes or intricate moldings. Clean walls thoroughly, and take extra care when taping around trim and moldings to protect decorative elements. Use a steady ladder for higher walls or vaulted ceilings.
Pre-Painting Final Checks
Before you start painting, performing a few final checks ensures everything is in order for a smooth and efficient process.
Confirm Surface Preparation
- Inspect the walls and surfaces to ensure they are smooth, clean, and dust-free.
- Run your hand over patched areas to confirm they are flush with the rest of the wall. Sand any rough spots if necessary.
Recheck Protective Coverings
- Verify that all drop cloths are securely in place, covering floors, furniture, and any exposed areas.
- Check the painter’s tape around edges, trim, and windows to ensure it is firmly adhered. Replace any loose or peeling tape to prevent paint from bleeding.
Double-Check Tools and Supplies
- Make sure all your tools are ready and within reach, including brushes, rollers, trays, and paint cans.
- Confirm that you have enough paint for the entire room and that your brushes and rollers are appropriate for the type of paint and surface.
- Keep a damp cloth or cleaning wipes nearby for quick cleanup of any accidental spills.
By preparing each room type appropriately and conducting these final checks, you’ll ensure a streamlined painting process with professional-quality results. Proper preparation eliminates surprises and sets the stage for a successful project.
Expert Tips for Efficient Room Preparation
Even with a well-planned process, there are ways to save time and achieve better results when preparing a room for painting. These expert tips will help you streamline your work and ensure a flawless finish.
Save Time Without Skipping Steps
- Streamlining the Process for Efficiency
- Work systematically by focusing on one section of the room at a time to avoid feeling overwhelmed.
- Prep tools and materials ahead of time and keep them organized for quick access.
- Combine steps where possible, such as taping off edges immediately after cleaning walls.
Tricks for Perfect Edges
- Mastering Painter’s Tape Application
- Ensure surfaces are clean and dry before applying painter’s tape to prevent it from peeling off.
- Use a putty knife to press down the edges of the tape, creating a seal that stops paint from seeping underneath.
- Remove the tape at a 45-degree angle while the paint is still slightly wet for the cleanest lines.
Dealing with Unexpected Challenges
- How to Fix Missed Imperfections Quickly
- Keep spackle and a small sanding block on hand to address any missed cracks or holes before painting.
- Use quick-drying patching products to minimize delays.
- For dust or grease spots noticed late, wipe them down with a damp cloth and let them dry completely before continuing.
Cleaning Up Before You Paint
Cleaning up and organizing before you start painting not only saves time but also creates a safe, efficient workspace.
Organizing Tools for Easy Access
- Gather all your tools and supplies in one place, preferably in a tray or toolbox that’s easy to move around.
- Arrange items like brushes, rollers, tape, and drop cloths in the order you’ll need them to avoid unnecessary backtracking.
Safely Disposing of Waste Materials
- Dispose of cleaning water, used sponges, and debris responsibly. Avoid pouring dirty water down sinks to prevent clogs—use an outdoor drain or a bucket.
- Place paint-stained rags or disposable drop cloths in a designated trash bag to keep the area tidy.
Preparing the Space for Painting Day
- Clear your pathway to ensure you can move freely while painting, reducing the risk of accidents or spills.
- Double-check that all protective coverings, like drop cloths and taped edges, are secure.
- Keep windows open or turn on fans to ventilate the room and create a comfortable work environment.
By following these expert tips and cleanup practices, you’ll be fully prepared to start painting with confidence and efficiency. Proper organization and attention to detail make the entire process smoother and more enjoyable.
Conclusion: Why Preparation Sets the Stage for Success
Proper preparation is the cornerstone of a flawless and efficient painting process. By dedicating time to protect your furniture, clean your walls, and gather the right tools, you minimize the risk of complications and set yourself up for success. A well-prepared room not only makes painting easier but also ensures a professional-looking finish that you’ll enjoy for years to come.
Investing effort upfront in preparation saves time and prevents headaches down the line. Whether it’s taping edges with precision, repairing wall imperfections, or ensuring your tools are ready, these steps are key to achieving the best results. Remember, the quality of your preparation directly impacts the outcome of your project.
FAQs
- How far in advance should I prepare a room for painting?
Ideally, start preparation at least a day before painting. This allows time for cleaning, repairs, and ensuring surfaces are completely dry. - What’s the best way to protect furniture during painting?
Move furniture out of the room if possible. For large items, cover them with durable drop cloths secured with tape to ensure full protection from paint splatters. - Is wall cleaning always necessary before painting?
Yes, cleaning walls removes dust, grease, and debris, which ensures better paint adhesion and a smoother finish. - How do I remove painter’s tape without peeling the paint?
Remove the tape at a 45-degree angle while the paint is still slightly wet. If the paint has dried, use a utility knife to score the edges before peeling. - Can I prepare multiple rooms at the same time?
Yes, but focus on one task at a time (e.g., cleaning all walls or taping edges) across rooms to stay organized and avoid missing steps.