Cabinet Painting in Vancouver: Cost, Timeline, and Finish Options
Want a kitchen refresh without the renovation chaos? This guide breaks down realistic Vancouver pricing, what the timeline actually looks like (including curing), and which finishes hold up best in busy kitchens—so you can plan confidently and avoid “too-good-to-be-true” quotes.

Quick answers (for busy homeowners)
- Typical professional cost in Vancouver: most kitchens fall between $2,600–$7,500+ depending on door count, prep, and finish method123.
- Typical on-site timeline: many kitchens are completed in about 3–7 business days, with bigger or detail-heavy kitchens taking longer4.
- Durability reality: your cabinets may be “back in service” within about a week for some enamels5, but many coatings continue to harden (cure) for weeks—treat gently at first6.
- Best all-around finish: a sprayed enamel usually gives the smoothest, most “factory-like” look, but requires heavier prep and masking7.
Jump to what you need
- Cabinet painting cost in Vancouver (realistic ranges)
- What drives cabinet painting price up or down
- Timeline: quote → prep → paint → reinstall → curing
- Finish options: sprayed vs brushed, sheen, and topcoats
- How to choose the right finish for your household
- The prep checklist + questions to ask any painter
- DIY vs professional cabinet painting (when each makes sense)
- FAQ
- References
Cabinet painting cost in Vancouver (realistic ranges)
Cabinet painting prices in Vancouver can look confusing because different companies quote different ways (per door, per linear foot, or as a full project). The most useful way to compare is to anchor the price to your door + drawer count and the finish method.
| Kitchen size (rule of thumb) | Typical door/drawer count | Realistic Vancouver price range | What’s usually included |
|---|---|---|---|
| Small (condo / compact) | 15–20 pieces | $1,900 – $3,50012 | Cleaning, sanding, prime, 2 finish coats, reinstall; limited repairs/hardware swaps. |
| Medium (typical family kitchen) | 25–35 pieces | $2,600 – $7,50012 | More masking + more labor time; spraying doors often becomes worthwhile for a smoother finish. |
| Large / custom (lots of doors, panels, islands) | 40+ pieces | $4,300 – $8,000+13 | Extra detailing, larger spray runs, more drying space, and more time for reassembly/adjustments. |
Cabinet painting is labor-heavy—prep, sanding, masking, and controlled finishing take time. Even base wage data for painters in the Vancouver area shows a meaningful hourly range8, and professional quotes also cover insurance, equipment, containment, admin, and the higher-failure-risk nature of cabinet coatings (compared to walls).
If you want a deeper breakdown by budget bands (including “what you can realistically get for under $3k”), see our dedicated guide on kitchen cabinet painting cost in Vancouver.
Get a cabinet-painting quote that’s built on real prep (not guesswork)
We’ll assess door condition, existing finish, layout, and the best finish route (spray vs brush) — then give you a clear, written quote and timeline.
What drives cabinet painting price up or down
Two kitchens with the same number of doors can have very different quotes. Here’s what moves the needle the most—and what to check before you compare estimates. (For a deeper dive, see cabinet painting price factors.)
1) Door style + detail level
Flat slab doors are faster to prep and finish. Shaker doors add edges and inner panels. Raised-panel and ornate profiles take longer because every groove needs proper sanding, priming, and consistent film build.
2) What’s on your cabinets right now
Cabinets may be raw wood, stained/varnished, painted, thermofoil, laminate, or MDF. Some finishes need specific bonding primers and extra prep. Manufacturers’ product data sheets typically stress thorough surface cleaning and deglossing/sanding for best adhesion9.
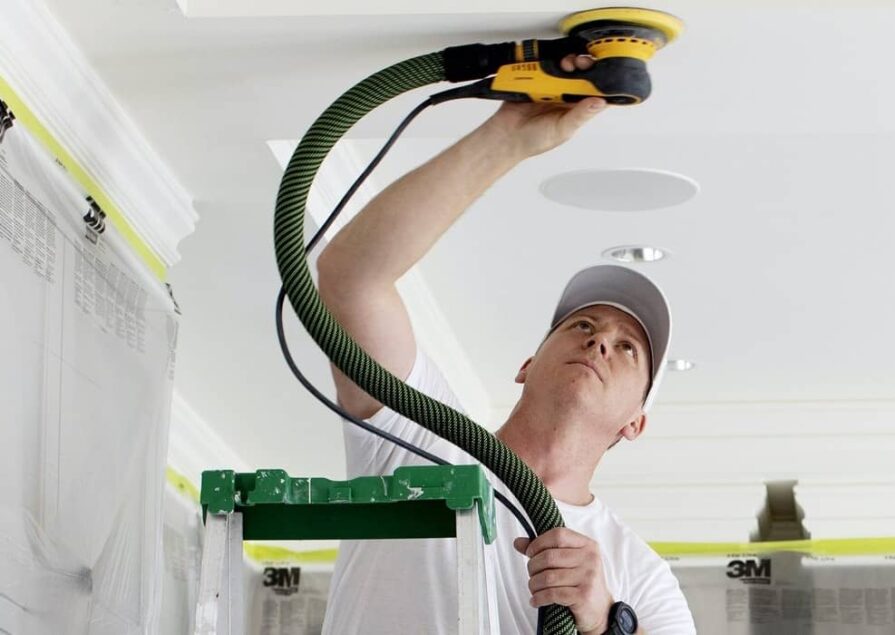
3) Spray finish vs brush/roll finish
Spraying can produce the smoothest, most “factory-like” look, but it usually requires more prep to protect nearby surfaces and control overspray. Brush/roller application can be simpler to set up, but tends to show more texture and can take longer for a comparable finish7.
4) Repairs + upgrades (the sneaky line items)
Common add-ons include hinge adjustments, filling old hardware holes, replacing hinges/handles, repairing swollen MDF edges, and re-caulking gaps. Hardware swaps can be a big “value per dollar” upgrade—especially if you’re keeping existing counters.
Cabinet painting is typically the least disruptive option when your cabinet boxes are solid. Refacing (new doors/veneers) is more expensive than painting but still often less than full replacement, and full replacement usually involves a longer remodel timeline and more trades10. If you’re weighing ROI and disruption, see cabinet painting vs replacing cabinets.
5) The “quote quality” factor: what’s actually included
When a quote is dramatically cheaper, it’s usually because the scope is lighter (minimal sanding, weak bonding primer, fewer coats, no door removal, or rushed drying time). Cabinet coatings behave differently than wall paint; the finish must resist frequent cleaning and daily contact, so cutting prep corners can shorten service life11.
Timeline: quote → prep → paint → reinstall → curing
Most homeowners think “cabinet painting” is just the painting days. In reality, the best results come from a clean sequence: prep, controlled finishing, careful reinstall, and a realistic curing plan. Many professional projects are completed in roughly 3–7 business days depending on kitchen size and complexity4.
| Phase | What happens | Typical duration | What you can do to help |
|---|---|---|---|
| On-site assessment + quote | Door count, existing finish, repairs, finish plan (spray/brush), scheduling. | Same day (often) | Have a shortlist of colors + sheen preferences ready. |
| Prep + containment | Degrease, label doors/drawers, remove hardware, sand/degloss, mask kitchen thoroughly. | 1–3 days | Empty lower cabinets; clear counters; plan a simple meal setup elsewhere. |
| Prime | Bonding primer (especially important for glossy finishes/laminates), then scuff/sand as needed. | 0.5–1 day | Keep pets/kids away from the work zone. |
| Finish coats | 2 finish coats (sprayed or brushed/rolled), allowing proper dry and recoat windows. | 1–3 days | Ventilate when possible; drying is affected by temp/humidity9. |
| Reinstall + adjustments | Rehang doors, adjust hinges, reinstall hardware, final detail + cleanup. | 0.5–1 day | Confirm hinge style/spacing if you’re changing hardware. |
| Curing (hardening) | Finish continues to harden—avoid harsh cleaners and “sticking pressure” early on. | ~7–21+ days | Use gentle handling; avoid slamming doors; don’t hang damp towels. |
“Dry to touch” is not “fully cured.” For example, some cabinet-friendly enamels list recoat windows and a “return to service” timeline around a week5, while many water-based finishes continue to cure and harden for significantly longer—often measured in weeks6. If you want the most practical do/don’t list during curing, see how long cabinet paint takes to cure.
Finish options: sprayed vs brushed, sheen, and topcoats
Option A: Sprayed enamel (smoothest “factory-like” finish)
A sprayed enamel is often the best choice if you want the cleanest, most uniform look. Many pros prefer spraying for efficiency and finish quality, but it requires more masking/containment and careful cleanup to manage overspray7.
In many occupied homes and condos, it’s common to spray doors/drawers in a controlled environment (shop/booth) and finish the cabinet boxes on-site. This reduces disruption, helps manage overspray, and supports a more consistent finish.
Option B: Brush/roller application (great when simplicity matters)
Brush/roller finishing can be a strong choice when access is tight, masking is difficult, or you prefer a hand-finished look. The tradeoff is that it can show more texture and can take longer to achieve a near-sprayed appearance7.
Option C: High-performance water-based finishes (shop-grade durability)
For homeowners who want maximum durability, some finishing systems (often used in professional shops) cure over weeks and are built for wear. For example, General Finishes notes that water-based finishes can cure/harden for full use after 21 days in ideal conditions6. (Not every home project needs a shop-grade system—but it’s useful context when you’re comparing “standard enamel” to premium approaches.)
Sheen selection (what looks best and cleans easiest)
For most kitchens, satin or semi-gloss hits the sweet spot: it’s easier to wipe clean than flat finishes and doesn’t highlight imperfections as aggressively as high gloss. Many cabinet-targeted products are commonly offered in satin, semi-gloss, and gloss sheens12.
Look for a cabinet-appropriate enamel with strong leveling and “blocking resistance” (so doors don’t stick). Some cabinet-friendly products also publish low-VOC values (e.g., under 50 g/L) alongside dry and recoat windows59. For an in-depth durability + finish breakdown, see best paint for kitchen cabinets.
How to choose the right finish for your household
The “best” cabinet finish depends on how your kitchen is used—kids, pets, cooking frequency, and how picky you are about a perfectly smooth look. Use this quick decision guide:
Pick a finish based on your priorities
- You want the smoothest look possible: prioritize a sprayed enamel finish plan (and confirm containment/masking details)7.
- Your kitchen is used hard every day: ask what coating system is used, how long it should be treated gently, and what “cure plan” you should follow6.
- You’re sensitive to odors/fumes: ask for low-VOC options and ventilation planning; many products publish VOC and application guidance59.
- You’re trying to refresh the whole kitchen look: coordinate cabinet color with walls/trim—our kitchen painting guide can help you avoid clashing undertones.
- You’re still comparing contractors: start with quality signals (prep steps, door handling, written scope, warranty) and browse our top painters in Vancouver rankings.
Planning to stay in your home during the project? Ask your painter how they’ll stage the work so you can still use the kitchen safely (masking, drying zones, and clean end-of-day procedures).
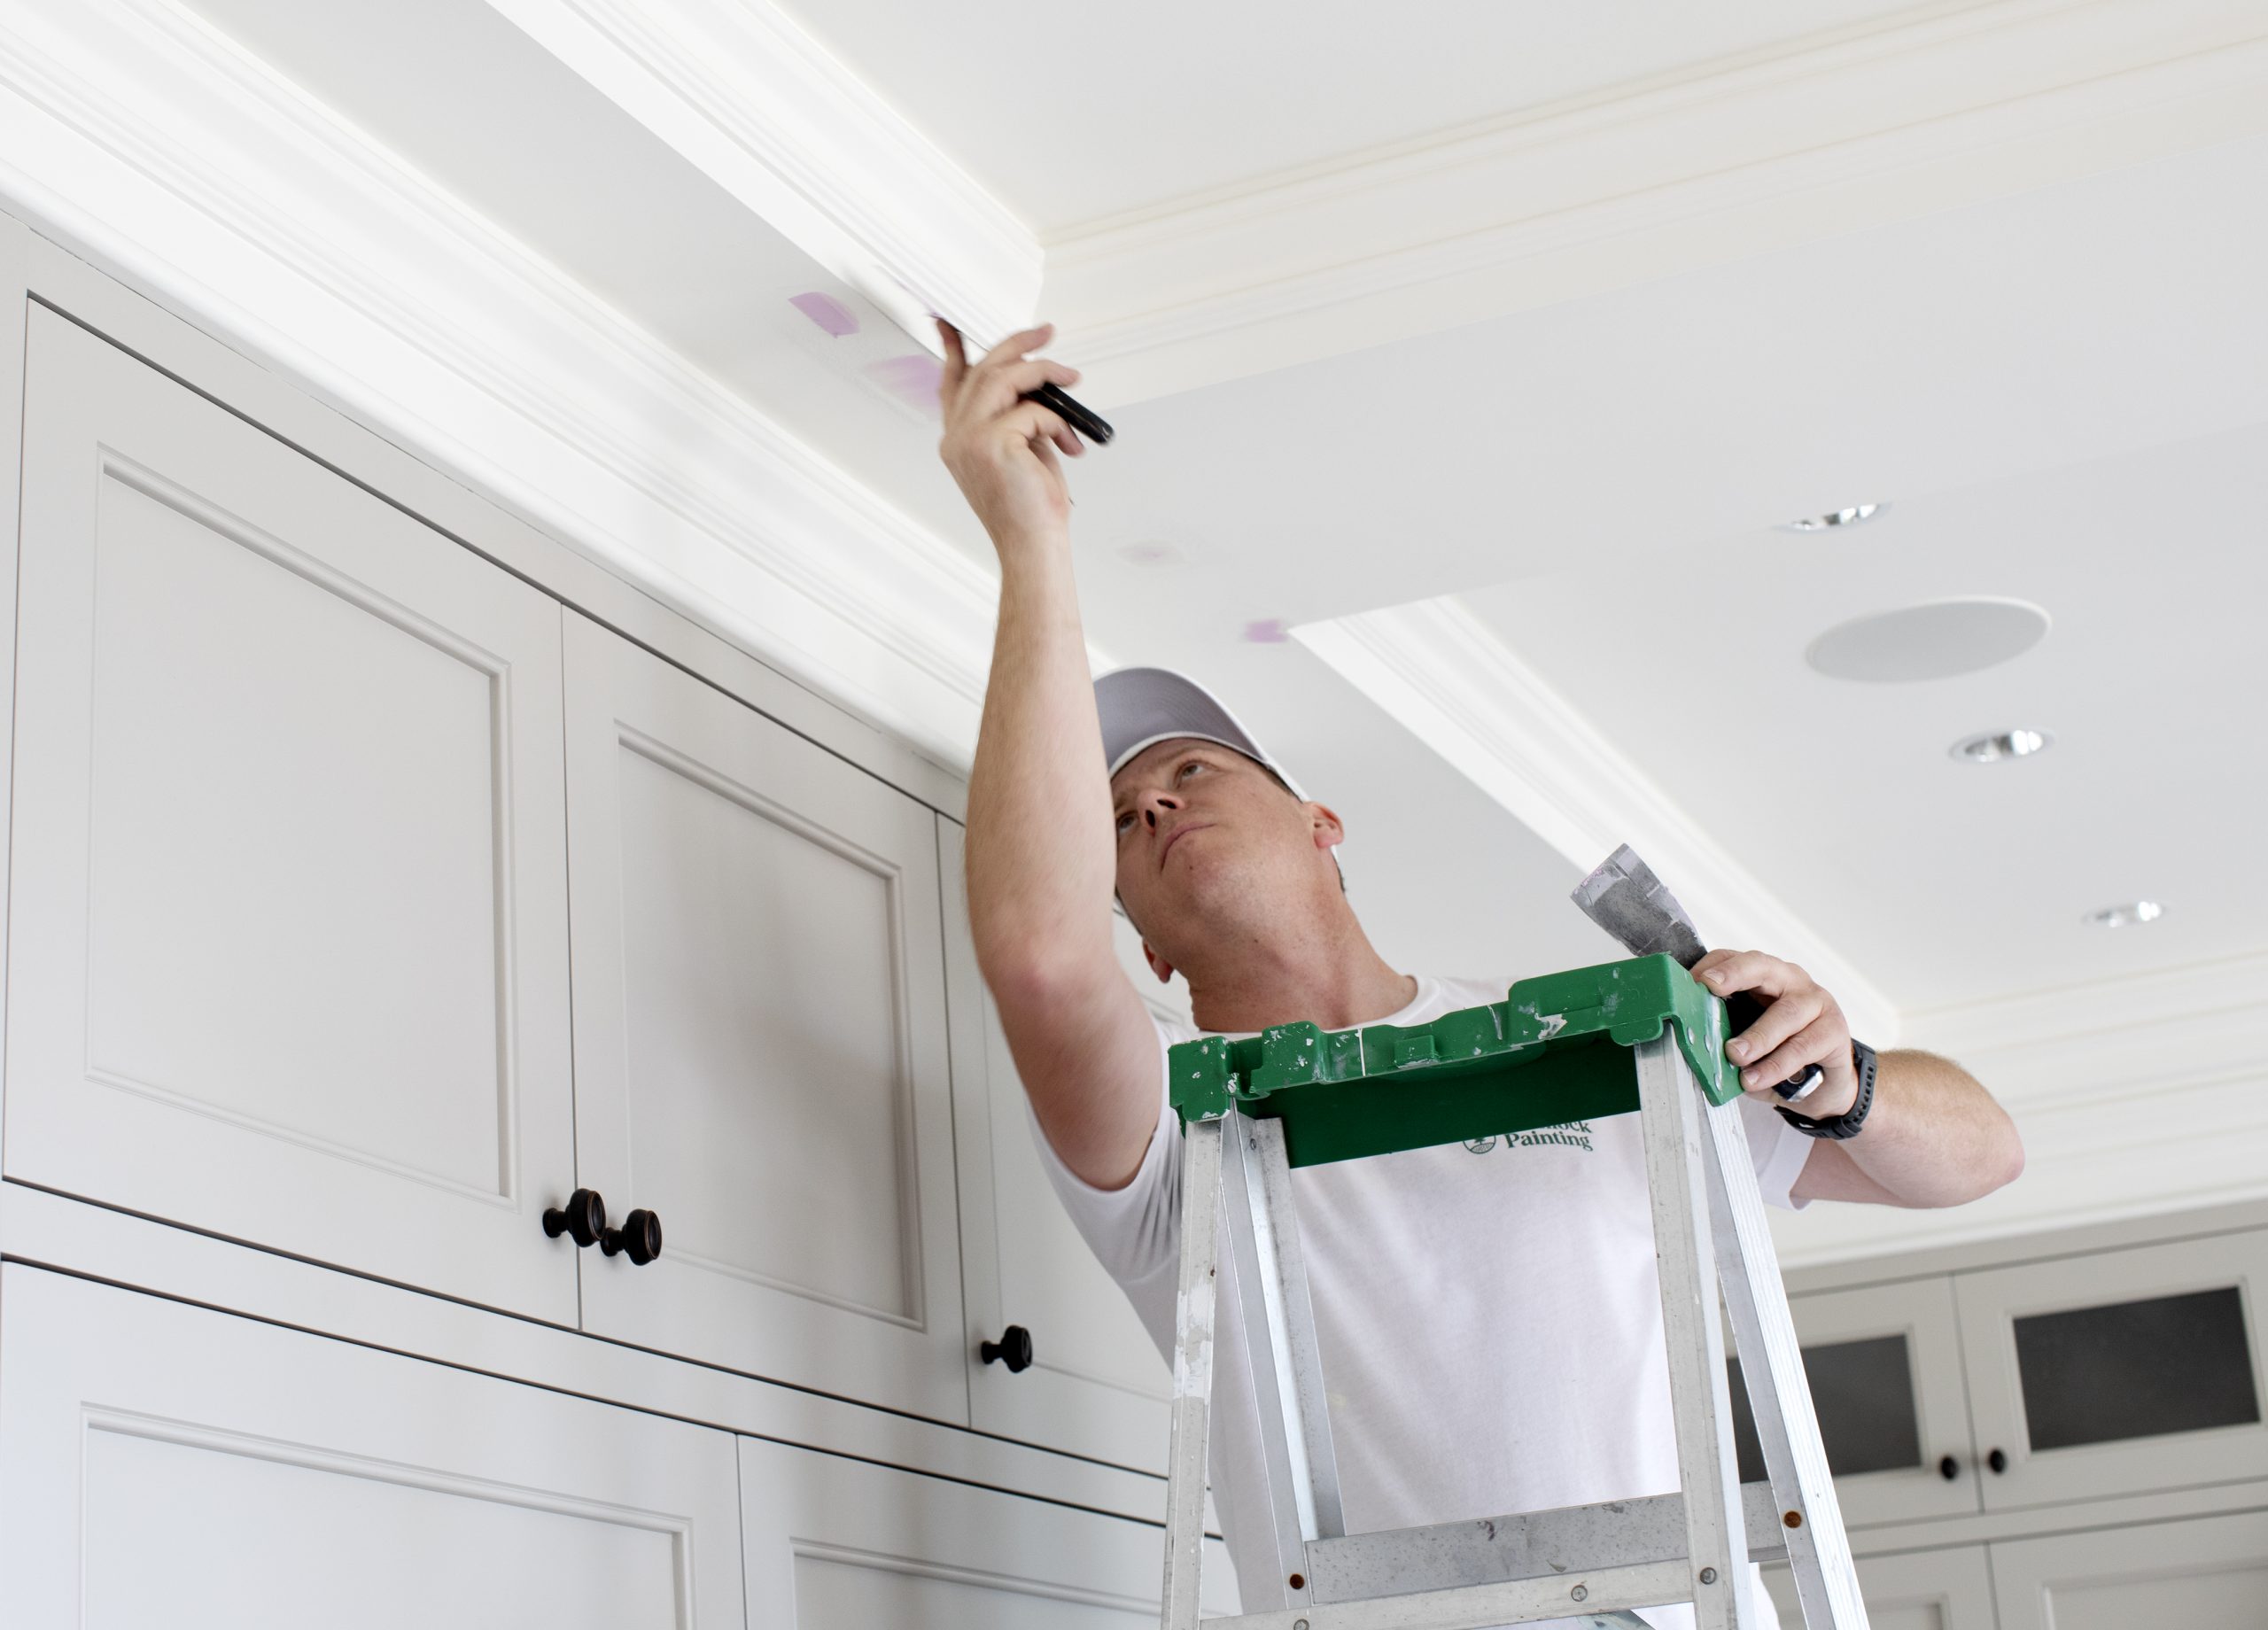
The prep checklist + questions to ask any cabinet painter
Great cabinet painting is mostly prep—and a clear scope. Use this to compare quotes apples-to-apples and protect yourself from fast-and-cheap shortcuts.
Questions worth asking (and why they matter)
- Are doors/drawers removed, labeled, and finished separately? This usually improves finish quality and reinstall accuracy.
- What cleaning/degreasing process is used before sanding? Product guidance commonly calls for removing contamination and deglossing/sanding for adhesion9.
- What primer is used, and why? Bonding primers are critical on glossy or previously finished surfaces.
- Spray or brush/roll—what’s your plan for this kitchen? Spraying can produce a more uniform finish but requires more prep and containment7.
- How many finish coats, and what are dry/recoat windows? Coating data sheets provide drying guidance and note that conditions affect dry/recoat times9.
- What’s the “curing” guidance after reinstall? Many finishes continue hardening for weeks—this affects early handling and cleaning6.
- Is a written scope included? A clear scope reduces change-order surprises and protects both sides.
Many Vancouver homeowners choose pros who can deliver clear scheduling, careful protection, and straightforward communication—plus essentials like WorkSafeBC coverage and a written workmanship warranty13. If you’re in the city, you can also view our broader service area at Vancouver painting services.
DIY vs professional cabinet painting (when each makes sense)
DIY can work—especially for small kitchens and simple doors—if you’re willing to invest serious time in prep and accept a longer project window. Professional cabinet painting typically costs more upfront, but can dramatically reduce disruption and increase finish consistency.
DIY is a decent fit if…
- You have a small kitchen, simple door profiles, and time to prep properly.
- You can handle extended drying/curing logistics (your kitchen may feel “in progress” for a while).
- You’re comfortable troubleshooting adhesion risks on glossy finishes.
Professional is a better fit if…
- You want a smoother finish (often achieved with spraying and controlled setup)7.
- You need a predictable schedule and clean containment in an occupied home.
- You have laminate/thermofoil/previous coatings that require the right primer and process.
Want a step-by-step DIY walkthrough? See how to paint kitchen cabinets like a pro.
Ready for cabinets that look new—without a full renovation?
Get a clear, written cabinet-painting scope, a realistic timeline, and guidance on finish options that suit your kitchen’s daily wear.
Related deep-dives: doors, hardware, spraying vs brushing, cabinet paint curing do/don’t, and durability + finish guide.
FAQ: Cabinet painting in Vancouver
How long do I need to avoid cleaning newly painted cabinets?
Avoid harsh cleaners early on. Many finishes continue hardening for weeks; one manufacturer notes water-based finishes can take about 21 days to cure fully in ideal conditions6. Your painter should give you a specific care plan based on the coating system used.
Is spraying always better than brushing?
Spraying is often preferred for a smoother, more uniform finish, but it requires more prep and containment. Brushing/rolling is simpler to set up but can show more texture and can be more time-consuming for a comparable look7.
What’s the fastest timeline I should trust?
Many professional jobs can be completed in about 3–7 business days depending on size and prep needs4. Extremely short timelines can be a red flag if they imply minimal prep or rushed dry/recoat windows.
Can I paint laminate or thermofoil cabinets?
Sometimes, yes—if the correct prep and bonding primer are used. Surface contamination removal and sanding/deglossing are commonly emphasized for adhesion in product guidance9. A professional assessment is recommended because failure risk is higher on slick surfaces.
Is cabinet painting worth it compared to replacing cabinets?
If your cabinet boxes are structurally sound, painting can be a cost-effective refresh compared with refacing or full replacement. Industry guides often place painting at a lower cost band than refacing and replacement10. See cabinet painting vs replacing cabinets for ROI and decision cues.
References
- Grade A Painters (Vancouver) — “Cost of Kitchen Cabinet Painting and Refinishing” (price ranges by door/drawer count and per-piece pricing). Source
- Even Better Painting (Vancouver) — “Cabinet Painting” pricing ranges (small/medium/large kitchens). Source
- CabinetsRefinishing.ca — Canada city cost ranges (includes Vancouver estimate band). Source
- Ottawa Cabinet Painting — FAQ timeline examples (small to medium often 3–5 business days; larger can be longer). Source
- Benjamin Moore (Canada) — ADVANCE product info including “Return to Service (Days): 7”, recoat window, and VOC range. Source
- General Finishes — Enduro Clear Poly “Cure Time” guidance (water-based finishes cure/harden for full use after 21 days in ideal conditions). Source
- Better Homes & Gardens — “Spraying vs. Brush-Painting Cabinets” (pros/cons and finish quality considerations). Source
- Government of Canada Job Bank — Painter wages near Vancouver / Lower Mainland–Southwest (prevailing wage ranges). Source
- Sherwin-Williams — Emerald Urethane Trim Enamel PDS (dry/recoat times; notes that times depend on conditions; surface prep guidance and VOC). Source
- The Spruce — Cabinet refacing cost context and comparisons (painting vs refacing vs replacement). Source
- The Spruce — Cost drivers and labor share (general cabinet painting cost factors). Source
- Sherwin-Williams — Emerald Urethane Trim Enamel (available sheens and product positioning for cabinets/trim). Source
- Hemlock Painting — Location page FAQ (warranty, WorkSafeBC coverage, estimate process, contact phone). Source