Using a paint roller seems straightforward, right? You dip it in paint, roll it on the wall, and voilà, you’re done. But if you’ve ever ended up with streaks, uneven patches, or splatters everywhere, you know it’s not that simple. The key to a professional paint finish is mastering the technique of using a paint roller. With the right tools and some handy tips, you can achieve a flawless finish that will make your walls look like they were painted by a pro.
In this guide, we’ll cover everything you need to know about using paint rollers effectively. From choosing the right roller to advanced techniques for a perfect finish, we’ve got you covered. So, let’s dive in and transform your painting projects!
Choosing the Right Paint Roller
Types of Paint Rollers
Choosing the right paint roller is the first step to a smooth paint job. Different rollers are designed for different surfaces and paints, so picking the right one is crucial.
- Foam Rollers: Great for smooth surfaces like doors and cabinets. They provide a super-smooth finish but aren’t ideal for rough surfaces.
- Nap Rollers: These are the most common type and come in various nap lengths. They work well on a variety of surfaces, from smooth to rough.
- Specialty Rollers: Designed for specific textures or effects. For instance, textured rollers can create a stucco look on walls.
For most indoor wall painting, a nap roller is your best bet. But what’s a nap, you ask?
Selecting the Correct Nap Length
The nap length of a roller refers to the thickness of the roller cover. Here’s a quick guide:
- Short Nap (1/4″ – 3/8″): Best for smooth surfaces like plaster or drywall. It provides a thin, even layer of paint.
- Medium Nap (1/2″ – 3/4″): Ideal for semi-smooth surfaces like lightly textured walls. It holds more paint and covers minor imperfections.
- Long Nap (1″ – 1 1/4″): Perfect for rough surfaces like brick or stucco. It holds a lot of paint and can get into the nooks and crannies.
Choosing the right nap length depends on the texture of your surface. A smooth wall needs a short nap, while a rougher surface requires a longer nap to ensure even coverage.
Matching Rollers with Paint Type
Not all rollers are created equal when it comes to different types of paint. Here’s what you need to know:
- Oil-Based Paint: Foam rollers work well with oil-based paints for a smooth finish. However, nap rollers can also be used for larger areas.
- Water-Based Paint: Nap rollers are generally preferred for water-based paints. They hold the paint well and provide even coverage.
- Specialty Paints: For textured or metallic paints, use specialty rollers designed for those specific finishes to achieve the best results.
Remember, the type of paint and surface you’re working with will determine the best roller to use.
Preparing for Painting
Surface Preparation
Before you even think about opening that can of paint, you need to prep your surface. Proper preparation is the secret sauce to a flawless finish.
- Cleaning the Surface: Dust, dirt, and grease can prevent paint from adhering properly. Clean the walls with a mild detergent solution, rinse with clean water, and let them dry completely.
- Repairing Imperfections: Fill in any holes or cracks with spackle or a suitable filler. Sand the surface smooth once it’s dry. For larger repairs, consider using a joint compound.
Key Takeaway: A clean, smooth surface is essential for a professional-looking paint job.
Assembling the Paint Roller
Assembling your paint roller correctly can save you a lot of headaches later. Here’s how to do it:
- Attaching the Roller Cover: Slide the roller cover onto the roller frame. Make sure it’s snug and doesn’t wobble.
- Ensuring a Secure Fit: Check that the roller cover is firmly attached. A loose roller can lead to uneven paint application and frustration.
Pro Tip: Use high-quality roller frames and covers to avoid shedding and uneven coverage.
Setting Up Your Workspace
A well-organized workspace is crucial for efficient painting. Here are some tips:
- Protecting Floors and Furniture: Use drop cloths or plastic sheeting to cover floors and furniture. Painter’s tape can help secure the coverings and protect trim and edges.
- Organizing Tools and Materials: Keep all your painting supplies within easy reach. This includes your paint, rollers, brushes, and cleaning supplies.
Techniques for Using Paint Rollers
Loading the Roller with Paint
Properly loading your roller with paint is key to avoiding drips and achieving a smooth finish. Here’s how to do it right:
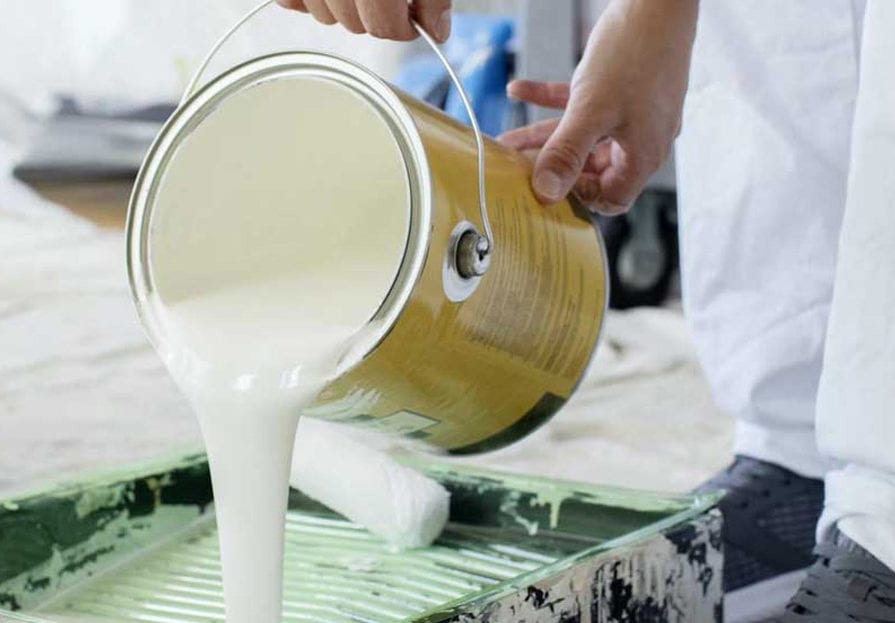
- Using a Paint Tray: Pour your paint into a paint tray. The tray should have a well for the paint and a ribbed area to load the roller evenly.
- Avoiding Overloading: Dip the roller into the paint and then roll it back and forth on the ribbed section of the tray. The goal is to evenly coat the roller without overloading it. Too much paint can lead to drips and an uneven finish.
Fun Fact: Did you know that a well-loaded roller should spin freely on the frame without dripping? Proper loading ensures a consistent application.
Applying Paint Evenly
Applying paint with a roller can be tricky. Here’s a technique that will help you get a smooth, even finish every time:
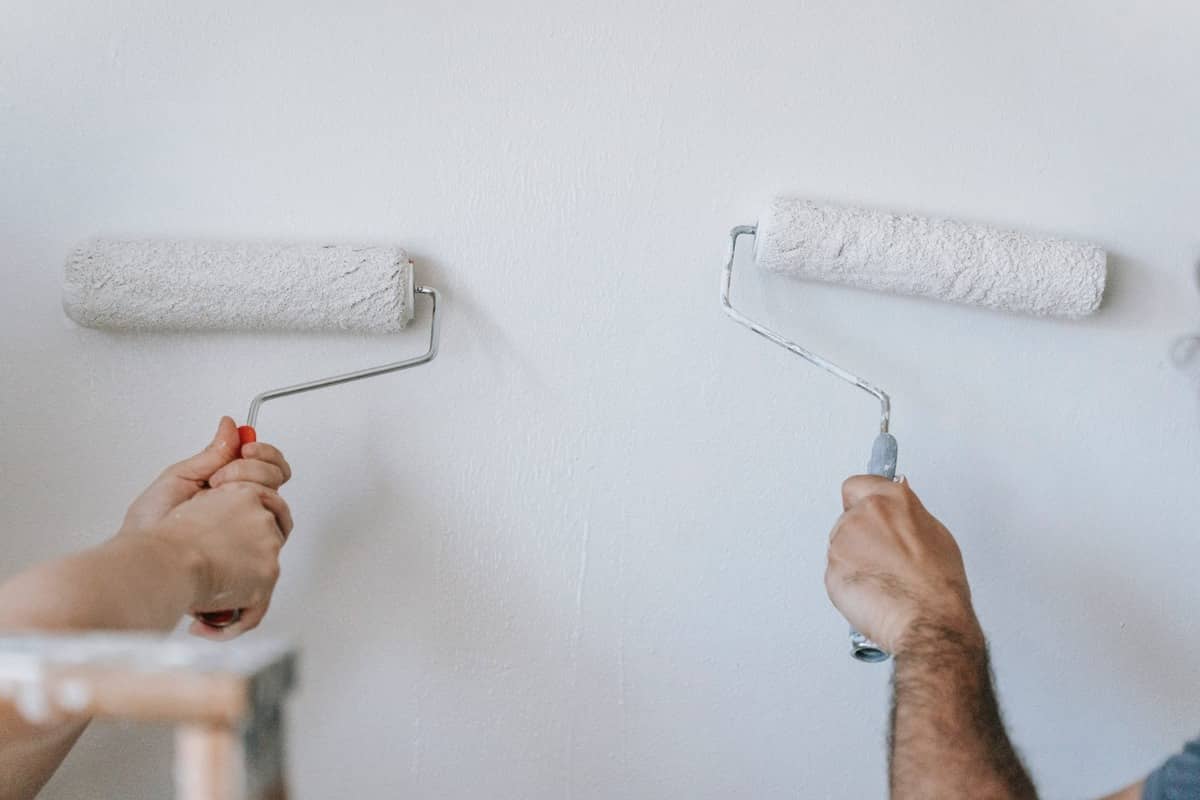
- The “W” Technique: Start by rolling a “W” shape on the wall. This distributes the paint evenly. Fill in the gaps by rolling vertically, covering the area smoothly.
- Maintaining Consistent Pressure: Apply even pressure on the roller as you paint. Too much pressure can cause streaks, while too little can lead to poor coverage.
Key Takeaway: Consistency is key. Keep a steady hand and maintain even pressure for a professional-looking finish.
Working with Edges and Corners
Edges and corners can be challenging. Here’s how to handle them like a pro:
- Using a Brush for Edges: For edges and corners, use a high-quality brush. Cut in around the edges before rolling the rest of the wall.
- Blending Roller and Brush Strokes: When you start rolling, blend the roller strokes with the brushed edges to avoid noticeable lines.
Pro Tip: Use painter’s tape to mask off areas you don’t want to paint. This ensures clean, crisp lines and makes the job look more professional.
Conclusion
By following these tips and techniques, you can use paint rollers like a pro and achieve a flawless finish on your walls. Remember, the key to a great paint job is preparation, the right tools, and proper technique.
Happy painting!
FAQs
- What is the best type of paint roller for beginners? Foam rollers are great for beginners as they provide a smooth finish and are easy to use.
- How often should I replace my paint rollers? It depends on usage, but generally, after a few uses or if the roller starts to wear out.
- Can I reuse paint rollers for different paint types? It’s best to use separate rollers for different types of paint to avoid contamination and ensure the best finish.
- What are the best cleaning solutions for paint rollers? Warm soapy water works well for water-based paints, while mineral spirits are best for oil-based paints.
- How do I prevent roller marks on my painted walls? Use the “W” technique and maintain even pressure while rolling. Avoid overloading the roller with paint.