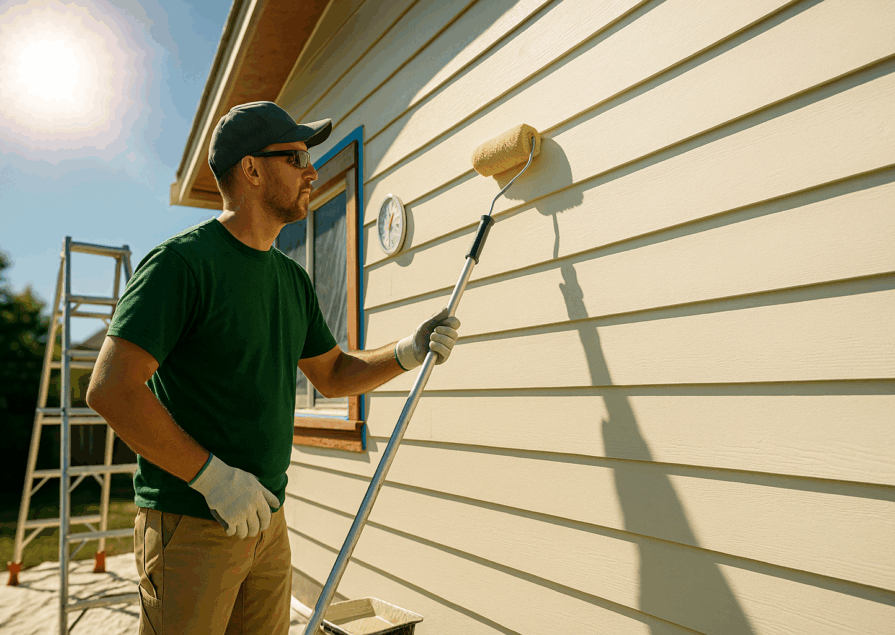
Repainting your interior walls is an essential part of home maintenance that ensures your living space remains vibrant, clean, and welcoming. Timely repainting helps to preserve the aesthetic appeal of your home, protect your walls from damage, and maintain a healthy environment. Neglecting this important task can lead to more significant problems down the line, including wall deterioration and a decrease in indoor air quality.
Benefits of Maintaining Fresh Paint
Maintaining fresh paint on your walls offers numerous benefits:
- Enhanced Aesthetic Appeal: Freshly painted walls can dramatically improve the look and feel of your home, making it more inviting and pleasant.
- Protection Against Damage: A good coat of paint acts as a barrier, protecting your walls from moisture, dirt, and daily wear and tear.
- Increased Property Value: Regularly updated interiors can boost your home’s market value and appeal to potential buyers.
- Improved Indoor Air Quality: Modern paints contain fewer volatile organic compounds (VOCs), which can enhance the air quality inside your home.
- Personal Satisfaction: A well-maintained home can provide a sense of pride and satisfaction.
Signs It’s Time to Repaint
Fading Colors
Causes and Effects
Colors can fade over time due to several factors, including exposure to sunlight, artificial light, and environmental pollutants. UV rays from the sun are the primary culprit, breaking down the chemical bonds in the paint pigments, which causes the color to lose its vibrancy. Fading can make your walls look dull and aged, diminishing the overall appearance of your home.
How to Recognize Fading
Recognizing fading is relatively straightforward:
- Compare areas of your walls that receive different amounts of light. If the colors in more exposed areas are noticeably lighter, it’s a sign of fading.
- Look for uneven patches where the paint seems washed out or lacks the depth of color it once had.
- Inspect high-traffic areas where frequent cleaning might have contributed to the fading of the paint.
Peeling or Cracking Paint
Common Reasons for Paint Deterioration
Peeling or cracking paint often indicates underlying issues such as moisture problems, poor surface preparation, or the use of low-quality paint. Moisture can seep through walls due to leaks or high humidity, causing the paint to lose its adhesion. Inadequate priming or failure to properly clean the surface before painting can also lead to peeling and cracking.
Impact on Wall Integrity
Peeling or cracking paint not only looks unsightly but can also compromise the integrity of your walls. It can expose the underlying surface to moisture, leading to further deterioration and potential structural damage. Addressing these issues promptly by repainting can help prevent more extensive repairs in the future.
Stubborn Stains and Marks
Identifying Permanent Stains
Permanent stains and marks can result from a variety of sources, including smoke, cooking splatters, and children’s activities. These stains are often resistant to regular cleaning and can mar the appearance of your walls. Common types of stains include grease, ink, and water marks, which can be difficult to remove without damaging the paint.
When Cleaning Isn’t Enough
When regular cleaning methods fail to remove stains, it may be time to repaint:
- Persistent stains that reappear after cleaning.
- Areas where the paint has become discolored or uneven due to scrubbing.
- Walls with marks that have penetrated through multiple layers of paint.
Mould and Mildew Growth
Health Hazards
Mold and mildew growth on interior walls pose significant health risks, especially for individuals with respiratory issues or allergies. Mold spores can spread through the air, triggering asthma attacks, allergic reactions, and other respiratory problems. It is crucial to address mold and mildew promptly to maintain a healthy living environment.
How to Identify and Address Mold Issues
Identifying mold and mildew involves looking for:
- Dark, discolored spots or patches on the walls.
- A musty odor, which often accompanies mold growth.
- Peeling or bubbling paint, which can indicate moisture issues.
Addressing mold and mildew requires thorough cleaning and remediation:
- Clean affected areas with a mixture of water and bleach or a commercial mold remover.
- Ensure proper ventilation and reduce humidity levels in the affected rooms.
- Once the mold is removed, repainting with mold-resistant paint can help prevent future growth.
Maintaining fresh paint on your interior walls is not just about aesthetics; it’s also about protecting your home and health. By recognizing the signs that it’s time to repaint and taking proactive steps, you can ensure your living space remains beautiful and safe.
Optimal Timing for Repainting
High-Traffic Areas
Hallways, Living Rooms, Kitchens
High-traffic areas such as hallways, living rooms, and kitchens are subject to more wear and tear compared to other parts of the house. These areas experience constant use, which can lead to scuff marks, stains, and general fading of the paint over time.
Suggested Repainting Frequency
For high-traffic areas, it’s advisable to repaint every 2-3 years. This frequency helps maintain the aesthetic appeal and ensures the paint provides adequate protection for the walls. Regular repainting keeps these spaces looking fresh and clean, enhancing the overall ambiance of your home.
Children’s Rooms and Nurseries
Safety and Aesthetic Considerations
Children’s rooms and nurseries require special attention due to the higher likelihood of damage and the need for a safe environment. Kids are often rough on walls, leading to scratches, marks, and stains. Additionally, ensuring the use of non-toxic, low-VOC paints is crucial for their health.
Recommended Repainting Intervals
It’s recommended to repaint children’s rooms and nurseries every 2-3 years. This interval not only keeps the room looking bright and welcoming but also allows you to address any damage promptly and update the decor to suit your child’s changing tastes and needs.
Commercial Spaces
Maintaining a Professional Appearance
In commercial spaces, the appearance of the interior walls plays a significant role in making a positive impression on clients and customers. Regular repainting is essential to uphold a professional and polished look, which can impact the perception of your business.
Industry-Specific Guidelines
The frequency of repainting commercial spaces can vary depending on the industry:
- Offices and Retail Spaces: Repainting every 3-5 years is generally sufficient to maintain a clean and professional appearance.
- Healthcare Facilities: These spaces may require more frequent repainting, around every 2-3 years, to ensure a sterile and welcoming environment.
- Restaurants and Cafes: Due to the high levels of traffic and potential for stains, repainting every 2-3 years is recommended to keep the space looking fresh and inviting.
Regular maintenance and timely repainting of interior walls in these areas are essential for creating a positive and lasting impression, whether at home or in a commercial setting. Keeping track of these recommended intervals can help you maintain the beauty and integrity of your walls while ensuring a pleasant and safe environment for everyone.
Choosing the Right Paint
Types of Paint Finishes
Matte, Satin, Semi-Gloss, and Gloss
Selecting the appropriate paint finish is crucial for achieving the desired look and durability for your walls. Each finish has its characteristics and is suited for different areas of the home.
- Matte: Also known as flat finish, matte paint has no shine and is excellent at hiding imperfections on walls. It’s ideal for low-traffic areas like bedrooms and ceilings but is harder to clean and may show marks more easily.
- Pros: Excellent at concealing imperfections, provides a smooth finish.
- Cons: Difficult to clean, not suitable for high-traffic areas.
- Satin: Satin finish offers a slight sheen and is more durable than matte. It’s a popular choice for areas that require regular cleaning, such as living rooms, hallways, and children’s rooms.
- Pros: Easy to clean, hides imperfections better than semi-gloss, versatile.
- Cons: Slightly more difficult to touch up, can highlight flaws on walls.
- Semi-Gloss: Semi-gloss paint has a noticeable shine and is highly durable, making it ideal for kitchens, bathrooms, and trim. It resists moisture and stains, allowing for easy cleaning.
- Pros: Very durable, easy to clean, resists moisture and stains.
- Cons: Can highlight wall imperfections, may appear too shiny for some tastes.
- Gloss: Gloss finish has the highest level of shine and durability. It’s often used for doors, cabinets, and trim but can be too reflective for large wall areas.
- Pros: Extremely durable, easy to clean, provides a sleek finish.
- Cons: Highlights imperfections, too shiny for most walls.
Selecting Paint Colors
Color Psychology and Room Function
Choosing the right color involves understanding color psychology and how different hues affect mood and perception. Consider the function of the room when selecting colors:
- Bedrooms: Soft, calming colors like blues, greens, and lavenders promote relaxation and rest.
- Living Rooms: Warm tones such as beige, light brown, and soft yellows create a welcoming and cozy atmosphere.
- Kitchens: Bright and vibrant colors like yellow and red can stimulate appetite and energy, while clean whites and neutrals provide a fresh, modern look.
- Home Offices: Cool colors like blue and green enhance focus and productivity.
Trends and Timeless Options
While trends can provide inspiration, it’s also essential to consider timeless colors that won’t quickly go out of style:
- Trends: Current trends might include bold, dark colors like navy blue or emerald green, and earthy tones like terracotta and olive green.
- Timeless Options: Neutral colors such as white, beige, and gray offer versatility and longevity, providing a backdrop that can easily adapt to changing decor styles.
Eco-Friendly Paint Options
Benefits of Low-VOC and Zero-VOC Paints
Eco-friendly paints have become increasingly popular due to their health benefits and minimal environmental impact. Low-VOC (Volatile Organic Compounds) and zero-VOC paints emit fewer pollutants, improving indoor air quality and reducing health risks associated with toxic fumes.
- Benefits:
- Improved indoor air quality
- Reduced risk of respiratory issues and allergies
- Environmentally friendly production processes
Popular Brands and Products
Several reputable brands offer eco-friendly paint options that deliver excellent performance without compromising health or the environment:
- Benjamin Moore Natura: A zero-VOC paint that is available in a wide range of colors and finishes.
- Sherwin-Williams Harmony: This paint offers enhanced air quality with odor-eliminating technology.
- Behr Premium Plus: A low-VOC paint that provides durability and a vast selection of colors.
- Farrow & Ball: Known for its eco-friendly formulations and high-quality finishes, offering both low-VOC and zero-VOC options.
Choosing the right paint involves understanding the various finishes, selecting appropriate colors for each room’s function, and considering eco-friendly options to create a healthy and beautiful living space.
Preparation for Repainting
Wall Cleaning and Repair
Steps for Thorough Cleaning
Before repainting, it’s crucial to ensure your walls are clean and free of dirt, dust, and grease. Proper cleaning helps the new paint adhere better and results in a smoother finish. Follow these steps for thorough cleaning:
- Dust the Walls: Use a microfiber cloth or a duster to remove surface dust from the walls.
- Wash the Walls: Prepare a cleaning solution with warm water and mild detergent. Use a sponge or soft cloth to wash the walls, starting from the top and working your way down. For greasy areas, such as kitchens, use a degreaser.
- Rinse and Dry: Rinse the walls with clean water to remove any soap residue, then allow them to dry completely.
Fixing Holes, Cracks, and Other Damage
Repairing any damage to the walls ensures a smooth and even surface for painting. Here’s how to address common issues:
- Fill Holes and Cracks: Use spackle or a joint compound to fill in small holes and cracks. Apply with a putty knife, smooth it out, and let it dry according to the product instructions.
- Sand the Surface: Once the filler is dry, sand the patched areas with fine-grit sandpaper until they are smooth and flush with the wall surface.
- Remove Dust: Wipe away any sanding dust with a damp cloth or tack cloth to ensure the surface is clean.
Priming the Walls
Importance of Primer
Primer is essential for preparing your walls for paint. It provides a uniform surface, improves paint adhesion, and helps cover stains and previous colors. Using primer can also extend the life of your paint job and enhance the final appearance.
Best Practices for Application
- Choose the Right Primer: Select a primer suited to your wall type and the paint you plan to use. For walls with stains or discoloration, use a stain-blocking primer.
- Apply Evenly: Use a roller for large areas and a brush for edges and corners. Apply the primer evenly, and avoid overloading the roller or brush.
- Allow Proper Drying Time: Follow the manufacturer’s instructions for drying time before applying the paint. This ensures the primer is fully cured and ready for the topcoat.
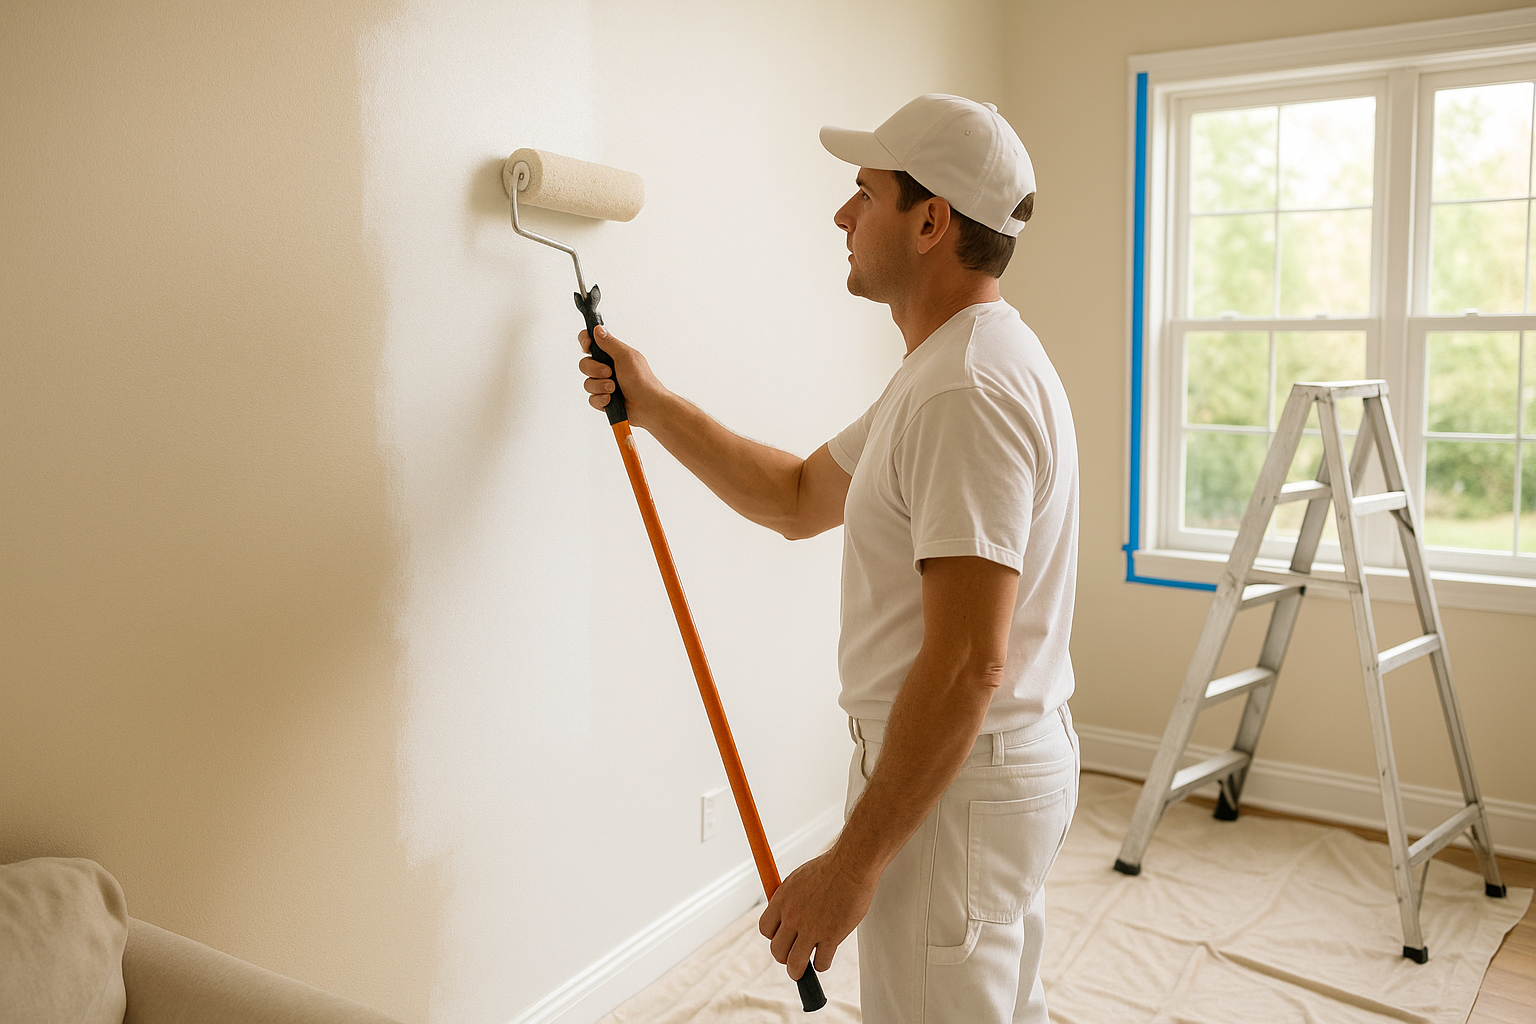
Repainting Process
Gathering Tools and Supplies
Essential Painting Tools
Having the right tools can make the painting process more efficient and result in a professional finish. Essential tools include:
- Paint rollers and covers
- Paintbrushes (various sizes)
- Paint trays and liners
- Painter’s tape
- Drop cloths or plastic sheeting
- Ladder or step stool
How to Choose Quality Supplies
Investing in quality supplies can significantly impact the outcome of your painting project:
- Paintbrushes: Look for brushes with synthetic bristles for latex paints and natural bristles for oil-based paints. Quality brushes hold paint better and provide a smoother application.
- Rollers: Choose roller covers with the appropriate nap length for your wall texture. Short nap for smooth walls, medium nap for lightly textured surfaces, and long nap for rough or textured walls.
- Tape: Use high-quality painter’s tape to achieve clean, sharp lines and prevent paint bleed.
Techniques for Smooth Application
Brush and Roller Tips
Proper technique is key to achieving a smooth and even paint finish:
- Loading the Brush: Dip the brush into the paint, covering only about a third of the bristles. Tap off excess paint rather than wiping it on the edge of the can to avoid drips.
- Rolling Technique: Load the roller evenly and use a “W” or “M” pattern to distribute the paint on the wall. Fill in the gaps with horizontal strokes, maintaining a wet edge to prevent lap marks.
Avoiding Common Mistakes
- Overlapping Paint: Avoid pressing too hard with the roller, which can cause uneven coverage and streaks. Apply light, even pressure for a smooth finish.
- Skipping Primer: Never skip priming, especially on new or repaired walls. Primer ensures better paint adhesion and a uniform finish.
- Ignoring Drying Times: Allow sufficient drying time between coats to prevent peeling or bubbling. Follow the paint manufacturer’s recommended drying times for the best results.
By following these preparation and application steps, you can achieve a professional-looking paint job that enhances the beauty and longevity of your interior walls.
Post-Painting Care and Maintenance
Drying and Curing Time
Ensuring Proper Drying
Proper drying is crucial to ensure the longevity and durability of your new paint job. Follow these steps to ensure your paint dries correctly:
- Ventilation: Keep windows open or use fans to promote air circulation, which helps the paint dry faster.
- Temperature and Humidity: Maintain a consistent temperature and low humidity level in the room. Extreme temperatures and high humidity can extend drying times.
- Touch-Free Drying: Allow the paint to dry to the touch before applying additional coats or handling the painted surfaces. This typically takes a few hours, but refer to the paint manufacturer’s recommendations.
Tips for Avoiding Damage During Curing
The curing process can take several weeks, during which the paint hardens and reaches its maximum durability. Here are some tips to avoid damage during this period:
- Avoid Heavy Cleaning: Refrain from washing the walls or using abrasive cleaners during the curing process. Lightly dusting is acceptable.
- Prevent Contact: Minimize contact with the walls by keeping furniture and decorations away until the paint is fully cured.
- Gentle Handling: If you need to move or touch items near the painted walls, do so carefully to avoid scuffing or scratching the fresh paint.
Cleaning and Maintenance Tips
Best Practices for Maintaining Painted Walls
To keep your painted walls looking fresh and clean, follow these maintenance tips:
- Regular Dusting: Use a soft cloth or a dusting tool to remove dust from the walls regularly. This prevents dirt buildup and keeps the paint looking vibrant.
- Spot Cleaning: For minor stains, use a damp cloth with mild soap and water. Gently blot the stain, avoiding vigorous scrubbing that can damage the paint.
- Protect High-Traffic Areas: Consider using washable paint in high-traffic areas for easier maintenance and increased durability.
How to Handle Minor Touch-Ups
Touching up minor imperfections can help maintain the overall appearance of your painted walls:
- Keep Extra Paint: Save some leftover paint for future touch-ups. Store it in a cool, dry place with a tight seal to prevent drying out.
- Prep the Area: Clean the area needing a touch-up to remove any dirt or grease. Lightly sand the edges of the damaged area for a smooth blend.
- Apply Paint: Use a small brush or roller to apply a thin layer of paint, feathering the edges to blend with the surrounding area. Allow it to dry completely before assessing if additional coats are needed.
Conclusion
Summary of Key Points
Repainting your interior walls can significantly enhance the aesthetic appeal and longevity of your home’s interior. Key points to remember include:
- Recognize the signs that it’s time to repaint, such as fading colors, peeling paint, stubborn stains, and mold growth.
- Understand the optimal timing for repainting different areas, including high-traffic spaces, children’s rooms, and commercial spaces.
- Choose the right paint finish and colors based on room function and personal preferences.
- Properly prepare your walls before painting by cleaning and repairing them, and always use primer.
- Follow the correct painting techniques and post-painting care to ensure a durable and attractive finish.
Encouragement to Maintain Fresh Walls for Aesthetic and Health Benefits
Maintaining freshly painted walls is not just about keeping your home looking beautiful; it’s also about ensuring a healthy and inviting environment. Regular repainting and proper care can prevent damage, improve indoor air quality, and increase your home’s value. By following these guidelines, you can enjoy the benefits of a well-maintained living space that reflects your style and provides a comfortable atmosphere for years to come.
FAQs
How often should I repaint high-traffic areas in my home?
High-traffic areas such as hallways, living rooms, and kitchens are subject to more wear and tear, requiring more frequent repainting. It’s advisable to repaint these areas every 2-3 years to maintain a fresh appearance and ensure the paint provides adequate protection against daily wear.
What type of paint finish is best for kitchens and bathrooms?
For kitchens and bathrooms, a semi-gloss or gloss finish is ideal. These finishes are highly durable, moisture-resistant, and easy to clean, making them perfect for areas prone to splashes, steam, and stains. They also help prevent mold and mildew growth due to their moisture-resistant properties.
Can I paint over moldy walls?
No, you should not paint over moldy walls. Painting over mold can trap the spores, allowing mold to continue growing beneath the paint. Instead, clean the mold with a mixture of water and bleach or a commercial mold remover, ensure the area is dry and well-ventilated, and then apply a mold-resistant primer before repainting.
How do I choose the right color for a small room?
When choosing a color for a small room, consider using lighter shades to make the space feel larger and more open. Soft neutrals, pastels, and light blues or greens can create an airy atmosphere. Additionally, consider the room’s natural light and the desired mood when selecting a color. Light-reflecting colors can enhance brightness, while warm tones can make a small space feel cozy.
What are the best tools for a beginner painter?
For a beginner painter, the following tools are essential for achieving a professional finish:
- Quality Paint Brushes: Choose synthetic bristles for latex paint and natural bristles for oil-based paint.
- Paint Rollers: Use roller covers with the appropriate nap length for your wall texture.
- Painter’s Tape: High-quality tape helps achieve clean, sharp edges.
- Drop Cloths: Protect floors and furniture from paint splatters.
- Paint Tray and Liners: Makes loading rollers easier and reduces cleanup time.
- Ladder or Step Stool: Allows you to reach high areas safely.
- Sandpaper and Putty Knife: For preparing the walls by smoothing surfaces and filling holes or cracks.
Using these tools, you can ensure a smooth and efficient painting process, even as a beginner.