You can paint vinyl windows.
The bigger question is: should you?
Painting vinyl can upgrade curb appeal, modernize dated cream frames, and tie your windows into a new exterior colour palette. But it also comes with real risks: voided warranties, warped frames, and peeling paint if you pick the wrong products or skip a step.
This guide walks you through:
- What can go wrong
- What actually works
- The exact process to follow if you decide to go ahead
Before You Paint: Risks & Considerations
Painting vinyl is one of those projects that looks simple and can go sideways fast if you ignore how vinyl behaves.
1. Warranties and manufacturer rules
Most vinyl window manufacturers clearly state that painting the exterior frames can void the warranty, especially if you:
- Use dark colours
- Use non-approved paint types
- Paint moving parts or weatherstripping
If your windows are still under warranty, check the booklet or the label on the frame. Some manufacturers even publish lists of approved colours or paints that keep your warranty valid.
Key takeaway: If protecting your warranty matters, confirm the rules before you open a paint can.
2. Heat absorption and warping
Vinyl is plastic. Plastic moves with heat. Dark colours soak up sunlight and can push the material beyond what it was designed to handle.
That can mean:
- Frames that warp or bow
- Seals that lose contact and start leaking air or water
- Sashes that stick or refuse to lock smoothly
To reduce the risk, stick to:
- Light colours
- Shades similar to or lighter than the original frame colour
- Colours labelled as vinyl-safe or for vinyl/PVC
Fun fact: Dark grey and black windows you see on new builds are usually coloured in the factory, not painted after the fact. The vinyl itself is engineered to handle that heat, which is different from painting over standard white vinyl.
3. Paint adhesion and compatibility
Vinyl is smooth and slightly flexible. Regular wall paint will usually:
- Peel
- Chip
- Crack with seasonal expansion and contraction
To avoid that, you need:
- A PVC bonding primer designed for vinyl
- A vinyl-safe topcoat (often 100% acrylic exterior paint or a specialty vinyl paint)
Skipping bonding primer or using the wrong paint is the fastest way to end up scraping flaking paint off tiny window profiles in six months.
Tools & Materials You’ll Need
Here is a quick kit list to do the job right.
| Item | What to Look For | Why It Matters |
| Cleaning solution | Warm water + vinegar (about 1:1 mix) | Degreases and removes grime so paint sticks |
| 220-grit sandpaper | Fine, for light scuffing | Helps primer grip the vinyl |
| PVC bonding primer | Specifically labelled for vinyl/PVC | Ensures long-term adhesion |
| Vinyl-safe paint | Exterior, light colour, 100% acrylic or vinyl-approved | Flexes with vinyl and resists peeling |
| Painter’s tape | Good-quality, clean-release | Protects glass and trim edges |
| Plastic sheeting | Light drop sheets | Shields siding, flooring, furniture |
| Small brushes & mini rollers | Angled sash brush, foam or microfiber roller | Gets into narrow profiles cleanly |
| Safety gear | Gloves, mask if spraying, safety glasses | Protects you from dust and fumes |
Key takeaway: The primer and paint type are not optional details – they are the difference between a 5-year finish and a 5-week finish.
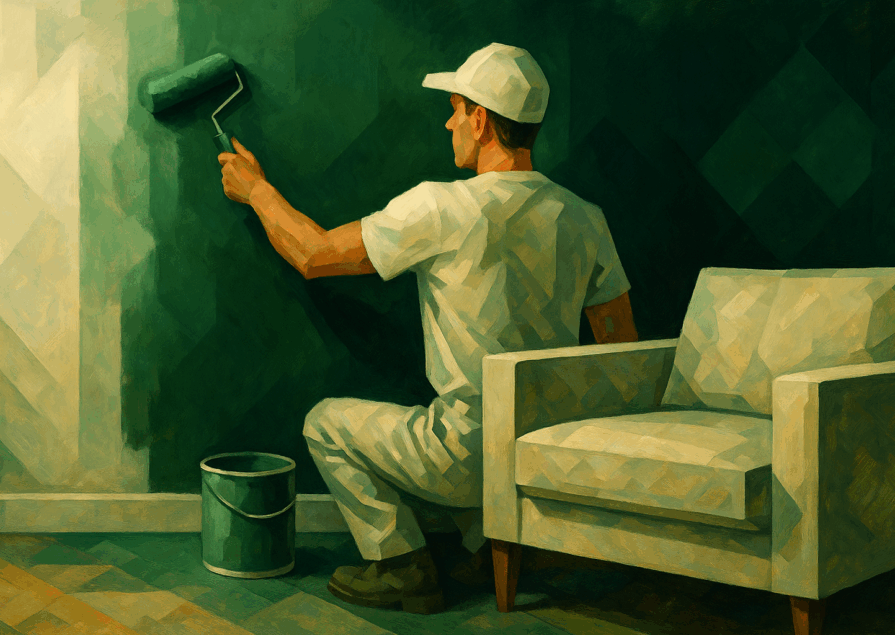
Step-by-Step: How to Paint Vinyl Windows
Follow these steps in order. Rushing the prep is where almost all the problems start.
1. Deep Clean the Vinyl
Goal: Remove dust, oils, chalking, and residue so the primer can actually bond.
- Mix warm water and vinegar in a bucket (around 1:1 is fine).
- Use a soft cloth or non-scratch sponge to scrub all vinyl surfaces you plan to paint:
- Frames
- Sashes
- Mullions and small profiles
- Pay special attention to:
- Greasy fingerprints around latches
- Outdoor pollution and dust on exterior frames
- Rinse with clean water and wipe dry.
Then:
- Let everything dry for at least 24 hours so moisture is fully gone from seams and corners.
Pro move: While everything is drying, take photos of how hardware and pieces fit together. If you remove anything, bag and label it.
2. Lightly Sand for Better Adhesion
You are not trying to reshape the frame. You simply want to dull the sheen.
- Use 220-grit sandpaper or a fine sanding sponge.
- Lightly scuff all surfaces you will paint:
- Use gentle, even pressure
- Avoid digging into corners or soft spots
- Wipe away dust with a damp microfibre cloth and let dry again.
You should see a slightly matte surface, not deep scratches.
Key takeaway: If the vinyl still feels glossy and slippery, your paint is more likely to peel.
3. Mask What You Do Not Want Painted
This is where your future self will thank you.
Mask:
- Glass panes (tight line along the frame)
- Weatherstripping and gaskets
- Tracks and sliding channels
- Adjacent siding, brick, or interior wall surfaces
Use:
- Painter’s tape on hard surfaces
- Plastic sheeting to cover larger areas like nearby walls or floors
Important:Do not paint rubber gaskets or weatherstripping. Painted gaskets can stick, tear, or stop sealing properly.
4. Prime with a PVC Bonding Primer
Primer is what makes your paint part of the vinyl instead of just sitting on top.
- Stir the PVC bonding primer thoroughly.
- Use a good angled sash brush for tight areas and a mini roller for larger flat sections.
- Apply a thin, even coat:
- Avoid heavy build-up in corners
- Watch for drips along vertical edges
- Follow the manufacturer’s recommended dry time before painting – often a few hours.
If you see any shiny spots you missed:
- Lightly scuff them again
- Touch up with primer
Key takeaway: A thin, well-bonded primer layer is better than a thick, gloopy one. You can always add paint – you cannot fix a saggy primer coat easily.
5. Paint with Vinyl-Safe, Light Colours
This is where your colour choice really matters.
Pick the right paint
Look for:
- Exterior 100% acrylic paint labelled as suitable for vinyl
- Or a specialty vinyl/PVC paint
- In light to medium-light colours (think off-white, light greys, soft taupes)
Avoid:
- Very dark colours like black, deep charcoal, or navy on standard vinyl
- Cheap interior paints that do not flex outdoors
Apply 2–3 thin coats
- Stir the paint well.
- Apply the first coat in thin, smooth passes:
- Work from top to bottom
- Keep a wet edge so you do not get lap marks
- Let it dry as long as the can recommends. Do not rush this.
- Apply second coat, again thin and even.
- If coverage is still uneven or you are changing from white to a deeper colour, apply a third coat.
Fun fact: Thin coats cure harder and last longer than one heavy coat. Heavy coats can skin over on top while staying soft underneath, which makes chipping more likely.
6. Remove Tape and Let the Paint Cure
Timing matters here.
- Remove painter’s tape while the final coat is still slightly tacky:
- Pull it back on itself at a 45-degree angle
- This helps you avoid tearing off dried paint along the edge
Then let the paint cure:
- Surface dry and fully cured are not the same
- Follow the paint can, but expect:
- Touch dry in a few hours
- Light use after a couple of days
- Full cure in about 7–30 days, depending on product and conditions
During curing:
- Avoid slamming windows
- Avoid sticking tape or anything adhesive on the fresh finish
- Gently open and close to prevent sticking, but do not force any tight spots
Key takeaway: The finish reaches its true hardness after curing, not on day one. Baby your windows for the first couple of weeks.
Pro Tips for a Better, Longer-Lasting Finish
Use these to avoid the most common headaches.
- Work in the shade, not full sun. Hot surfaces make primer and paint flash dry, which can lead to brush marks and poor adhesion.
- Aim for moderate temperatures. Mild, dry weather is ideal – avoid days that are very hot, very cold, or extremely humid.
- Label hardware and parts. If you remove sashes or handles, put screws and pieces in labelled bags.
- Avoid painting gaskets and weatherstripping. If it flexes, compresses, or seals, keep paint off it.
- Do a test patch first. Paint one small, inconspicuous area and let it go through a few days of sun before committing.
- Keep the colour similar. Going from white to slightly warmer white is safer than jumping to deep charcoal on standard vinyl.
- Clean gently in the future. Use mild soap and water, not harsh cleaners or abrasives, to extend the life of the finish.
Key takeaway: The safer your prep and colour choice, the less likely you are to see warping, peeling, or warranty drama.
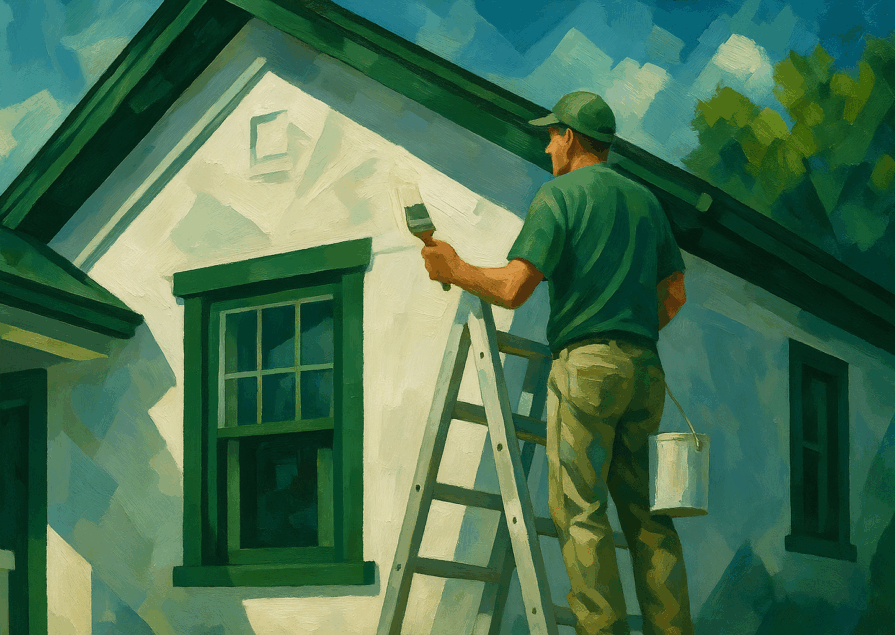
Should You Paint Interior and Exterior Vinyl?
You can paint:
- Interior vinyl frames with less risk of heat-related warping
- Exterior vinyl frames with more risk, especially in full sun
If you want the look of black or deep charcoal windows but worry about warping:
- Consider dark on the inside only (interior frames)
- Keep lighter colours outside where the sun hits hardest
Alternatives to Painting Vinyl Windows
If preserving the warranty or avoiding any risk of warping is a priority, you still have options.
1. Vinyl wraps
Vinyl wraps are like a sticker, but engineered for exteriors.
- Professionally installed, they can:
- Change the colour of your frames
- Be removed or replaced later
- Some window manufacturers allow certain wraps without voiding warranties – always confirm first.
Pros:
- Reversible
- Clean, factory-like finish
- Very detailed colour control
Cons:
- Usually a professional job
- Can peel if poorly installed or if low-quality film is used
Fun fact: Many “black windows” you see in remodels are actually wrapped, not painted.
2. Replacement windows
If your vinyl windows are already:
- Failing
- Drafty
- Near the end of their expected lifespan
Then replacing them with new windows in your ideal factory colour may be the smarter investment.
You get:
- Full warranty
- Energy efficiency upgrade
- Built-in colour that is engineered for sun exposure
3. Work with trim and accents instead
If you do not want to touch the vinyl at all, you can still upgrade the look.
Ideas:
- Paint surrounding trim in a bold, contrasting colour
- Add shutters or exterior details that pull focus
- Change door colour, siding accents, or garage door colour to create a cohesive palette around your existing vinyl colour
Sometimes the vinyl becomes a neutral background, not the star of the show, and that alone can modernize the whole façade.
Quick FAQ
Q: Can I use spray paint on vinyl windows?
A: Only if it is specifically formulated for vinyl or plastic and is labelled for exterior use. Even then, you still need proper cleaning and a bonding primer. General purpose spray paint usually fails quickly on vinyl.
Q: Can I paint just the inside of my vinyl windows?
A: Yes, interior painting is typically less risky, since there is less intense sun exposure. Still use a bonding primer and vinyl-safe paint, and avoid painting gaskets and moving parts.
Q: How long will painted vinyl windows last?
A: With proper prep, quality primer, vinyl-safe paint, and light colours, you can often get several years of solid performance. Harsh climates, dark colours, or poor prep can cut that lifespan down dramatically.
Q: Will the paint make my windows hard to open?
A: It can if you paint tracks, channels, or seals. Mask moving parts carefully, use thin coats, and gently operate the windows as the paint cures so edges do not glue together.
Bottom Line
Yes, you can paint vinyl windows.
If you choose to do it:
- Use vinyl-safe products
- Stick with light colours
- Follow the prep steps carefully
- Respect warranty rules
If that sounds like more risk than reward, explore vinyl wraps, replacement windows, or surrounding trim and accent colours instead.
Either way, the goal is the same: windows that look intentional, modern, and like they belong with the rest of your home – without creating a future headache for you or your wallet.