Prep, priming and paint done right Painting a deck is not just about making it look pretty. Done well, it:
- Protects the wood from UV, rain, and snow
- Makes the surface easier to clean
- Hides old stains and mismatched boards
- Adds serious curb appeal
So why paint a deck instead of stain it?
- Paint sits on top of the wood. It creates a film that can completely change the colour and hide flaws.
- Stain soaks into the wood. It highlights the grain and looks more natural.
Paint is great when:
- The deck is older and blotchy
- You want a bold, solid colour
- You are fine with a more “finished floor” look
Stain is great when:
- The wood is in good shape
- You love the look of natural grain
- You want a softer, more rustic vibe
Key takeaway: If your deck is tired, mismatched, or already painted, paint is often the smarter, longer-lasting choice than trying to go back to stain. Let’s walk through the process step by step so your paint job actually lasts longer than one Canadian winter.
Step 1 – Inspect and Prepare the Deck
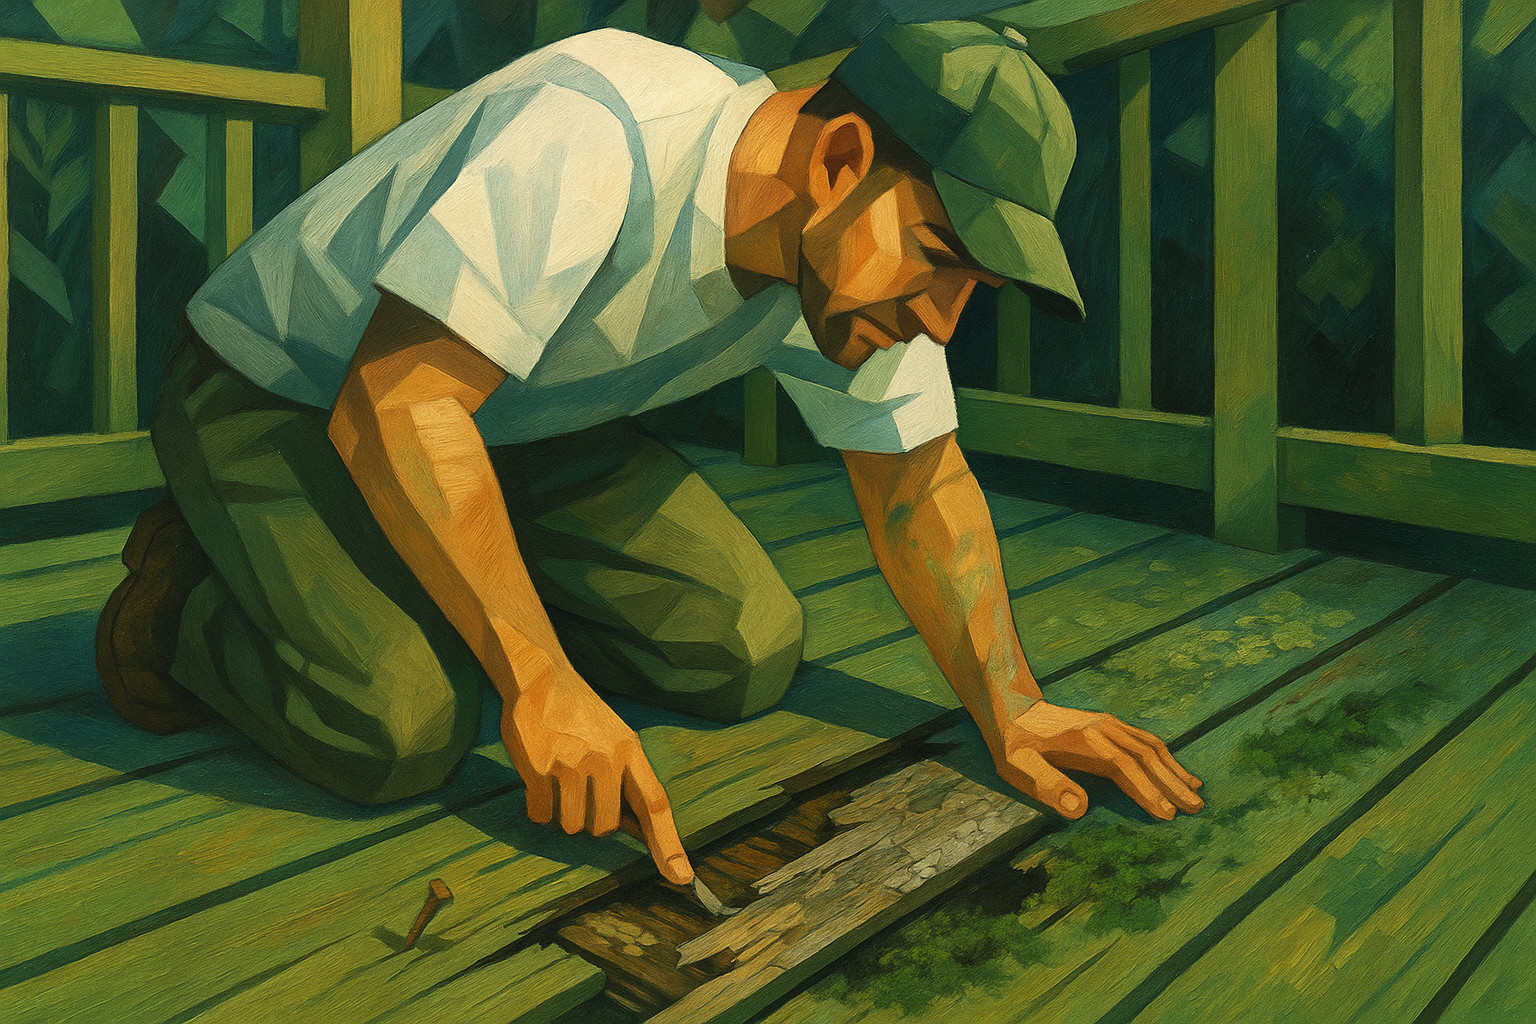
Before you grab a paintbrush, you need to know what you are working with.
Quick inspection checklist
Walk the deck and look for:
- Rotten or spongy boards
- Loose or protruding nails and screws
- Flaking or peeling old paint
- Grey, weathered wood that looks fuzzy or splintered
- Green or black growth (mould, mildew, algae)
If you paint over these problems, they do not disappear. They get worse under the paint.
Step 2 – Cleaning the Deck
Paint sticks to clean surfaces. Not to dust, pollen, sunscreen, barbecue grease, or last summer’s spills.
Tools and supplies
- Stiff-bristle deck brush or scrub broom
- Garden hose with spray nozzle (or pressure washer on gentle setting)
- Deck cleaner (oxygenated deck cleaner or exterior wood cleaner)
- Bucket, rubber gloves, safety glasses
Cleaning process
- Clear and sweep. Remove all furniture, planters, and mats. Sweep thoroughly to get rid of loose debris.
- Pre-rinse. Rinse the deck with water to dampen the surface. This helps the cleaner work more evenly.
- Mix the deck cleaner. Follow the label directions. Do not wing the dilution ratio.
- Apply the cleaner. Pour or spray the cleaner on the boards. Work in manageable sections.
- Scrub. Use a stiff brush to scrub with the grain of the wood. Pay extra attention to traffic paths and greasy areas near grills.
- Rinse thoroughly. Rinse until the water runs clear. Cleaner residue can interfere with adhesion.
- Let it dry completely. Allow at least 24 hours of dry weather. For humid or cool conditions, aim for 48 hours.
Pro tip:Key takeaway: Paint over damp wood and you are almost guaranteeing peeling. If in doubt, wait an extra day.
Step 3 – Repairing and Sanding
Now that the deck is clean and dry, fix what is broken and smooth what is rough.
Repairs
- Replace rotten boards. If you can push a screwdriver in easily or the board feels spongy, it has to go.
- Secure loose fasteners. Drive in protruding nails or replace them with exterior deck screws. Countersink slightly so metal is not sitting proud of the surface.
- Fill small defects (if needed). Use an exterior-grade wood filler for small gouges and nail holes you want to hide. Let it dry and sand it smooth.
Sanding
You do not have to sand every millimetre down to bare wood, but you do need to remove:
- Loose or peeling paint
- Splinters and fuzz
- Shiny, glossy patches
Recommended grits
- 80 grit – for rough areas and flaking paint
- 100 – 120 grit – to smooth surfaces after the heavier sanding
Use:
- A random-orbit sander for large flat areas
- A sanding sponge for edges, railings, and tight spots
When you are done:
- Vacuum thoroughly. Use a shop vac to grab dust from cracks and between boards.
- Wipe with a damp (not wet) cloth. This picks up fine dust that the vacuum missed.
Safety note:Fun fact: Even a short sanding session can create fine dust that irritates lungs and eyes. A basic dust mask and safety glasses cost far less than a trip to the clinic.
Step 4 – Priming for Adhesion and Stain Blocking
Primer is the quiet hero in a long-lasting deck finish. Skipping primer often leads to:
- Tannin bleed-through from woods like cedar
- Yellow or brown stains showing up under light colours
- Poor adhesion and early peeling
When you must prime
You should definitely prime if:
- There is bare wood showing
- You are changing from dark to light colours
- The deck has stains or knots
- You are painting previously uncoated wood
What kind of primer?
Look for:
- Exterior acrylic or alkyd primer rated for decks or horizontal wood
- Stain-blocking properties for cedar, redwood, or knotty pine
- Mildew-resistant additives for damp or shaded decks
How to apply primer
- Stir well. Do not shake the can. Stir from the bottom up.
- Cut in edges. Use a 50 – 65 mm angled sash brush along edges, posts, and between boards.
- Roll the larger areas. Use a 9″ roller with a 9.5 – 12.5 mm nap. Apply a thin, even coat.
- Back-brush. After rolling, drag a brush lightly with the grain to work primer into cracks and end grain.
- Let it dry fully. Follow the can, but plan on several hours before painting.
Key takeaway: Primer is your insurance policy. It helps the paint grip, keeps stains from bleeding through, and extends the life of the finish.
Step 5 – Choosing the Right Paint and Tools
This is where a lot of budget paint jobs go wrong. The wrong product on a deck will fail fast.
What to look for in deck paint
Pick a high-quality exterior deck or porch paint that offers:
- 100% acrylic formula for flexibility and durability
- UV resistance to handle summer sun
- Moisture resistance for rain, snow, and freeze-thaw cycles
- Scuff and abrasion resistance for foot traffic
- Non-slip additive or a built-in textured finish
You can usually:
- Buy paint that already has texture, or
- Add a non-slip additive to your chosen paint at the store
Sheen
For decks, a low-sheen or satin finish usually works best:
- Hides imperfections better than gloss
- Offers enough sheen to clean easily
- Avoids the ice-rink look when wet
Tools checklist
- 9″ roller frame and tray
- 9.5 – 12.5 mm roller covers for rough surfaces
- Extension pole (saves your back)
- Angled sash brush for cutting in
- Small brush for tight corners and spindles
- Painter’s tape for siding and trim
- Non-slip additive (if needed)
Fun fact:Fun fact: Cheap brushes and rollers shed fibres into your paint. Those little hairs you pick out with your fingernail – they usually come from bargain tools.
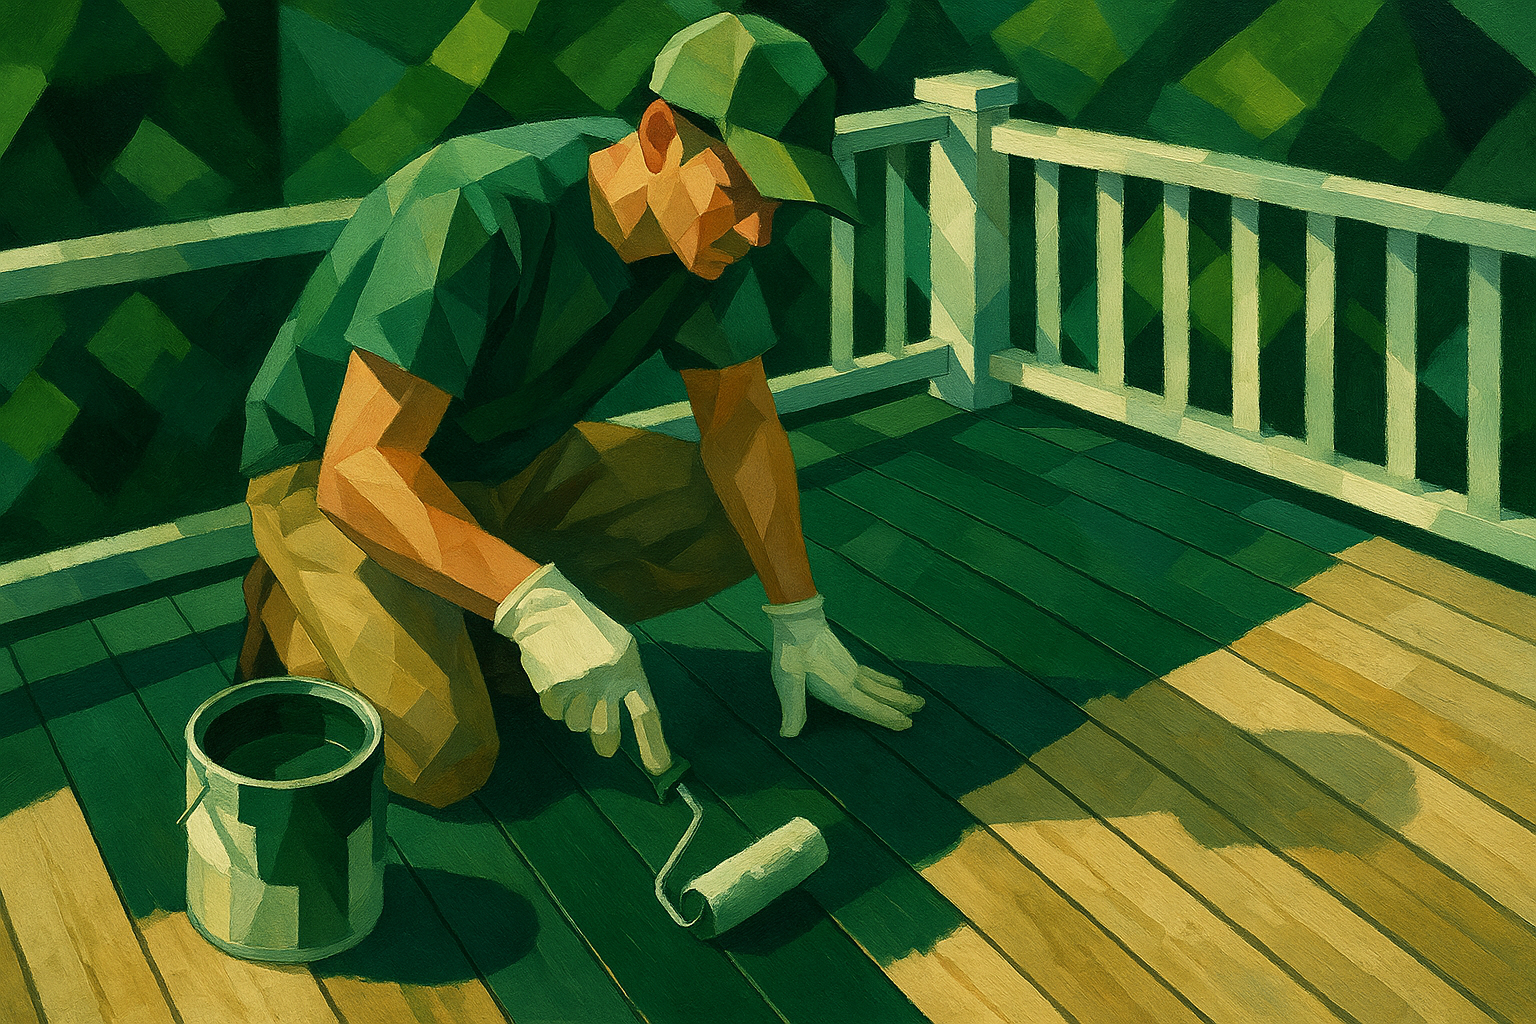
Step 6 – Painting Process
Conditions matter just as much as technique.
Ideal painting conditions
- Temperature: About 10°C to 30°C
- No rain in the forecast for at least 24 hours
- Deck surface is cool to the touch
- Paint in shade or indirect light when possible
Hot surfaces cause paint to dry too quickly and can ruin adhesion.
Step 6.1 – Railings and Edges First
Work from the top down so you are not leaning over fresh paint on the deck boards.
- Start with posts, railings, and balusters. Use a brush for control and coverage.
- Watch for drips. Check underneath the rail and along the edges for sags. Brush them out right away.
- Paint fascia boards and outside edges. This frames the deck and makes the final board painting easier.
Key takeaway: Always paint the elements you lean on, lean over, or bump into before you paint the floor you stand on.
Step 6.2 – Painting the Deck Boards
Now for the main surface.
Plan your exit
You do not want to paint yourself into a corner. Literally.
- Start at the furthest point from the stairs or door.
- Work toward your exit.
Technique for deck boards
- Cut in along the house and edges. Use a brush to paint 5 – 8 cm in from the siding or walls.
- Work in small sections. Paint 2 – 3 boards at a time, from end to end. This helps you maintain a wet edge.
- Roll, then back-brush.
- Use a roller to lay down paint.
- Use a brush to work paint into cracks and between boards.
- Apply thin, even coats. Thick coats dry on top and stay soft underneath. Thin coats bond better.
- Let the first coat dry fully. Follow the product’s recoat time. Do not rush it.
- Apply the second coat. Same process – keep coats thin and even.
- Consider a third coat for softwoods. For pressure-treated pine, cedar, or other softwoods, a third thin coat on high-traffic paths can extend the life of the finish.
Drying and curing
- Light foot traffic: often after 24 hours (check the can).
- Heavy furniture and planters: wait several days.
- Full cure: can take up to 30 days.
Key takeaway: The paint may feel dry, but it is not fully cured right away. Be gentle with it. No dragging furniture, and no heavy planters for the first while.
Painting vs Staining – Which Is Better?
Here is a quick side-by-side comparison.
| Feature | Painting | Staining |
| Look | Solid colour, hides grain and defects | Shows grain, more natural appearance |
| Colour options | Almost unlimited | More limited, mostly wood tones |
| Coverage | Excellent for old, mismatched boards | Best on newer or better-condition wood |
| Maintenance style | Can peel or chip when it fails | Usually fades and wears gradually |
| Recoating | Often needs scraping and spot-priming | Usually just cleaning and re-staining |
| Traction | Can be textured with non-slip additives | Depends on product – often good |
| Heat retention | Dark paint can feel hotter under bare feet | Semi-transparent stain often feels cooler |
| Grain visibility | Hidden | Visible |
So which should you choose?
- If your deck is old, patched, or already painted – painting is usually best.
- If your deck is newer, attractive wood and you like the natural look – stain may be the winner.
Popular quote:“Paint hides. Stain shows.” Use that as your gut-check when you are deciding which route feels right for your deck.
Maintenance – Making the Finish Last
A painted deck is not a one-and-done project. A little regular care can add years to its life.
Routine cleaning
Do this at least once a season:
- Sweep regularly to remove dirt and leaves.
- Rinse with a garden hose.
- Spot-clean spills (grease, sunscreen, drinks) as soon as you can.
For a deeper clean:
- Use a mild deck cleaner and a soft brush.
- Avoid harsh pressure washing close to the surface. It can damage the paint film and fibres.
Seasonal checks
In spring and fall:
- Look for peeling or flaking in high-traffic areas.
- Check horizontal surfaces that hold water longer – stair treads, board ends.
- Touch up small bare patches before winter or before peak summer sun.
Protect high-wear areas
- Use outdoor rugs or mats (breathable, not solid rubber) at doors and traffic paths.
- Add felt or plastic pads to furniture feet.
- In winter, use a plastic shovel and avoid chopping ice with metal edges.
Key takeaway: Small, fast touch-ups stop little chips from becoming big peeling patches. A few minutes each season beats a full redo every couple of years.
Final Thoughts
You do not need to be a pro painter to get pro-level, long-lasting results on your deck. You just need to:
- Clean thoroughly.
- Repair and sand intelligently.
- Prime where it counts.
- Choose quality paint and tools.
- Paint in the right conditions with thin, even coats.
- Maintain the finish with simple, regular care.
Follow those steps and your deck will not just look freshly painted – it will stay that way through sun, rain, and a few Canadian winters.