You spot it. That crusty smear of paint on your beautiful hardwood. Not cute.
The good news: you can remove dried paint from hardwood floors without sanding the entire thing down. The trick is to identify the paint type, start gentle, and protect the finish first, remove the paint second.
Let’s walk through it step by step.
Why Identifying Paint Type Matters
Before you reach for whatever cleaner is under the sink, pause.
Different paints react to different products:
- Latex / water-based paint – Softer, often lifts with water, soap, or alcohol.
- Oil-based paint – Tougher, usually needs a solvent like paint thinner or a stripper.
- Unknown paint – You test it before committing to a method.
Use the wrong thing and you risk:
- Clouding the finish
- Stripping the stain
- Swelling the wood with moisture
- Leaving dull spots that scream “patch job”
Key takeaway: Always test the paint type and your chosen method on a small, hidden spot before you go after the big blob in the middle of the room.
Quick Paint Type Check
You do not need a lab. Just this mini test:
| Step | What to Do | What It Means |
| 1 | Soak a cotton swab in warm, soapy water and rub the paint | If it softens or smears, it is likely latex / water-based |
| 2 | If nothing happens, dab rubbing alcohol on a new cotton pad and rub | If it softens now, also likely latex |
| 3 | If still rock solid, try a small amount of mineral spirits or paint thinner | If it softens here, it is likely oil-based |
Once you know the type, you can pick the least aggressive method that works.
Preparation: Set Yourself Up Not to Panic Later

Before you touch the paint, prep the area.
1. Clear and Protect the Space
- Move furniture out of the work zone.
- Lay down old towels or drop cloths around the paint spots.
- Keep kids and pets out of the room.
2. Ventilate the Room
You will be working with water, alcohol, maybe solvent or heat.
- Open windows and doors.
- Use a fan to keep air moving, especially if you use rubbing alcohol, paint remover, or a heat gun.
3. Gather Your Tools
Have everything on hand so you are not scrambling mid-project:
- Putty knife (or plastic scraper) – ideally with the corners filed slightly dull
- Warm water and mild dish soap
- Microfibre cloths and soft rags
- Rubbing alcohol (isopropyl)
- Lemon juice (for a simple DIY latex remover mix)
- Spray bottle or small bowl
- Heat gun or hair dryer
- Paint remover or paint thinner (for oil-based paint)
- Painter’s tape (to mask off sensitive areas if needed)
- Knee pads or folded towel for your knees – your future self will thank you
Pro tip: Keep a dry cloth in one hand at all times. Anytime you use liquid, you want to follow with a wipe to keep moisture from sitting on the wood.
Gentle Methods (Start Here)

You always start with the softest approach that could work. If a gentle method gets the job done, your floor finish barely knows anything happened.
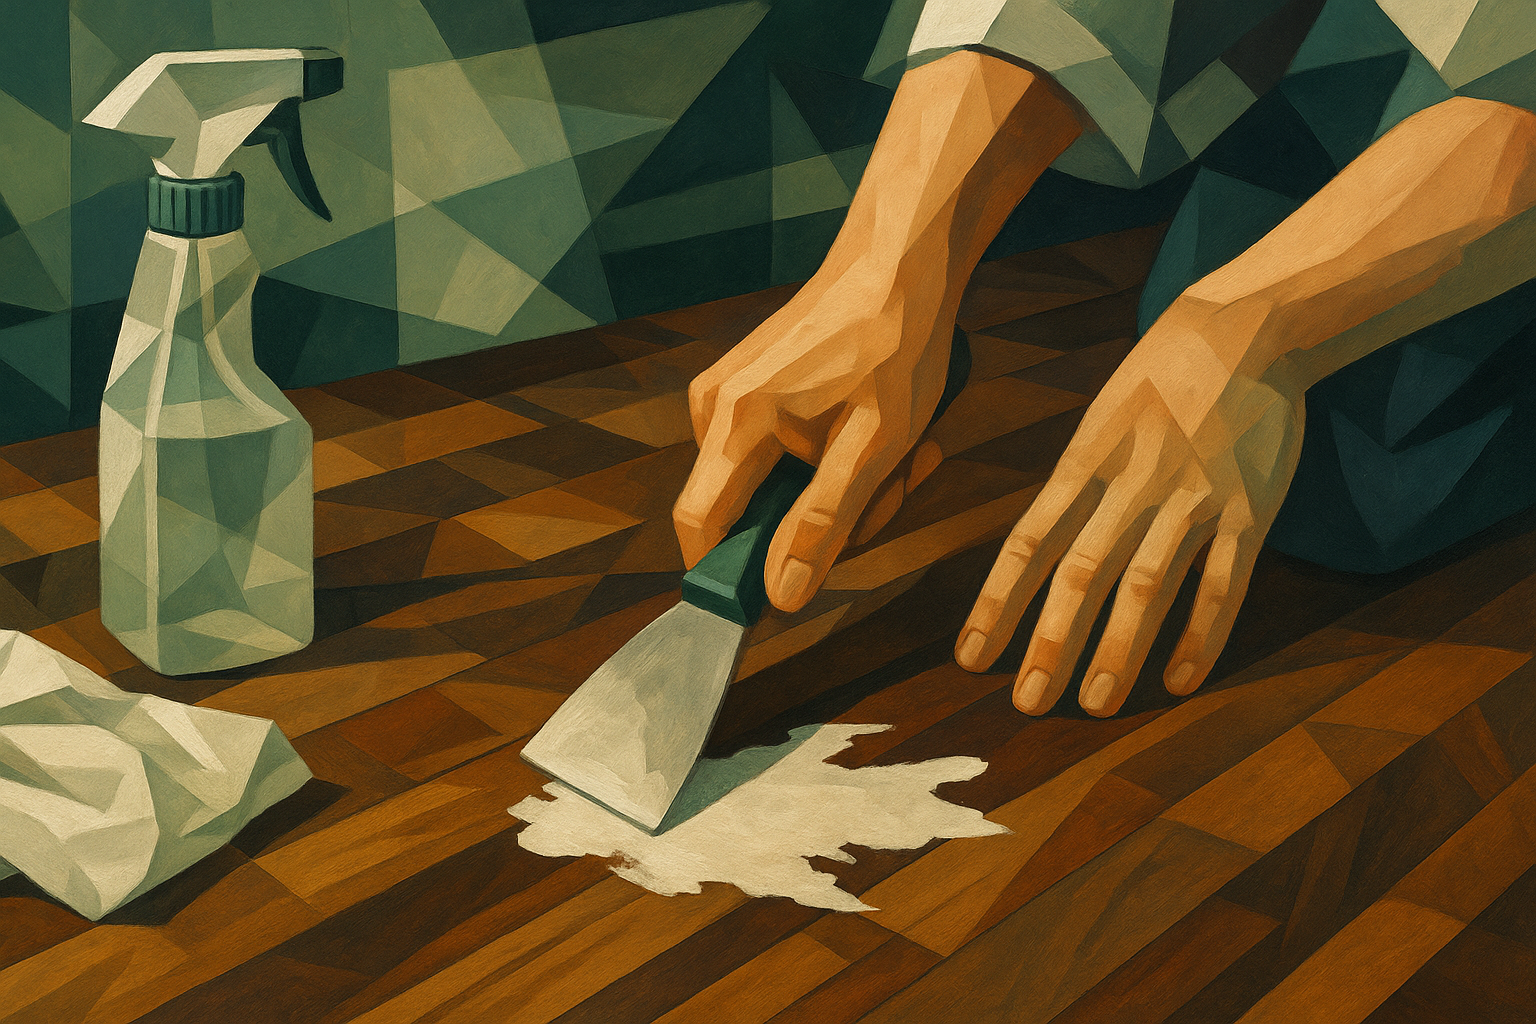
Scraping with a Putty Knife
This is your first move for thin drips or raised blobs of paint.
How to Do It Safely
- Dull the corners
Lightly file or sand the sharp corners of a metal putty knife so they are slightly rounded. This helps prevent gouges. - Hold it low and flat
- Angle the knife at about 15 – 30 degrees to the floor.
- Keep the blade almost parallel to the wood.
- Scrape with the grain
- Push the knife in the same direction as the wood grain.
- Take light passes instead of trying to remove everything at once.
- Stop if you see finish lifting
If you notice clear or amber finish flaking or turning cloudy, back off. Switch to a softer method.
If you are nervous, swap metal for a plastic scraper or even an old credit card as a safer starter tool.
Key takeaway: Let the angle and patience do the work, not brute force.
Soap and Water (For Latex Paint)
If you have confirmed it is latex paint and it is not baked on like enamel, warm soapy water might be all you need.
Step-by-Step
- Mix your solution
- Add a few drops of mild dish soap to a bowl or bucket of warm water.
- Dampen your cloth
- Important word: dampen, not dripping.
- Wring out the cloth very well.
- Soften the paint
- Lay the damp cloth on the paint spot for 30 – 60 seconds.
- For thicker blobs, you may need a couple of minutes.
- Wipe and check
- Rub gently in a circular motion.
- If the paint starts to smear, you are winning.
- Scrape if needed
- While the paint is softened, use your dull putty knife to gently lift it away.
- Dry the area
- Immediately wipe with a dry cloth so water does not seep into seams or joints.
Rubbing Alcohol + Lemon Juice (Latex Paint Booster)
When plain soap and water are almost enough but the paint is still stubborn, upgrade to an alcohol-based mix.
Simple DIY Latex Paint Remover Mix
- 2 parts rubbing alcohol
- 1 part lemon juice
Stir and pour into a small bowl or spray bottle.
How to Use It
- Test first
- Try a tiny area in a corner or under furniture.
- Check that the finish does not dull or discolour.
- Apply to the paint only
- Use a cotton swab or small cloth to dab just the paint, not the surrounding floor.
- Let it sit for 1 – 2 minutes
- This gives the alcohol time to break down the latex.
- Gently scrub
- Use a soft cloth, nylon scrub pad, or your fingernail wrapped in cloth.
- Wipe with the grain.
- Lift with scraper (optional)
- If the paint is now rubbery, slide the putty knife or plastic scraper under it and lift.
- Neutralize and dry
- Wipe with a slightly damp cloth (plain water) to remove residue.
- Finish with a dry cloth.
Fun fact: Latex paint stays slightly flexible even after it dries. That flexibility is exactly why alcohol and a bit of patience can coax it off hardwood without sanding.
Intermediate Methods (For Tough, Stuck-On Paint)
If gentle methods are not cutting it – and you have tested a small spot – you can step things up.
Using a Heat Gun (Or Hair Dryer)
Heat softens many types of paint so they release from the surface. This can work for both latex and some oil-based paints.
Warning: Too much heat can damage the floor finish or even scorch the wood. Low and slow wins here.
How to Use a Heat Gun Safely
- Set to a low heat setting
- Start with the lowest temperature.
- If you are nervous, start with a hair dryer instead of a heat gun.
- Keep it moving
- Hold the heat gun 5 – 8 cm above the paint.
- Sweep it back and forth over a small section for 10 – 20 seconds.
- Watch the paint, not the clock
- You are looking for the paint to soften or bubble slightly, not burn.
- Scrape immediately
- As soon as the paint softens, use your putty knife to lift it away.
- Work in small sections instead of heating a large area at once.
- Wipe and cool
- Wipe the area with a soft, dry cloth.
- Let the wood cool and inspect the finish.
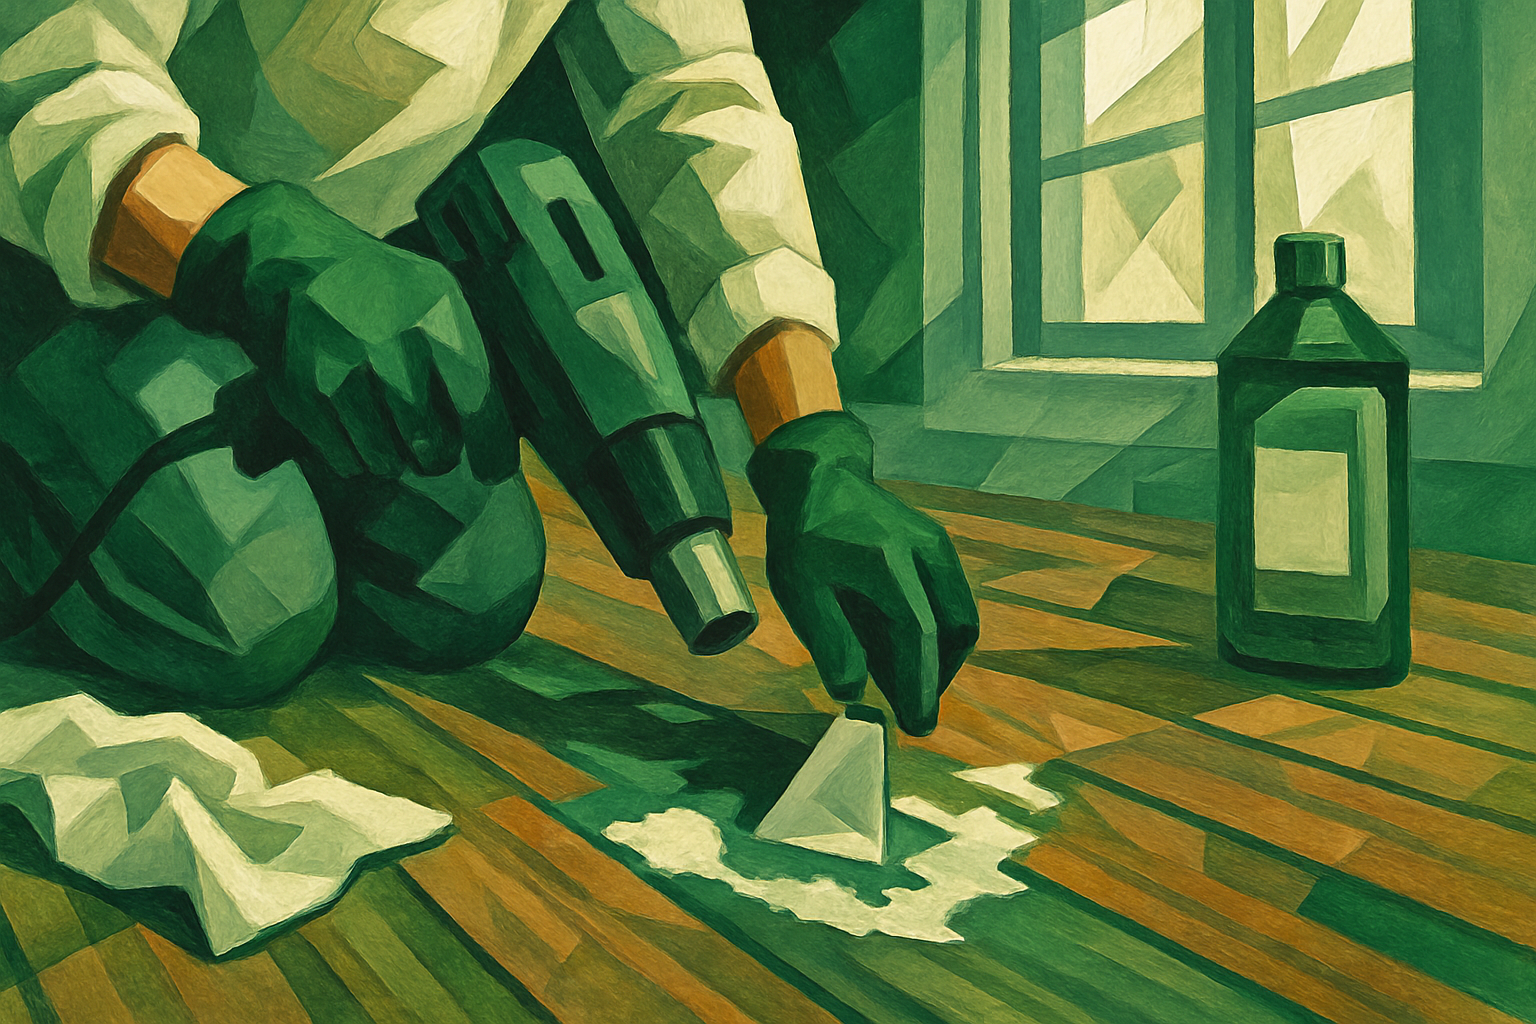
Chemical Remover or Paint Thinner (For Oil-Based Paint)
When you are dealing with oil-based paint, soap and water will not help much. This is when a commercial paint remover or paint thinner (mineral spirits) comes in.
Always choose the mildest product that claims to be safe for finished wood.
Safe Use Checklist
- Read the label
- Look specifically for phrases like safe for wood or safe for cured finishes.
- Gloves and fresh air
- Wear chemical-resistant gloves.
- Work in a well-ventilated space.
- Apply sparingly
- Dampen a cloth with a small amount of product.
- Do not pour directly on the floor.
- Target the paint only
- Press the cloth onto the paint spot.
- Let it sit for the time recommended on the label (often 1 – 5 minutes).
- Gently scrape or wipe
- Use your scraper to lift softened paint.
- Wipe residue with a clean cloth.
- Remove residue
- Follow label instructions for cleanup.
- Often this means a wipe with a clean, slightly damp cloth, then a dry cloth.
Key takeaway: Solvents are your last line of defence before sanding, not your first move.
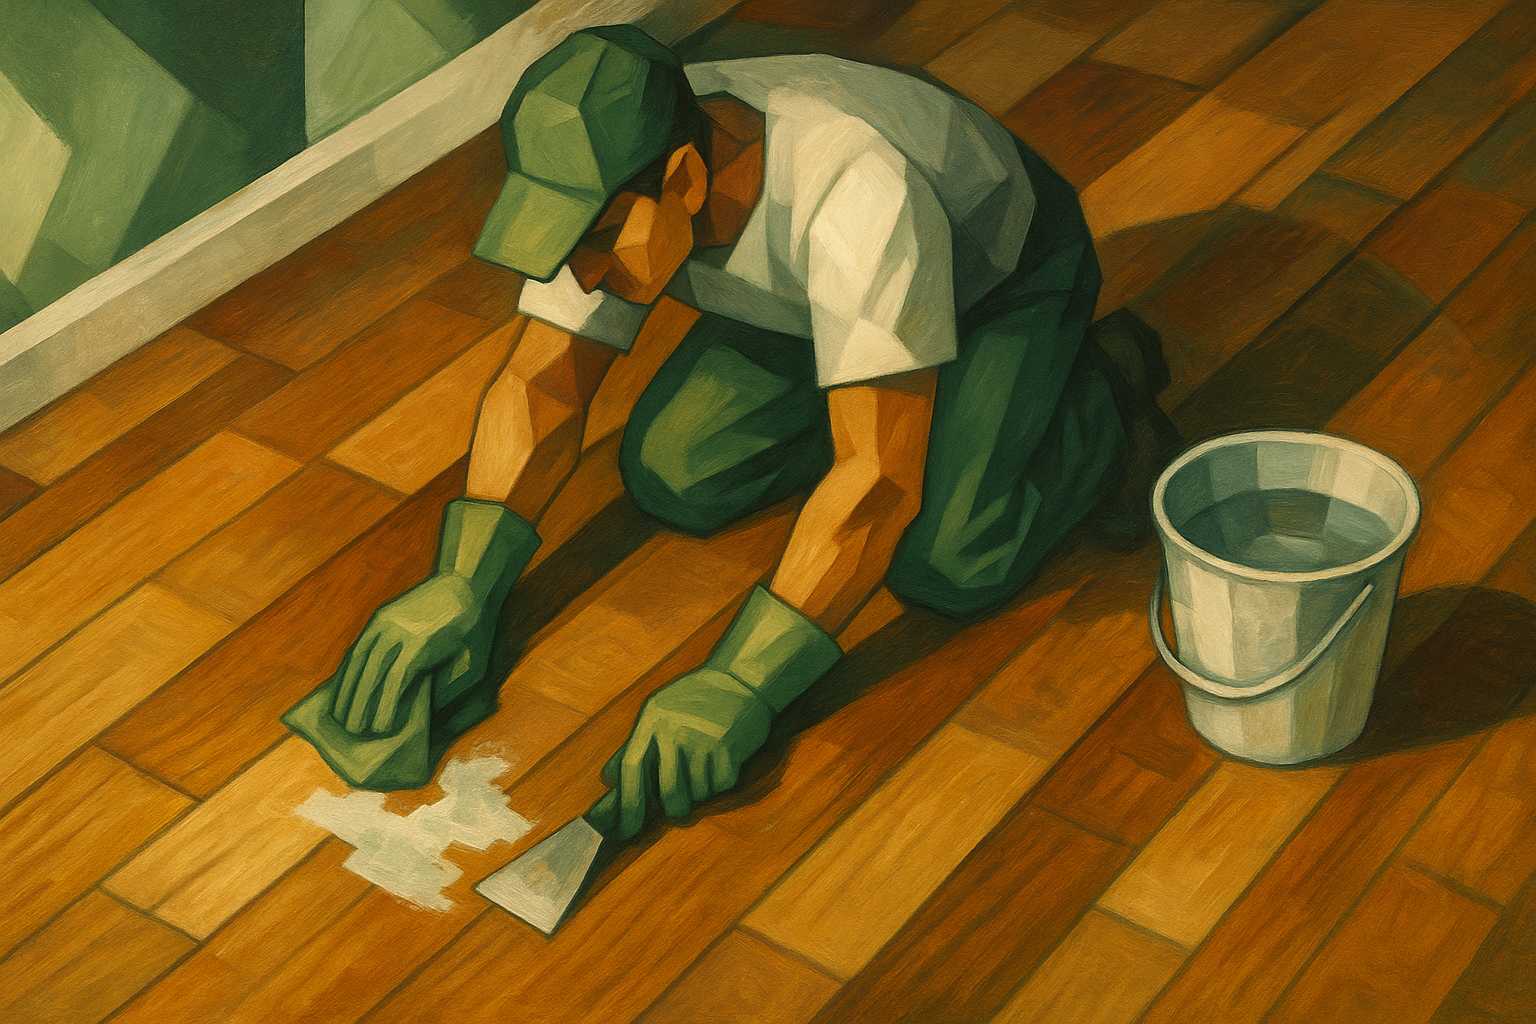
For Large Spills (When It Is More Than a Drip)

Sometimes it is not just a dot of paint. It is a whole section that caught overspray or a tipped can. You still want to avoid full-on refinishing, but the techniques get a bit more serious.
You have two main options:
- Paint stripper, applied carefully
- Very light, targeted sanding
Using Paint Stripper on a Larger Area
Look for a gentle, low-odour stripper that says it can be used on hardwood.
Steps
- Mask off nearby areas
- Use painter’s tape to protect baseboards and adjacent flooring.
- Apply with control
- Use a small brush or cloth for drips and splatters.
- For a bigger area, apply a thin layer with a brush as per label instructions.
- Wait, do not guess
- Let it sit for the manufacturer’s recommended time.
- Scrape carefully
- Use your putty knife to lift softened paint.
- Work with the grain, in strips.
- Clean and neutralize
- Follow the manufacturer’s cleanup instructions exactly.
- Usually, this involves wiping with a damp cloth, then a dry one.
Low-Grit Sanding (Spot Repair Only)
The title of this article is “without sanding” for a reason. Sanding can remove finish and stain faster than you expect. But for a truly severe dried paint mess, a very light, very targeted sand might be the only way.
If you go this route:
- Use fine sandpaper like 220-grit or higher.
- Fold a small piece and sand only the paint spot, with the grain.
- Stop as soon as you reach bare wood. Do not keep going.
- Be prepared to touch up finish in that area with a matching polyurethane or floor finish.
Caution: If your floors are historic, custom-stained, or have a specialty finish, skip DIY sanding entirely and go straight to a professional.
Tips to Prevent Damage While You Work
Think of this as your “do no harm” checklist.
Always Start with the Least Aggressive Method
In order of gentleness:
- Scraping with a dulled putty knife or plastic scraper
- Warm, soapy water
- Rubbing alcohol + lemon juice
- Low heat (hair dryer or heat gun on low)
- Mild commercial remover / mineral spirits
- Stripper or spot sanding
Only move to the next level if the current method does nothing.
Avoid Excess Moisture
Too much water is just as risky as too much solvent.
- Use damp cloths, not soaking ones.
- Immediately follow any wet step with a dry cloth.
- Be extra careful around seams and gaps between boards.
Work Small and Slow
- Focus on small sections – a few centimetres at a time.
- Inspect frequently under good light.
- If the finish starts to dull, stop and reassess.
Popular quote:
“Slow is smooth, smooth is fast.”
When you are working on hardwood floors, rushing the job is the fastest way to permanent damage.
When To Call a Professional

There is no prize for doing 100% of this yourself if you end up needing a full refinish anyway.
Consider calling a flooring professional when:
- The paint has soaked into cracks or gaps between boards.
- The stain or finish looks white, cloudy, or peeled in the affected area.
- You are dealing with historic, antique, or high-value floors.
- The spill covers a large, central, highly visible area.
- You have tried gentle methods and are now debating aggressive sanding.
A pro can:
- Use commercial-grade strippers safely.
- Feather out and blend finish repairs.
- Recoat or refinish only the affected area instead of the entire room.
Reach out to Hemlock Painting today for a clean and professional painting job anywhere in Metro Vancouver. Learn more here.
Quick Reference: Which Method Should You Try First?
| If your paint is… | Try this first | If that fails, then try… |
| Fresh-ish latex, just dried | Scraper + warm soapy water | Alcohol + lemon juice |
| Old latex splatter | Scraper + alcohol mix | Low heat, then mild remover |
| Small oil-based drip | Scraper only | Mineral spirits on cloth |
| Large latex spill | Soap water, section by section | Gentle stripper, then pro help if needed |
| Large oil-based spill | Call a pro early | If DIY, mild stripper with extreme care |
Key takeaway: Your goal is not just to remove dried paint from hardwood floors. Your real goal is to make it look like the paint was never there – which means babying that finish from the first step to the last.
Final Thought
Dried paint on hardwood looks scary at first glance, but with a bit of testing, the right tools, and a “gentle first” mindset, you can usually fix it without dragging out a drum sander.
Start small. Test everything. And if your gut says, “This floor is too special to risk,” listen to it and bring in a pro.