How to Paint Baseboards and Trim Without Getting Paint on the Walls
Freshly painted trim is like eyeliner for your room: subtle, but it makes everything look sharper, cleaner, and more intentional.
Crisp white baseboards and trim can:
- Make wall colours look richer
- Signal cleanliness and care
- Help small spaces feel more finished and higher end
The trick, of course, is doing it without turning your walls into a splatter painting.
This guide walks you step by step through painting baseboards and trim cleanly so your walls stay the colour you picked, not the colour you spilled.
Gather Your Materials
Have everything ready before you open the paint can. Stopping mid coat to hunt for tape is how drips and missed spots happen.
Essential supplies
| Item | Why you need it |
|---|---|
| Primer | For bare wood, stains, or very glossy old paint |
| Semi gloss trim paint | Durable, wipeable, highlights details without looking plastic |
| Angled sash brush (1.5 to 2 inch) | Control along edges and corners, your main tool here |
| Paint shield (trim guard) | Protects walls, floors, and carpet along edges |
| Painter’s tape (good quality) | Clean lines on floors, carpet, and sometimes walls |
| Abrasive pads or sanding sponges (120 to 220 grit) | Scuff glossy surfaces so paint sticks |
| Cleaner (TSP substitute or mild detergent) | Removes dust, grease, and hand grime |
| Vacuum with brush attachment | Gets dust and hair out of corners and off trim |
| Microfibre cloths | For wiping, drying, and final dust removal |
| Drop cloths or rosin paper | Protects floors from drips and splatter |
Key takeaway: The right brush and clean surfaces matter more than the fanciest paint.
Prep the Area
Painting trim without mess is about seventy percent prep and thirty percent painting. Skipping this part is how you get peeling paint, rough edges, and lint stuck forever in that one spot you will always see.
1. Clear and vacuum
- Move furniture away from the walls.
- Roll up or pull back rugs where possible.
- Vacuum carefully along:
- The top of the baseboards
- The floor right beside the baseboards
- Inside corners and along door frames
You want to remove dust, hair, and pet fluff that will otherwise land in your wet paint.
2. Clean the trim
Use a cleaner appropriate for painted surfaces. A TSP substitute or a small amount of dish soap in warm water works well.
- Dampen a cloth, do not soak it.
- Wipe:
- Baseboards from top to bottom
- Door and window casings
- Crown moulding and quarter round
- Follow with a clean, slightly damp cloth to remove residue.
- Let everything dry completely.
Focus especially behind doors and near light switches. Those areas collect skin oils, which can cause adhesion issues.
3. Scuff sand and repair
You are not sanding to bare wood. You are just dulling the sheen so the new paint can grip.
- Use a fine sanding sponge or abrasive pad (120 to 220 grit).
- Lightly sand along the length of the trim.
- Round off any tiny paint ridges from previous paint jobs.
- Wipe off dust with a microfibre cloth after sanding.
If you notice little nail holes, gaps at corners, or hairline cracks:
- Fill nail holes with wood filler or spackle.
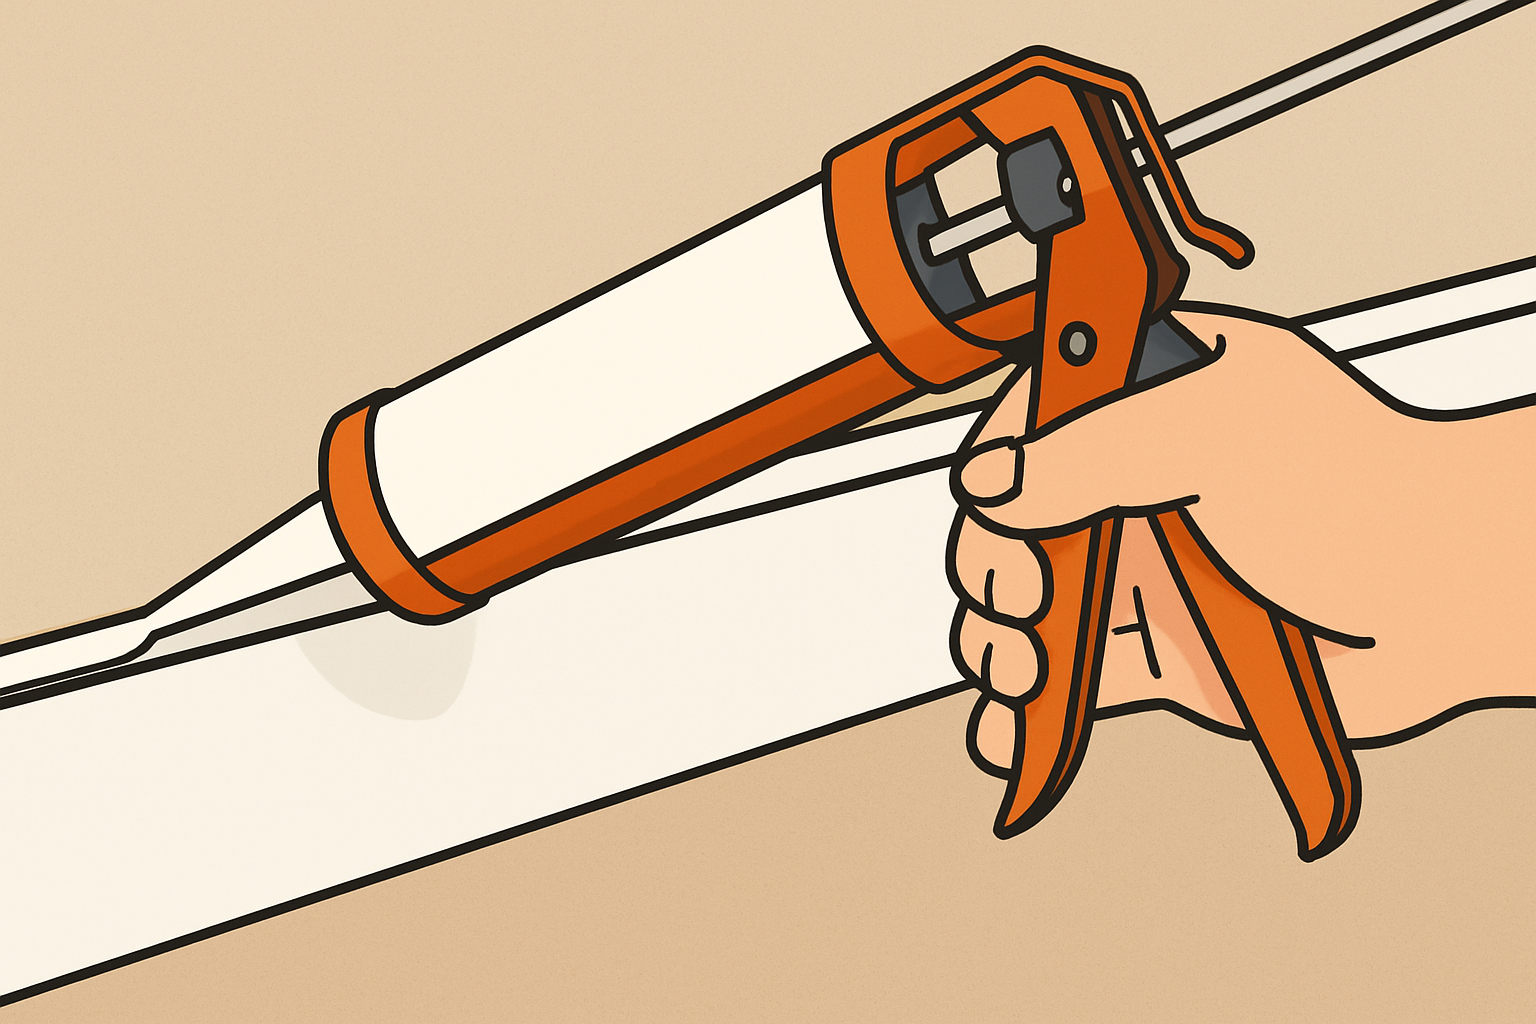
- Caulk gaps between trim and wall or trim and floor.
- Let dry, sand smooth, and wipe clean.
Pro tip: Do all filling and caulking before you tape. Caulk can seal the tape edge and cause ragged lines later.
Mask and Protect
You are not just protecting the walls. You are protecting your future self from hours of tiny touch ups.
Tape the floors
- Lay painter’s tape along the floor right up against the baseboard.
- Press it firmly down using your thumb or a plastic card to seal the edge.
For hard floors:
- Tape rosin paper or a drop cloth to the tape for more coverage.
For carpet:
- Push the carpet fibres down slightly with a putty knife.
- Run the tape so it tucks just under the front lip of the baseboard.
- This hides a narrow line of carpet and lets you paint all the way to the bottom edge.
Decide if you will tape the walls
You have two main options for keeping paint off the walls:
- Painter’s tape on the wall right above the trim
- Freehand cutting in with a brush, using a paint shield for backup
If you are newer to painting, tape the wall:
- Run tape in a straight line just above the top of the baseboard.
- Press the bottom edge of the tape down firmly.
- Avoid stretching the tape, which can cause it to lift later.
If you are comfortable with a brush:
- Skip the wall tape.
- Use a good angled brush and a steady hand.
- Keep a paint shield nearby for tricky spots.
Use a paint shield
A paint shield is a flat metal or plastic blade you hold against the surface you want to protect.
Use it:
- Where baseboards meet carpet
- Along stairs
- Beside door jambs
- Under quarter round on carpeted floors
Wipe the shield often. If it collects paint along its edge and you keep moving it, you will drag that line of paint where you do not want it.
Fun fact: Paint shields were originally designed for pros to skip taping large areas. In a DIY setting, they are best as backup, not a full tape replacement.
Prime (If Needed)
You do not always need primer on trim. But when you do skip it, you usually regret it.
Prime if:
- The trim is bare wood.
- You are covering dark or stained wood with a light colour.
- There are water stains, smoke stains, or tannin bleed.
- The existing finish is very glossy and you do not want to fully sand it down.
- You suspect the old paint might be oil based and you are switching to latex.
How to test for oil vs latex
- Soak a cloth with rubbing alcohol or methyl hydrate.
- Rub a small, hidden area of the existing paint.
- If paint softens or comes off, it is likely latex.
- If nothing happens, it is likely oil.
If it is oil and you want to use latex:
- Scuff sand thoroughly.
- Use a bonding primer made to go over oil paint.
- Let it dry fully before topcoating.
Paint Baseboards Without Hitting the Walls
This is the part everyone rushes. Slow is fast here. You will finish sooner if you avoid rework.
1. Load your brush properly
- Dip only the bottom third of the bristles into the paint.
- Tap lightly against the side of the can or tray. Do not scrape it dry.
- You want the brush loaded but not dripping.
2. Work in small sections
Aim for sections about 60 to 90 cm at a time:
- Start with the top edge of the baseboard, where it meets the wall.
- Then paint the face of the baseboard.
- Finish with the bottom edge near the floor.
Keeping your sections small lets you maintain a wet edge, which reduces lap marks.
3. Cutting in along the wall
If you are not using tape on the wall:
- Place the narrow edge of your angled brush just below the wall line.
- Gently press so the bristles fan out slightly.
- Pull the brush along the length of the baseboard in one smooth motion.
- Keep your eye on the bristle tips, not the handle.
If you are nervous, you can:
- Use a paint shield pressed against the wall above the trim, or
- Do a light first pass and come back to tighten the line on the second coat.
If you are using tape:
- Paint slightly onto the tape to ensure the trim is fully covered.
- Do not flood the tape edge with paint. That minimises bleed.
4. Use a paint shield where it matters most
For carpets or awkward corners:
- Hold the shield tight against the surface you want to protect.
- Brush the trim right up to the shield edge.
- Lift the shield straight away. Do not slide it sideways through wet paint.
- Wipe the edge of the shield clean before moving to the next section.
5. Apply two thin coats
A single thick coat is more likely to sag, drip, and show brush marks.
Instead:
- Do your first coat thinly and evenly.
- Let it dry fully according to the can label.
- Do a light sanding with a fine abrasive pad if the surface feels rough.
- Wipe clean.
- Apply a second thin, even coat.
Key takeaway: Thin, controlled coats give you better edges. Thick coats run, bleed under tape, and leave ridges.
Paint Other Trim: Casings, Crown, Quarter Round
Once your baseboards are under control, move on to the rest of the trim.
Door and window casings
Work in this order:
- Inside edges closest to the wall
- Flat faces of the casing
- Outside edges that face the room
Tips:
- Paint with the grain of the wood where possible.
- Use the tip of your angled brush to get into corners.
- If the wall colour is already done, treat the joint between wall and casing like you did at the baseboard.
Crown moulding
Painting above your head is where drips like to happen.
- Use an angled brush and do not overload it.
- Keep a drop cloth tight to the wall and floor beneath your working area.
- Work in small sections and lightly feather your brush strokes to avoid ridges.
- If walls and ceilings are already painted, be extra deliberate along those edges. You may want tape or a shield here, especially if the crown profile is detailed.
Quarter round or shoe moulding
Quarter round sits at the base of baseboards, usually against the floor.
You can:
- Paint it the same colour as the baseboard, or
- Use a slightly different white for subtle contrast if you are confident with your cut lines.
Paint it:
- From the top edge down toward the floor.
- Using light strokes so you do not flood the bottom edge.
- With a shield along carpet or a taped edge on hard floors.
Remove Tape and Clean Up
This is where you protect all your good work.
When to remove the tape
Remove tape when the paint is dry to the touch but not fully cured, usually within a few hours of the final coat depending on the product.
To avoid peeling:
- Run a sharp utility knife gently along the paint edge where it meets the tape.
- Pull the tape back on itself at about a 45 degree angle, not straight out from the wall.
- Go slowly and watch the paint edge as you pull.
If any paint did bleed under the tape:
- Let it cure completely.
- Carefully scrape the line with a razor blade, or touch up with the wall colour.
Clean your brushes
For water based (latex) trim paint:
- Rinse the brush in warm water until the water runs almost clear.
- Work a small amount of mild soap into the bristles.
- Rinse again thoroughly.
- Gently reshape the bristles and hang or lay flat to dry.
For oil based paint:
- Follow the instructions on the paint can.
- Use the recommended solvent in a ventilated area.
- Never pour solvents down the drain.
Pro tip: A good brush can last years. Cleaning it well is cheaper than buying a new brush for every project.
FAQs About Painting Baseboards and Trim
1. What paint sheen is best for baseboards and trim?
For most homes, semi gloss is the sweet spot.
| Sheen | Best for | Pros | Cons |
|---|---|---|---|
| Satin | Modern, lower contrast trim | Softer look, hides minor flaws | Less wipeable than higher sheen |
| Semi gloss | Baseboards, casings, doors | Durable, easy to clean, highlights details | Shows more surface imperfections |
| High gloss | Feature trim, very formal spaces | Strong statement, extremely wipeable | Unforgiving prep, shows every dent and brush mark |
If you have pets, kids, or shoes that tend to knock into trim, semi gloss is usually the best balance of beauty and practicality.
2. What kind of brush should I use?
Use an angled sash brush, ideally:
- 1.5 to 2 inches wide for detailed trim
- With synthetic bristles for water based paints
- With a comfortable handle that fits your grip
A high quality brush:
- Holds more paint
- Releases it more smoothly
- Gives you a sharper cut line along the wall
Cheap brushes shed bristles and leave streaks, both of which you will notice every time you walk into the room.
3. How should I clean trim before painting?
For general dirt and scuffs:
- Vacuum first to remove loose dust.
- Wipe with a solution of warm water and a small amount of mild detergent.
- Rinse with clean water and a fresh cloth.
- Let dry completely before sanding or painting.
For greasy areas (kitchens, near light switches):
- Use a TSP substitute or a degreasing cleaner labelled safe for painted surfaces.
- Rinse well after using stronger cleaners so they do not interfere with adhesion.
4. Do I need to remove quarter round before painting?
Usually, no.
You can paint quarter round in place:
- Tape or shield the floor along its base.
- Use a small angled brush and light strokes.
- Work in manageable sections so you can spot drips.
Remove quarter round only if:
- You are replacing flooring.
- The moulding is damaged and needs to be replaced.
- There are major gaps you want to fix properly.
If you do remove it, label each piece on the back so you can put it back in the same spot.
5. What if I still get paint on the wall?
It happens, even to pros.
If the trim paint is still wet:
- Wipe gently with a damp cloth and a bit of mild soap if needed.
If it has dried:
- Let it fully cure.
- Lightly scrape or sand the spot.
- Touch up with the wall paint using a small artist brush or foam brush.
Reassurance, not a platitude: Your first coat will not look perfect. It is the second coat, the dry time, and the touch ups that make it look professional.
Quick Recap
To paint baseboards and trim without getting paint on the walls:
- Prep hard: vacuum, clean, scuff sand, fill, and caulk.
- Mask smart: tape floors, decide on wall tape versus freehand, and keep a paint shield handy.
- Prime when needed: bare wood, stains, glossy old finishes, or oil to latex transitions.
- Use the right brush: a quality angled sash brush, loaded properly.
- Paint in thin coats: top edge, face, bottom edge, in small sections.
- Protect your edges: with tape, a steady hand, or a shield plus patience.
- Remove tape carefully: while paint is tacky, pulling back on itself after scoring.
- Clean tools well: so the next room looks even better with less effort.
Detail by detail, board by board, this is how you get the kind of trim that looks professionally done and walls that never tell the story of your first wobbly brush stroke.