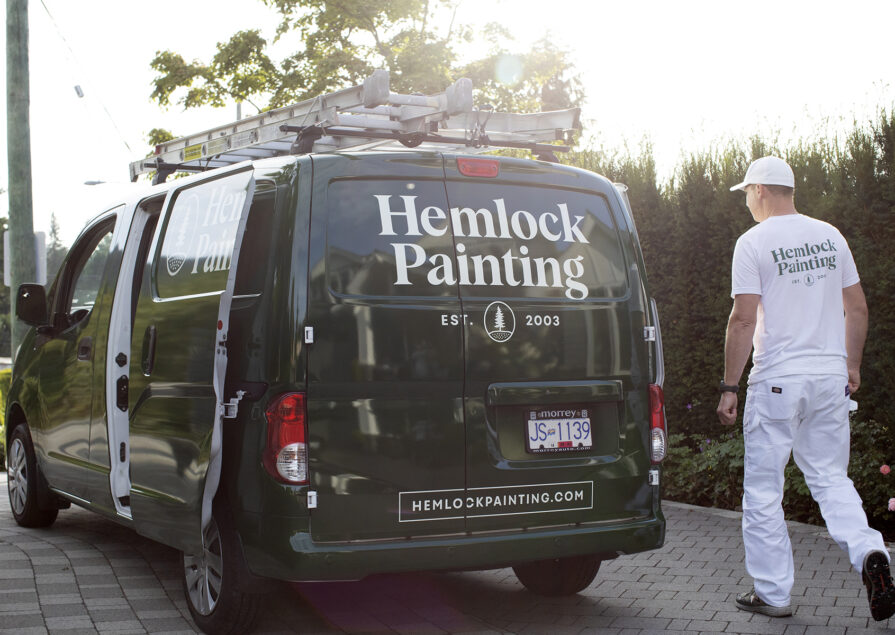
Key takeaway: If your cabinet boxes are structurally sound, painting is almost always the most affordable way to make your kitchen look new.
Tools and Materials

Here is what you will want ready before you crack open a can.
Core materials
- TSP cleaner or a vinegar and dish soap solution
- Deglosser (liquid sandpaper)
- Sanding pads or sandpaper:
- 120 grit for initial scuffing
- 180 to 220 grit for between coats
- Wood filler for holes and dents
- Bonding primer for glossy or laminate cabinets
- Milk paint or mineral paint
- Protective topcoat:
- Polyurethane or water based cabinet topcoat
- Caulk for gaps between cabinets and walls if needed
Tools
- High density foam rollers for smooth surfaces
- Angled sash brush (50 to 63 mm or 2 to 2.5 inch)
- Small straight brush for tight areas
- Screwdriver or drill for removing hardware
- Painter’s tape
- Tack cloths or lint free cloths
- Cleaning bucket and scrub pads
- Drop cloths or rosin paper for floors and counters
- Zip top bags or small containers for hardware
- Permanent marker and painter’s tape for labels
- Sawhorses or a makeshift drying rack (chairs plus 2x4s work)
Pro tip: Label every product with a piece of tape and a marker. For example, “Primer, first coat, 10:30 a.m.” That way you can keep track of dry times across the project.
Step 1: Plan and Choose Your Cabinet Paint
Not all cabinet paints behave the same. Two popular options are milk paint and mineral paint.
Milk paint vs mineral paint at a glance
| Feature | Milk paint | Mineral paint |
|---|---|---|
| Look | Soft, velvety, often more rustic | Smooth, modern, often more refined |
| Sheen | Usually matte to low sheen | Can range from matte to satin or eggshell |
| Durability | Good, especially with a topcoat | Very durable and often formulated specifically for cabinets |
| Chippy or distressed potential | High, great for vintage looks | Low, more predictable and solid coverage |
| Self leveling | Decent, depends on brand and mix | Often very good self leveling |
| Best for | Cottage, farmhouse, character rich kitchens | Modern, transitional, and busy family kitchens |
How to choose based on your kitchen
- Do you want a soft, lived in, slightly rustic finish?
- Go with milk paint plus a good topcoat.
- Do you want a sleek, durable, wipeable finish for a high traffic family kitchen?
- Choose mineral paint designed for cabinets and furniture.
- Do you want fewer visible brush strokes?
- Look for “self leveling” on the label and plan to use a foam roller with light brush tipping off.
Fun fact: Some modern mineral paints bond so well that, when properly prepped, they can adhere to old lacquer, factory finishes, and even some laminates when you use a bonding primer underneath.
Step 2: Set Up a Work Area

Paint projects get messy fast. A clean setup keeps dust out of your finish and your sanity intact.
Protect surfaces
- Lay drop cloths or rosin paper on floors.
- Tape plastic or paper over:
- Countertops
- Backsplash
- Appliances next to cabinets
- Run painter’s tape along walls and ceiling where cabinet boxes meet.
Create a door painting station
- Set up sawhorses with boards or a table covered in plastic.
- Leave enough room to walk all around each door.
- Plan for airflow, but avoid direct wind that can blow dust onto wet paint.
Label everything before you touch a screw
You want each door and drawer front to go back exactly where it came from.
- Put a piece of painter’s tape inside each cabinet and drawer and label it:
- 1A, 1B, 2A, and so on.
- Put a matching label on the back of the corresponding door or drawer front.
- Sketch a quick cabinet map on paper and note where each number goes.
Key takeaway: Clear labelling saves you an hour of “Which door did this hinge go on?” at the end.
Step 3: Remove Hardware and Doors

This is where the project officially starts to look serious.
- Remove handles and pulls with a drill or screwdriver.
- Drop all screws and hardware for each door into a labelled zip top bag. For example: “Door 1A, handle plus 2 screws.”
- Remove hinges from doors and frames:
- Unscrew hinges from the door first, then from the cabinet box.
- Keep hinges with their matching bag of hardware.
- Move doors and drawer fronts to your painting station and keep them in order using your labels and map.
“The details are not the details. They make the design.”
When you label, bag, and map, you are protecting those details from turning into chaos later.
Step 4: Clean, Degrease, and Sand

If you skip this part, your paint will eventually tell on you by peeling, chipping, or developing fisheyes. The goal is to remove every trace of grease and grime.
Step 4.1: Degrease
Choose one of these cleaning options:
- TSP cleaner
- Mix according to package directions.
- Wear gloves.
- DIY solution
- 1 part vinegar
- A few drops of dish soap
- 3 parts warm water
Process:
- Wipe cabinets, doors, and drawers with your cleaning solution and a scrub pad.
- Pay extra attention to:
- Around handles
- Above the stove
- Edges and corners
- Rinse with clean water and a fresh cloth to remove residue.
- Let everything dry completely.
Step 4.2: Fill holes and damage
- Use wood filler to:
- Fill old hardware holes if you are changing handle placement.
- Fill dents, chips, or deep scratches.
- Let filler dry, then sand smooth with 180 to 220 grit sandpaper.
Step 4.3: Sand or degloss
Your goal is not to strip down to bare wood. You just need to give the primer and paint something to grip.
- For most finishes:
- Lightly sand with 120 to 150 grit to scuff the surface.
- For very glossy or lacquered cabinets:
- Use a deglosser following the label instructions.
- Then give a quick scuff sand with 180 grit.
- Vacuum up dust and wipe down with a tack cloth so no fine dust stays on the surface.
Key takeaway: The more time you spend on cleaning and scuffing, the more your paint will look and behave like a factory finish.
Step 5: Prime

Primer is your insurance policy. It helps with bonding, stain blocking, and even coverage.
Choosing the right primer
- Use a bonding primer for:
- Factory finished cabinets
- Laminate surfaces
- Very smooth or glossy finishes
- Use a stain blocking primer if:
- You see yellowing, water stains, or knots in the wood
- You are going from dark stain to light paint
How to prime like a pro
- Stir, do not shake, your primer to avoid bubbles.
- Start with cabinet frames:
- Cut in corners and edges with the angled brush.
- Roll flat areas with a foam roller.
- Prime the backs of doors first, then the fronts.
- Watch for drips on:
- Inside corners
- Edges and profiles
- Around hinge holes
- Let the primer dry fully as per can instructions.
Light sand after priming
- Once dry, lightly sand with 220 to 320 grit to knock down any raised grain or nibs.
- Wipe with a tack cloth.
Key takeaway: Primer is not your final coat. It can look streaky and patchy and that is normal. Its job is to help the paint perform.
Step 6: Apply Paint

Now for the satisfying part: colour.
General rules
- Work in thin coats, not thick ones.
- Maintain a wet edge to avoid lap marks.
- Do not go back and overwork areas as they start to dry.
Order of operations
- Cabinet frames (boxes)
- Use a brush on edges and corners.
- Use a foam roller on flat surfaces.
- Door and drawer backs
- Paint the back first and let it dry completely.
- Door and drawer fronts
- Flip and paint the front last.
Technique for a smooth finish
- Load your brush or roller lightly.
- Apply paint in one direction:
- Vertical strokes for vertical surfaces.
- Horizontal strokes for rails or long flat runs.
- Immediately after rolling, use the tip of your brush to tip off:
- Use light, end to end strokes to lay off the paint and reduce roller texture.
- Let each coat dry as directed on the can. When in doubt, give it more time.
Sand gently between coats
- After each coat dries, lightly sand with 220 to 320 grit.
- Wipe all surfaces with a tack cloth.
- Most cabinet projects need two coats of paint. Deep colours or drastic colour changes may need three.
Fun fact: A lot of brush stroke problems happen because there is simply too much paint sitting on the surface. Thin coats plus light sanding between coats are what give you that professional, levelled look.
Step 7: Apply a Protective Topcoat

Cabinets live a hard life. The topcoat protects your beautiful paint from everyday wear and tear.
- Greasy fingers
- Scratches and scuffs
- Cleaning products
- Daily slamming, bumping, and cooking steam
Choosing a topcoat
- Go for a water based polyurethane or cabinet topcoat:
- Low odour
- Dries faster
- Less likely to yellow over light colours
- Choose a sheen:
- Matte soft and modern, less reflective
- Satin popular choice, hides wear with a slight sheen
- Semi gloss brightest and most wipeable but shows more imperfections
How to apply your topcoat
- Stir gently and do not shake.
- Use a clean foam roller or high quality synthetic brush.
- Apply thin, even coats in the same direction as your paint strokes.
- Avoid overworking the surface and let the topcoat self level.
- Let each coat dry fully as directed.
- Lightly sand with 320 grit between coats and wipe with a tack cloth.
- Plan for two to three coats of topcoat for kitchen level durability.
Key takeaway: Your topcoat is the armour. If your kitchen is high traffic, do not skimp here.
Step 8: Reassemble and Clean Up

You are almost at the “wow” moment.
Let the paint cure
There is a difference between dry to the touch and fully cured.
- Dry to touch: a few hours.
- Safe to handle: usually 24 hours.
- Fully cured: often 21 to 30 days.
You do not need to wait a month to rehang doors, but you should be gentle for the first few weeks.
Reattach hardware and doors
- Use your cabinet map and labels.
- Install doors and drawers in this order:
- Hinges back on doors.
- Doors onto cabinet frames.
- Drawer fronts onto drawer boxes.
- Attach handles and pulls last:
- Use a hardware jig or a simple cardboard template to keep holes consistent if you drilled new ones.
Final cleanup
- Remove painter’s tape carefully by pulling it back on itself at a low angle.
- Collect drop cloths and plastic.
- Put leftover paint and primer in a cool, dry spot and label with:
- Colour name
- Room
- Date
Key takeaway: Treat your freshly painted cabinets like new furniture for the first month. Avoid harsh cleaners, heavy scrubbing, and slamming doors while the finish fully cures.
Quick Recap: Your Pro Level Cabinet Painting Checklist

Use this as a fast reference next time you do it.
- Plan and choose paint: Milk vs mineral, colour, sheen.
- Set up work area: Protect surfaces, create a painting station, label cabinets.
- Remove hardware and doors: Map, bag, and label everything.
- Clean and degrease: TSP or vinegar solution, then rinse well.
- Sand and fill: Scuff sand, fill holes, sand smooth.
- Prime: Bonding or stain blocking primer, then a light sand.
- Paint: Thin coats, sand between coats, keep a wet edge.
- Topcoat: Two to three coats of water based polyurethane or cabinet topcoat.
- Reassemble: Use your map and handle doors and drawers gently while they cure.
Final takeaway: Professional looking cabinets are less about secret products and more about steady prep and thin, patient coats. Follow these steps and you will end up with cabinets that look like you hired a pro, even though the work was all you.