Before starting any painting project, one of the most crucial steps is proper surface preparation. Whether you’re working on interior walls, exterior surfaces, or any other area that requires a fresh coat of paint, ensuring the surface is well-prepared is essential to achieving a smooth and long-lasting finish. Neglecting this step can lead to uneven paint application, premature peeling, and other issues that can compromise the quality of your work.
By following a detailed surface repair checklist, you can systematically address all the common issues that may affect your painting project. This checklist not only helps you identify and repair imperfections like cracks, holes, and peeling paint but also ensures that the surface is properly cleaned, sanded, and primed for optimal paint adhesion. The key benefits of following such a checklist include:
- Improved Paint Adhesion: Properly repaired and prepared surfaces allow the paint to adhere better, resulting in a more durable and longer-lasting finish.
- Smoother Finish: Addressing imperfections before painting leads to a more professional, smooth surface with fewer visible flaws.
- Enhanced Durability: By repairing damage and applying appropriate primers, the painted surface is better protected against future wear and tear, extending the life of your paint job.
Starting your project with a well-prepared surface sets the foundation for success, ensuring that your hard work results in a beautiful and enduring finish.
The Basics of Surface Repair
Why Surface Preparation is Critical
Proper surface preparation is the cornerstone of any successful painting project. When surfaces are correctly repaired and prepped, paint adheres more effectively, resulting in a finish that not only looks better but also lasts longer. Failing to prepare the surface adequately can lead to a host of problems, including:
- Poor Paint Adhesion: Without proper preparation, paint can have difficulty sticking to the surface, leading to peeling, chipping, and flaking over time. This can make the paint job look unprofessional and require frequent touch-ups.
- Uneven Finish: Surface imperfections like cracks, holes, and rough patches can result in an uneven finish. Even the highest quality paint cannot hide these flaws if they aren’t properly addressed beforehand.
- Shortened Paint Life: When the surface isn’t properly prepared, the durability of the paint is compromised. This can lead to a shorter lifespan for the paint job, meaning you’ll need to repaint sooner than expected.
By understanding the importance of surface preparation, you can avoid these common pitfalls and ensure that your paint job not only looks great but also stands the test of time.
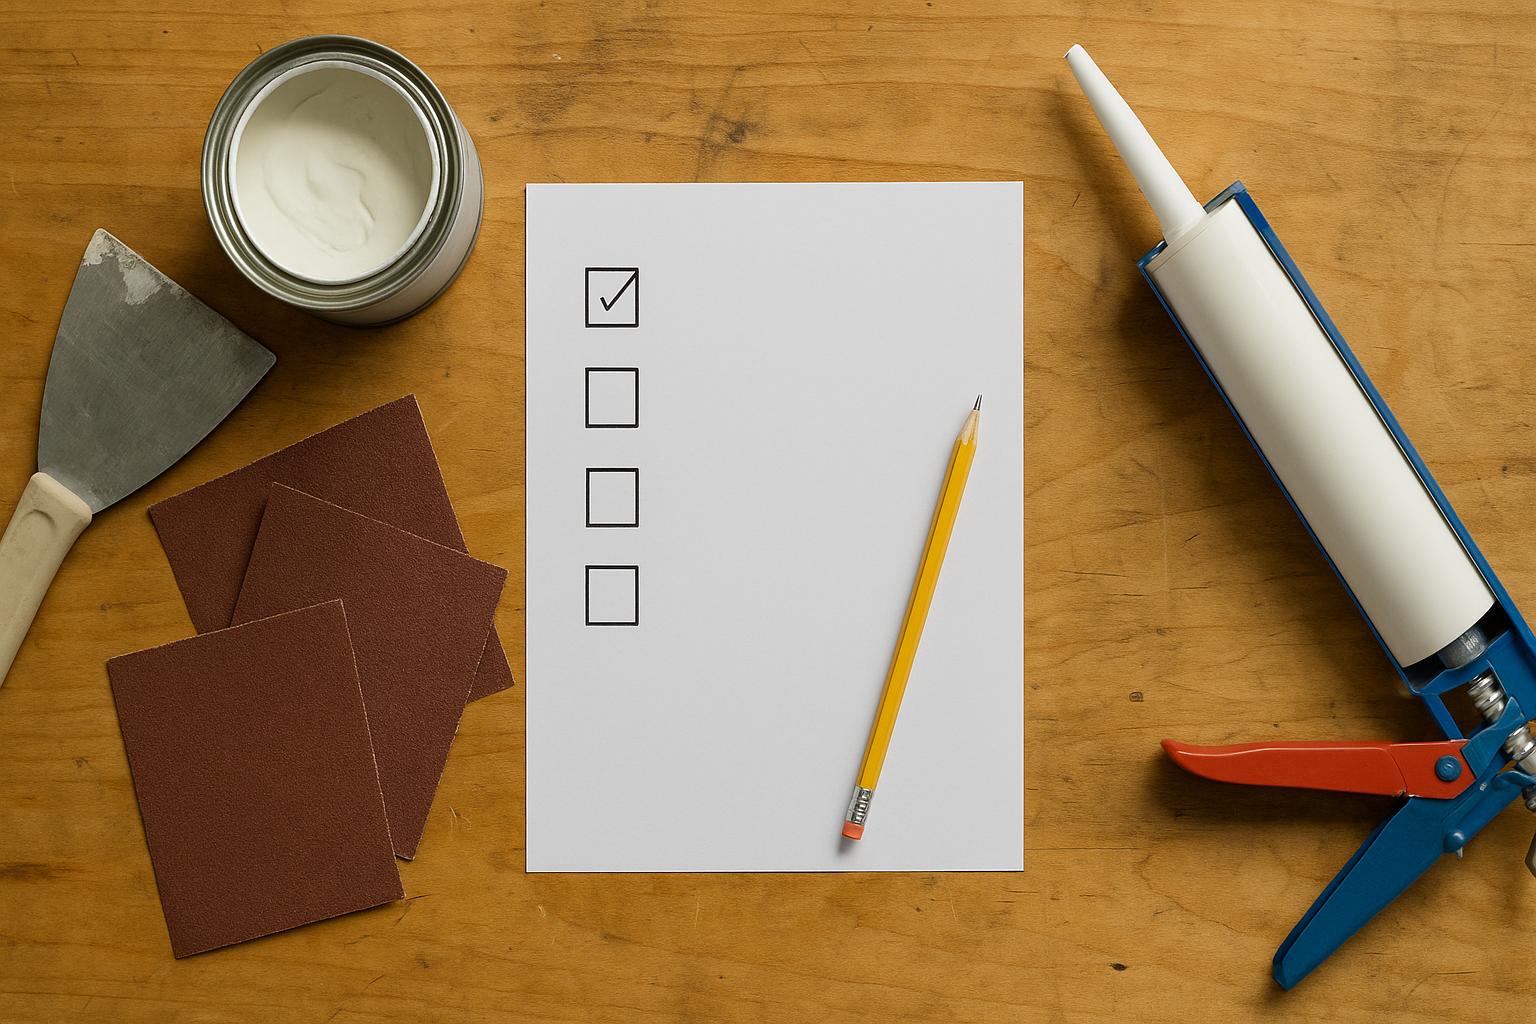
Essential Tools and Materials
To effectively repair and prepare a surface for painting, having the right tools and materials is essential. Below is a list of must-have items that will help you tackle any surface issues and ensure a smooth, paint-ready finish:
- Putty Knife: A versatile tool used for applying and smoothing patching compounds over cracks and holes.
- Sandpaper (Various Grits): Essential for smoothing out surfaces after repairs and ensuring that the paint adheres evenly. Different grits are used depending on the surface and the level of smoothness required.
- Patching Compound: A material used to fill in cracks, holes, and other imperfections in walls, ceilings, and other surfaces. There are specific compounds available for different types of surfaces, such as drywall, wood, or masonry.
- Primer: A preparatory coating applied to the surface before painting, helping to ensure better adhesion of the paint and providing additional protection for the material underneath.
- Caulking Gun and Caulk: Used to seal gaps and joints between surfaces, ensuring a smooth and even finish, especially around windows, doors, and baseboards.
Tools and Materials Checklist
| Tool/Material | Purpose | Recommended For |
| Putty Knife | Applying and smoothing patching compound | All surfaces |
| Sandpaper (Various Grits) | Smoothing surfaces after repairs | Drywall, wood, metal, etc. |
| Patching Compound | Filling cracks, holes, and imperfections | Drywall, wood, masonry |
| Primer | Prepping the surface for better paint adhesion | All surfaces, especially porous materials |
| Caulking Gun and Caulk | Sealing gaps and joints between surfaces | Around windows, doors, baseboards, etc. |
Having these tools and materials on hand ensures that you are fully equipped to handle any surface repair needs, allowing you to create a perfect foundation for your painting project.
Step-by-Step Surface Repair Checklist
Step 1: Inspect the Surface
The first step in any surface repair process is a thorough inspection. Identifying common issues early on allows you to address them before they become bigger problems. Here’s how to do it:
- Cracks: Examine the surface for any visible cracks. These can range from hairline fractures to larger splits. Pay special attention to corners, joints, and areas where different materials meet.
- Holes: Look for holes in the surface, whether they’re small nail holes or larger punctures. These should be repaired to ensure a smooth paint application.
- Peeling Paint: Check for areas where the existing paint is peeling or flaking. This often indicates that the surface was not properly prepared or that moisture has compromised the paint.
- Moisture Problems: Moisture can cause significant issues with paint adhesion. Look for signs of water damage, such as discoloration, mold, or mildew. You can also use a moisture meter to detect hidden moisture within the surface.
Taking the time to thoroughly inspect the surface ensures that all issues are identified and addressed, leading to a more durable and professional paint finish.
Step 2: Clean the Surface
Before you can begin any repairs, the surface must be clean. Dirt, grease, and loose paint can prevent patching compounds and paint from adhering properly. Here’s how to clean the surface effectively:
- Remove Dirt and Dust: Use a soft brush or cloth to wipe away any dust and dirt from the surface. For larger areas, consider using a vacuum with a brush attachment.
- Eliminate Grease and Grime: In areas like kitchens or around door frames, grease and grime can accumulate. Use a degreaser or mild detergent with warm water to scrub these areas clean.
- Tackle Loose Paint: For surfaces with peeling or flaking paint, use a putty knife or scraper to remove any loose paint. Follow up with a wire brush to ensure all loose particles are removed.
Cleaning the surface thoroughly ensures that repairs and paint will adhere properly, providing a strong foundation for the next steps.
Step 3: Repair Cracks and Holes
With the surface clean, you can now focus on repairing any cracks and holes. This step is crucial for creating a smooth, even surface:
- Filling Small Cracks and Holes: For minor imperfections, use a patching compound or spackle. Apply the compound with a putty knife, ensuring you fill the crack or hole completely. Smooth it out with the knife, removing any excess.
- Repairing Larger Holes: For larger holes, you may need to use a patching kit, especially if you’re working with drywall. Follow the instructions provided with the kit, typically involving applying a mesh patch over the hole and then covering it with joint compound.
- Suggested Products: For small repairs, products like lightweight spackle work well. For larger repairs, consider using a more durable patching compound or a drywall repair kit.
Taking the time to properly fill and patch cracks and holes will result in a smooth surface that’s ready for painting.
Step 4: Sanding the Surface
Sanding is an essential step in achieving a smooth, professional finish. It helps to even out repairs and remove any rough spots:
- Why Sanding is Crucial: Sanding not only smooths out the surface but also creates a slight roughness that helps the paint adhere better. This step is particularly important after patching and repairing the surface.
- Choosing the Right Sandpaper Grit: Start with a medium-grit sandpaper (around 120-150 grit) for initial sanding, especially over repaired areas. Follow up with a fine-grit sandpaper (220-240 grit) to smooth out the entire surface.
- How to Sand Effectively: Use a sanding block or an electric sander for larger areas. Sand in a circular motion, applying even pressure to avoid creating indentations. After sanding, wipe the surface with a damp cloth to remove dust.
Proper sanding will ensure that your surface is perfectly smooth, setting the stage for a flawless paint application.
Step 5: Dealing with Peeling Paint
If you have areas with peeling or flaking paint, these must be addressed before priming and painting:
- Removing Peeling Paint: Use a paint scraper or putty knife to gently remove any loose or peeling paint. For larger areas, you might need to use a heat gun or chemical paint remover to strip the old paint completely.
- Priming After Paint Removal: Once the peeling paint has been removed, the surface will need to be primed. Apply a high-quality primer to the exposed areas to ensure good adhesion for the new paint. This step is especially important if the underlying surface is bare or if you’ve exposed a different material (like wood or metal).
By dealing with peeling paint properly, you can prevent further issues and ensure a long-lasting finish.
Step 6: Addressing Water Damage
Water damage can be a significant issue, especially in areas prone to moisture. Here’s how to identify and repair it:
- Signs of Water Damage: Look for discoloration, bubbling, or a musty odor, which can all indicate water damage. In severe cases, you might also see mold or mildew growth.
- Repairing Water-Stained Areas: Begin by identifying and fixing the source of the water problem to prevent future damage. Then, remove any damaged material, such as water-soaked drywall, and replace it with new material. For minor stains, you can apply a stain-blocking primer before repainting.
Addressing water damage properly will prevent future problems and ensure a smooth, durable finish.
Step 7: Priming the Surface
The final step before painting is to apply a primer. Priming creates a uniform surface and improves paint adhesion:
- The Role of Primer: Primer helps to seal the surface, providing a consistent base for the paint to adhere to. It also helps to hide repairs and stains, ensuring an even color when you apply your topcoat.
- Choosing the Right Primer: Select a primer that’s appropriate for the material you’re painting. For example, use a drywall primer for new or repaired drywall, or a stain-blocking primer for water-damaged areas.
- Application Tips: Apply the primer evenly using a roller or brush, ensuring that all areas are covered. Allow the primer to dry completely before applying your paint. For best results, consider applying two coats of primer, especially on porous or heavily repaired surfaces.
Priming the surface is a critical step that sets the foundation for a professional, long-lasting paint job.
Common Mistakes to Avoid in Surface Repair
Rushing Through the Repair Process
One of the most common mistakes in surface repair is rushing through the process or skipping steps altogether. While it might be tempting to move quickly to get the painting done, hurrying through repairs can lead to several issues:
- Risks of Skipping Steps: When you skip steps like proper cleaning, thorough sanding, or adequate priming, you compromise the foundation of your paint job. This can result in poor paint adhesion, visible imperfections, and a finish that doesn’t last.
- Long-Term Consequences: A rushed repair job often means you’ll end up with a surface that isn’t truly ready for paint, leading to peeling, cracking, and other issues that require redoing the work sooner than expected.
- Pacing Your Work: To ensure thorough preparation, break the process down into manageable steps and allow sufficient time for each. For example, give each coat of primer ample drying time, and don’t rush through sanding or patching. A well-paced approach results in a superior finish and saves time in the long run by avoiding the need for future touch-ups.
Taking your time and following each step carefully is key to achieving a smooth, professional-looking paint job that stands the test of time.
Using Inappropriate Materials
Another mistake that can undermine your surface repair efforts is using the wrong materials for specific repairs. The materials you choose can greatly impact the quality and durability of your work:
- Consequences of Using the Wrong Materials: Using a patching compound designed for interior walls on an exterior surface, for example, can lead to cracks and deterioration when exposed to the elements. Similarly, using the wrong primer for a specific surface type can result in poor paint adhesion and uneven coverage.
- Tips for Selecting the Right Products: Always choose materials that are specifically designed for the surface you’re working on. For drywall repairs, use a lightweight spackle or joint compound; for wood, consider using wood filler or epoxy. When selecting primers, consider whether you’re working on drywall, wood, metal, or a previously painted surface, and choose accordingly. Reading product labels and instructions can help ensure you’re using the best materials for the job.
Using the appropriate materials ensures that your repairs are durable and that your paint job will look its best.
Ignoring Small Imperfections
Even minor imperfections can have a significant impact on the final appearance of your paint job if they’re not addressed during surface repair:
- Why Small Imperfections Matter: Small cracks, tiny holes, or slight rough patches may seem insignificant, but they can become more noticeable once the paint is applied. These imperfections can disrupt the smooth finish you’re aiming for and may even lead to paint failure over time.
- How to Address All Imperfections: Take the time to carefully inspect the entire surface, even after the major repairs are done. Use a bright light to spot any tiny flaws that might be missed otherwise. Fill small holes with spackle, sand down any rough spots, and ensure that all cracks are adequately repaired before moving on to priming and painting.
By addressing every imperfection, no matter how small, you ensure a flawless finish that enhances the overall look and longevity of your paint job.
Conclusion
Thorough surface preparation is the key to achieving a flawless and long-lasting paint finish. By carefully inspecting, cleaning, repairing, and priming your surfaces, you create the ideal foundation for your paint to adhere smoothly and evenly. Skipping or rushing through these steps can lead to visible imperfections, poor paint adhesion, and a shorter lifespan for your paint job.
To ensure a professional result, it’s essential to follow each step of the surface repair process with patience and attention to detail. Take the time to thoroughly inspect the surface, use the appropriate materials for each type of repair, and don’t overlook small imperfections. By doing so, you’ll set yourself up for success and enjoy a beautifully painted surface that stands the test of time.
Before you start painting, double-check that all repairs are complete, the surface is smooth, and the primer has been applied evenly. These final checks can make all the difference in the quality and durability of your paint job.
FAQs
- How long should I wait between surface repair and painting?
It’s generally recommended to wait at least 24 hours for repairs to dry fully before painting, especially if you’ve used patching compounds or primers. However, drying times can vary based on the product used and the environmental conditions, so always follow the manufacturer’s instructions. - Can I paint over surfaces without priming?
Priming is a crucial step that should not be skipped. Primer helps paint adhere better to the surface, provides a uniform base, and can block stains or imperfections from showing through. Without priming, your paint job may not last as long or look as smooth. - What are the best products for repairing plaster walls?
For plaster walls, use a high-quality patching compound designed for plaster repair, such as plaster of Paris or a pre-mixed plaster repair compound. For larger repairs, consider using a mesh or plaster patch kit for added durability. - How do I deal with mold or mildew before painting?
Mold and mildew must be thoroughly removed before painting. Use a mixture of water and bleach (typically a 3:1 ratio) to scrub the affected areas. After cleaning, allow the surface to dry completely and consider applying a mold-resistant primer before painting to prevent future growth. - What should I do if the surface is still rough after sanding?
If the surface remains rough after sanding, it’s important to re-sand the area using a finer grit sandpaper until it’s smooth. In some cases, you may need to apply a thin layer of patching compound to fill in any remaining imperfections, followed by another round of sanding. Always wipe the surface clean after sanding to remove any dust before painting.