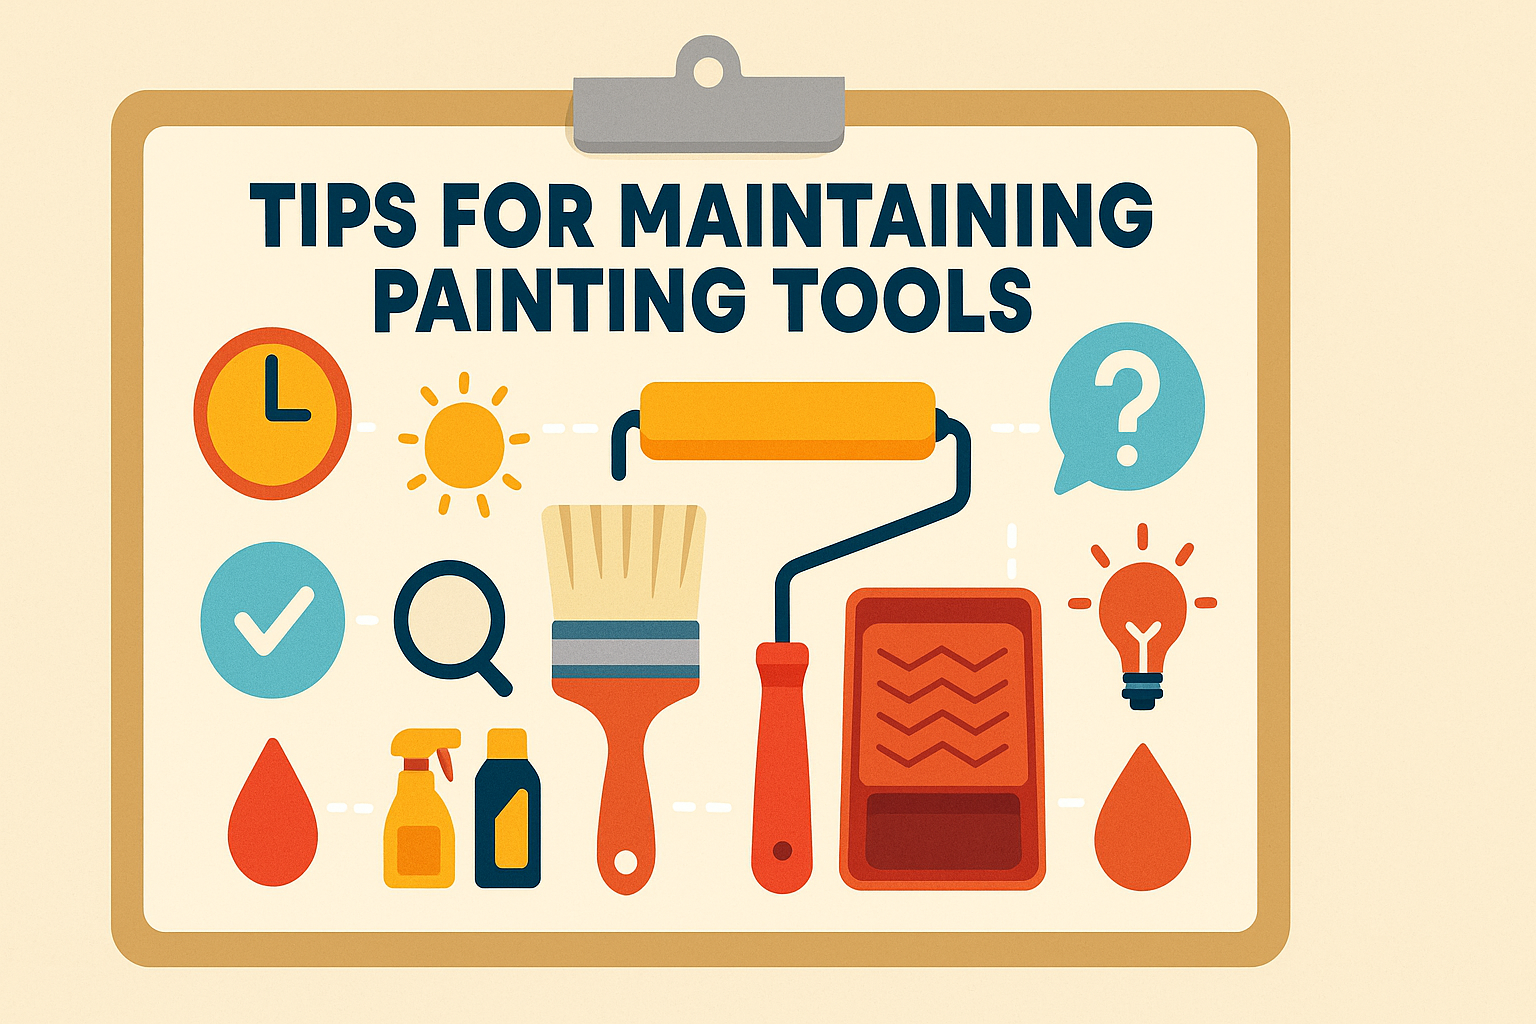
Maintaining your painting tools isn’t just about keeping them clean; it’s about extending their life and ensuring they perform at their best every time you use them. Whether you’re a professional painter or a DIY enthusiast, knowing how to properly care for your brushes, rollers, and trays can save you time and money in the long run. In this article, we’ll dive into the essential tips and tricks for maintaining your painting tools, ensuring they stay in top condition for all your painting projects.
Maintaining your painting tools doesn’t have to be a daunting task. With a few simple steps and regular upkeep, you can keep your tools in great shape and ready for your next project. So, let’s get started with the basics of cleaning, drying, and storing your painting tools.
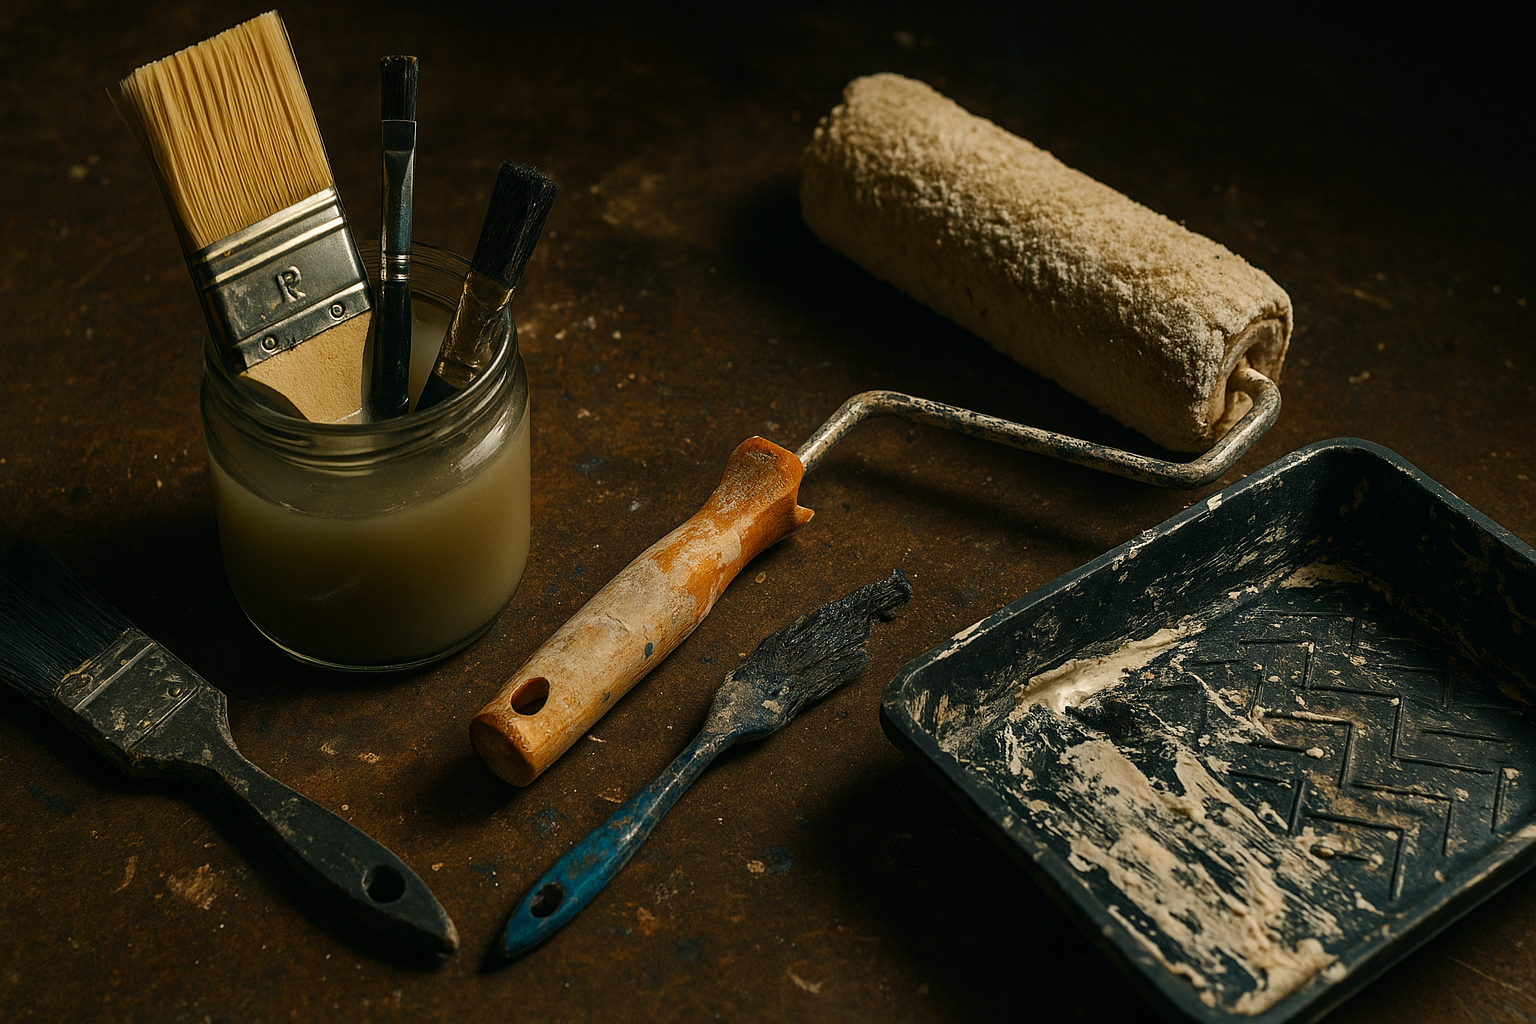
Cleaning Painting Tools
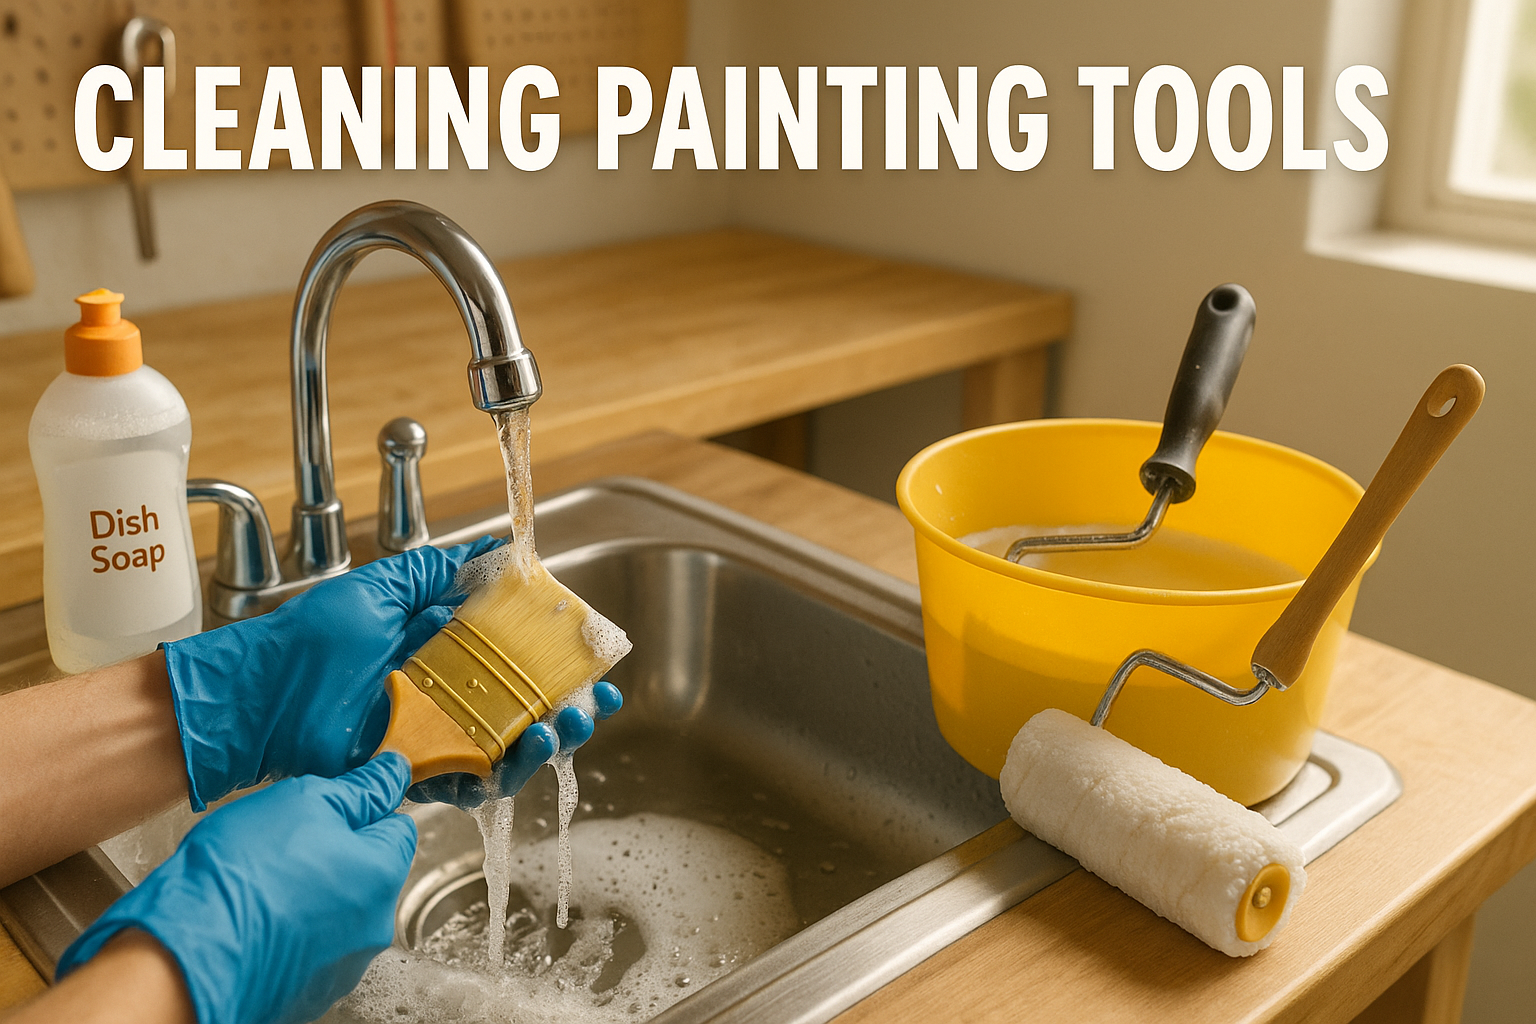
Properly cleaning your painting tools after each use is crucial to maintaining their effectiveness and longevity. Neglecting this step can lead to dried paint build-up, making your tools less effective and harder to use. Here’s a comprehensive guide on how to clean your brushes, rollers, and paint trays effectively.
Cleaning Brushes
- Remove Excess Paint: Start by removing as much paint as possible. Use a brush comb or an old newspaper to scrape off excess paint from the bristles.
- Rinse in Warm Water: Rinse the brush under warm water. For water-based paints, this step should be sufficient. For oil-based paints, you’ll need to use a paint thinner or mineral spirits.
- Use Soap or Cleaner: Apply a small amount of mild soap or a specialized brush cleaner. Work the soap into the bristles using your fingers or a brush comb.
- Rinse Thoroughly: Rinse the brush thoroughly under warm water until the water runs clear. Make sure to remove all soap or cleaner from the bristles.
- Shake and Reshape: Shake off excess water and reshape the bristles with your fingers.
- Dry Horizontally: Lay the brush flat on a clean towel to dry. Avoid standing it upright, as this can cause water to seep into the ferrule and loosen the glue holding the bristles.
Cleaning Rollers
- Scrape Off Excess Paint: Use a putty knife or a special roller scraper to remove excess paint from the roller.
- Rinse in Warm Water: Rinse the roller cover under warm water. Squeeze the roller as you rinse to remove as much paint as possible.
- Use Soap or Cleaner: Apply a small amount of soap or a roller cleaner to the cover. Work it into the fibres using your hands.
- Rinse Thoroughly: Rinse the roller cover until the water runs clear. Make sure to remove all soap or cleaner.
- Spin to Dry: Use a roller spinner to remove excess water. This step helps to fluff the fibres and maintain the roller’s shape.
- Dry Vertically: Stand the roller cover on its end to dry completely.
Cleaning Paint Trays
- Pour Out Excess Paint: Pour any leftover paint back into the paint can if it’s still usable. Scrape off excess paint from the tray with a putty knife.
- Rinse in Warm Water: Rinse the tray under warm water. For stubborn paint, soak the tray for a few minutes.
- Use Soap or Cleaner: Apply soap or a paint tray cleaner. Scrub the tray with a brush or sponge.
- Rinse Thoroughly: Rinse the tray until the water runs clear. Make sure to remove all soap or cleaner.
- Dry Completely: Dry the tray with a clean towel or let it air dry.
Keeping your painting tools clean not only extends their life but also ensures a smooth and professional finish on your projects. Next, we’ll discuss how to properly dry your painting tools to prevent damage and maintain their effectiveness.
Drying Painting Tools

Proper drying techniques are essential to prevent damage and ensure your painting tools remain in good condition. Improper drying can lead to mildew, bristle deformation, and other issues that can affect the performance of your tools. Here’s how to dry your brushes, rollers, and paint trays effectively.
Proper Drying Techniques for Brushes
- Shake Off Excess Water: After rinsing, shake the brush to remove as much water as possible.
- Reshape the Bristles: Use your fingers to reshape the bristles to their original form.
- Lay Flat to Dry: Lay the brush flat on a clean towel. Avoid standing it upright to prevent water from seeping into the ferrule.
- Air Circulation: Ensure good air circulation around the brush. You can place the towel on a drying rack or in a well-ventilated area.
- Check for Dampness: Before storing, make sure the brush is completely dry to prevent mildew growth.
Proper Drying Techniques for Rollers
- Squeeze Out Excess Water: After rinsing, squeeze the roller cover to remove as much water as possible.
- Use a Roller Spinner: A roller spinner is a handy tool that helps remove excess water and fluffs the fibres. Insert the roller cover and spin it to remove water.
- Stand Vertically: Stand the roller cover on its end in a well-ventilated area. This position allows water to drain out completely.
- Avoid Direct Sunlight: Drying in direct sunlight can cause the fibres to become brittle. Choose a shaded area with good airflow.
- Check for Dampness: Ensure the roller cover is completely dry before storing to prevent mould and mildew.
Proper Drying Techniques for Paint Trays
- Wipe with a Clean Towel: After rinsing, wipe the paint tray with a clean towel to remove excess water.
- Air Dry: Place the tray in a well-ventilated area to air dry completely.
- Avoid Stacking: Do not stack wet trays as this can trap moisture and cause mildew.
- Inspect for Residue: Check for any leftover paint or residue and clean again if necessary.
- Store Dry: Ensure the tray is completely dry before storing to prevent rust and corrosion.
Drying your painting tools properly is a crucial step in their maintenance. Next, we’ll explore the best practices for storing your tools to avoid damage and keep them in top condition.
Storing Painting Tools
Storing your painting tools correctly can make a significant difference in their longevity and performance. Proper storage prevents damage, keeps tools organized, and makes them ready for your next project. Here are some best practices for storing brushes, rollers, and paint trays.
Best Practices for Storing Brushes
- Clean and Dry: Always ensure brushes are thoroughly cleaned and dried before storing.
- Use a Brush Holder: A brush holder or wrap keeps the bristles in shape and protects them from dust and damage.
- Store Horizontally or Hang: Store brushes horizontally or hang them by the handle. Avoid standing them on their bristles to prevent deformation.
- Avoid High Humidity: Store brushes in a dry, cool place. High humidity can cause bristles to clump and glue to weaken.
- Separate by Size: Organize brushes by size and type for easy access and to prevent bristles from getting tangled.
Best Practices for Storing Rollers
- Clean and Dry: Ensure rollers are completely clean and dry before storing.
- Use a Roller Rack: A roller rack helps keep rollers in shape and prevents them from touching each other, which can cause deformations.
- Stand Vertically: Store rollers standing vertically to maintain their shape and prevent flattening of the fibres.
- Avoid Extreme Temperatures: Store rollers in a temperature-controlled environment. Extreme heat or cold can damage the fibres.
- Label and Organize: Label rollers with the type of paint used and organize them accordingly for future use.
Best Practices for Storing Paint Trays
- Clean and Dry: Ensure paint trays are clean and dry before storing to prevent rust and residue build-up.
- Stack Carefully: If stacking is necessary, place a piece of wax paper or plastic wrap between trays to prevent sticking and damage.
- Use Shelving: Store trays on a shelf to keep them off the floor and protected from dust and moisture.
- Avoid High Humidity: Store trays in a dry, cool place to prevent rust and corrosion.
- Label for Easy Access: Label trays with the type of paint used and organize them for easy access during your next project.
Proper storage of your painting tools not only protects them but also keeps your workspace organized and efficient. Next, we’ll discuss regular maintenance practices to keep your tools in excellent condition.
Maintaining Painting Tools
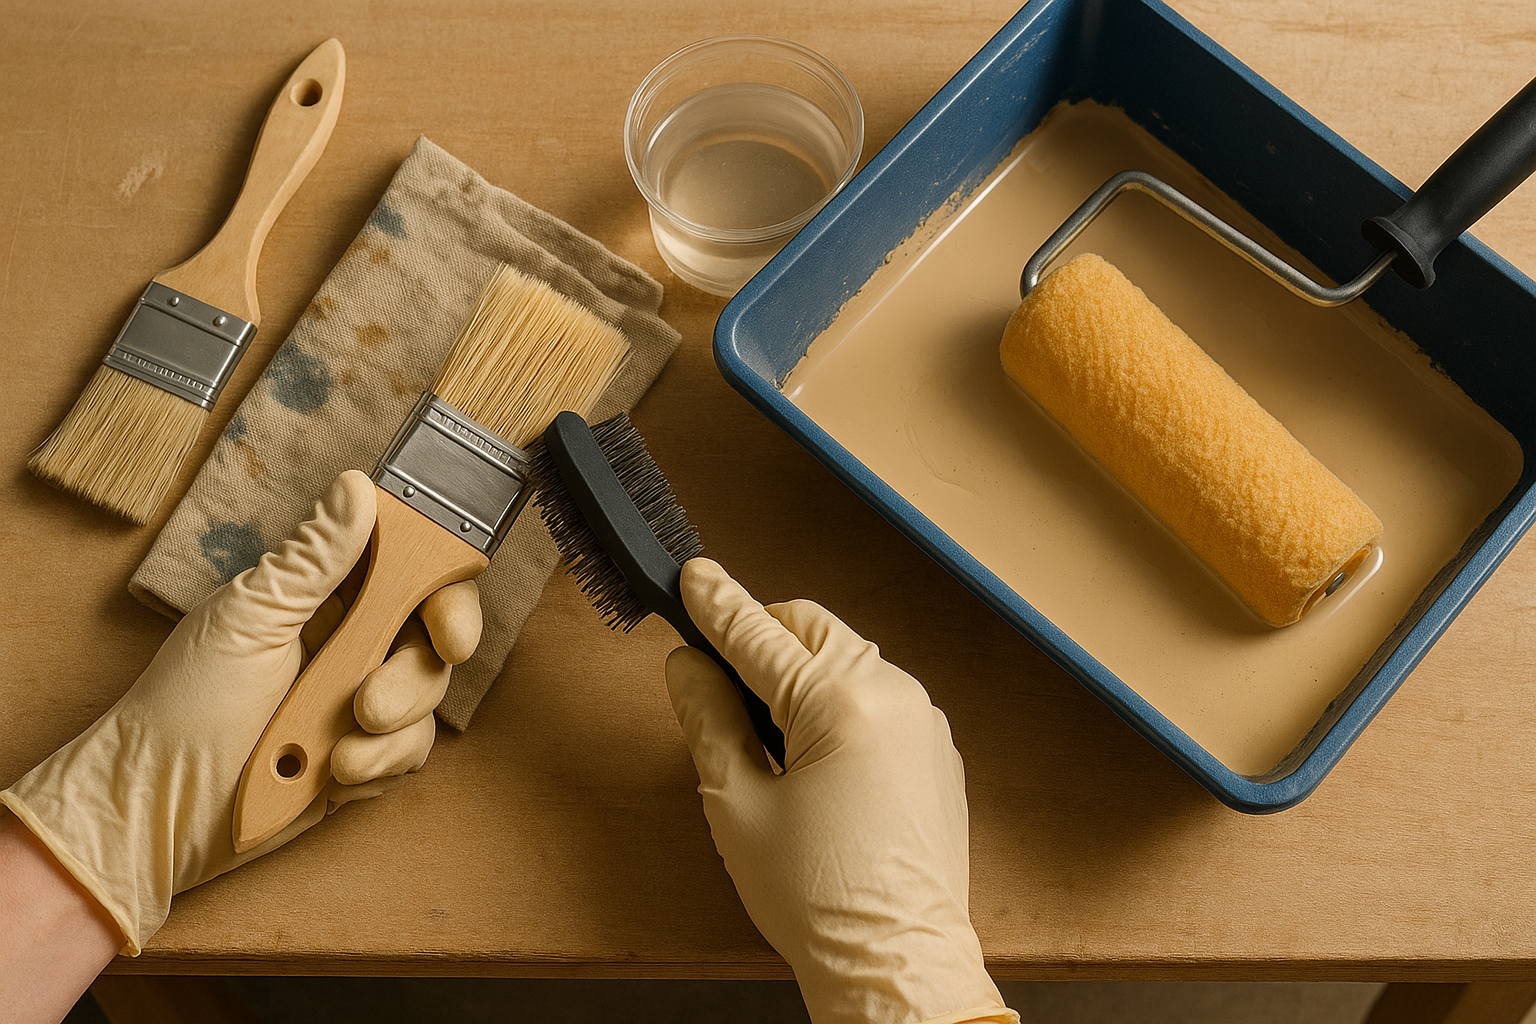
Regular maintenance of your painting tools ensures they remain effective and ready for use. Simple steps like regular inspections and minor repairs can significantly extend the life of your brushes, rollers, and paint trays. Here’s how to maintain your painting tools.
Regular Inspection of Tools
- Check Bristles and Fibres: Inspect brushes and rollers for signs of wear, such as frayed bristles or flattened fibres.
- Look for Damage: Check for cracks, breaks, or rust on handles and ferrules.
- Test Flexibility: Ensure brushes are still flexible and rollers are not hardened or stiff.
- Inspect Trays: Look for any signs of rust, dents, or paint residue in trays.
- Set a Schedule: Perform inspections regularly, ideally before and after each project.
Repairing Damaged Brushes
- Trim Frayed Bristles: Use scissors to trim any frayed or damaged bristles.
- Re-Shape Bristles: Reshape bristles using a brush comb and hot water.
- Secure Loose Ferrules: Tighten or glue any loose ferrules.
- Replace Handles: If the handle is damaged, replace it with a new one.
- Store Properly: Store brushes correctly to prevent further damage.
Repairing Damaged Rollers
- Trim Loose Fibres: Use scissors to trim any loose or damaged fibres.
- Re-Fluff Rollers: Use a roller spinner to re-fluff and reshape flattened rollers.
- Repair Handles: Tighten or replace any loose or broken handles.
- Clean Thoroughly: Ensure rollers are thoroughly cleaned and dried after each use.
- Store Properly: Store rollers correctly to prevent further damage.
Extending the Life of Paint Trays
- Line Trays with Foil or Plastic: Use disposable liners or aluminum foil to protect trays from paint build-up.
- Clean Immediately After Use: Clean trays immediately after use to prevent paint from drying and hardening.
- Avoid Harsh Cleaners: Use mild soap and water to clean trays, avoiding harsh chemicals that can cause damage.
- Inspect Regularly: Check trays for signs of rust or damage and address any issues promptly.
- Store Properly: Store trays in a dry, cool place to prevent rust and corrosion.
Regular maintenance of your painting tools is essential for their longevity and performance. By following these simple steps, you can ensure your tools are always ready for your next project.
Common Mistakes to Avoid
Even with the best intentions, mistakes can happen. Here are some common mistakes to avoid when maintaining your painting tools to ensure they stay in top condition.
Using the Wrong Cleaning Products
- Harsh Chemicals: Avoid using harsh chemicals like bleach or ammonia that can damage bristles and fibres.
- Household Cleaners: Stick to products specifically designed for painting tools rather than general household cleaners.
- Incompatible Solvents: Use appropriate solvents for the type of paint used (e.g., mineral spirits for oil-based paints).
- Neglecting Rinse: Always rinse thoroughly to remove all cleaning products.
- Skipping Soap: Don’t skip the soap step; it helps break down paint residues effectively.
Improper Storage Techniques
- Standing Brushes Upright: Standing brushes on their bristles can cause deformation.
- Stacking Wet Trays: Stacking wet trays can trap moisture and cause mildew.
- Exposing to Sunlight: Direct sunlight can make fibres brittle and weaken bristles.
- Ignoring Humidity: High humidity can lead to mildew and rust.
- Lack of Organization: Keeping tools unorganized can lead to damage and make them harder to find.
Neglecting Regular Maintenance
- Skipping Inspections: Regular inspections help catch issues early.
- Ignoring Minor Repairs: Small repairs can prevent larger problems down the line.
- Using Damaged Tools: Using damaged tools can affect the quality of your work.
- Failing to Clean Immediately: Cleaning tools immediately after use prevents paint from drying and hardening.
- Not Following a Schedule: Setting a maintenance schedule ensures consistency.
Avoiding these common mistakes can significantly enhance the lifespan and performance of your painting tools. Next, we’ll share some helpful tips and tricks for quick cleaning, space-saving storage solutions, and creating a maintenance schedule.
Helpful Tips and Tricks

Maintaining your painting tools doesn’t have to be a tedious task. With a few smart tips and tricks, you can make the process quick and easy, ensuring your tools are always in top condition and ready for use.
Quick Cleaning Hacks
- Use Vinegar for Dried Paint: Soak brushes with dried paint in vinegar for an hour to soften the paint, then clean as usual.
- Fabric Softener for Rollers: Add a few drops of fabric softener to warm water to help clean and soften roller covers.
- Plastic Wrap for Short Breaks: Wrap brushes and rollers in plastic wrap if you’re taking a short break. This prevents paint from drying out and saves cleaning time.
- Dish Soap for Water-Based Paints: Dish soap is effective for cleaning water-based paints from brushes and rollers.
- Bucket and Grid for Rollers: Use a bucket and grid to clean rollers. This method is efficient and helps remove paint thoroughly.
Space-Saving Storage Solutions
- PVC Pipe Holders: Use PVC pipes to create custom holders for brushes and rollers. This keeps them organized and off surfaces.
- Pegboards for Easy Access: Install pegboards in your workspace to hang brushes, rollers, and other tools. This saves space and keeps tools within easy reach.
- Magnetic Strips for Metal Tools: Attach magnetic strips to walls or shelves to hold metal tools like putty knives and scissors.
- Clear Bins for Paint Trays: Store paint trays in clear plastic bins to keep them organized and protected from dust.
- Over-the-Door Organizers: Use over-the-door shoe organizers to store small tools and accessories. This makes efficient use of space and keeps everything visible.
Maintenance Schedule
Creating a maintenance schedule helps ensure your painting tools are consistently cared for. Here’s a sample schedule you can follow:
| Task | Frequency |
| Clean brushes and rollers | After every use |
| Inspect tools for damage | Monthly |
| Deep clean brushes | Quarterly |
| Replace damaged tools | As needed |
| Check storage conditions | Biannually |
- Daily: Clean tools after each use.
- Weekly: Inspect tools for signs of wear and perform minor repairs.
- Monthly: Deep clean brushes and rollers, and reorganize storage areas.
- Quarterly: Check for damaged tools and replace as necessary.
- Biannually: Review and update your storage solutions and maintenance routine.
By following these tips and tricks, you can keep your painting tools in excellent condition with minimal effort. Now, let’s summarize the key points and address some frequently asked questions.
Conclusion
Maintaining your painting tools is essential for achieving professional results and extending the lifespan of your equipment. By following the steps outlined in this article, you can ensure your brushes, rollers, and paint trays remain in top condition, ready for your next painting project.
Remember, proper cleaning, drying, and storage are crucial components of tool maintenance. Regular inspections and minor repairs can prevent major issues and save you time and money in the long run. With the helpful tips and tricks provided, maintaining your painting tools can be quick and easy, allowing you to focus on your creative projects.
FAQs
- How often should I clean my painting tools?
- Cleaning your painting tools after each use is essential to prevent paint from drying and hardening on the tools.
- What is the best way to store paint brushes?
- Store brushes horizontally or hang them by the handle to maintain the shape of the bristles and prevent damage.
- Can I use household cleaners for my painting tools?
- It’s best to use products specifically designed for cleaning painting tools. Household cleaners may contain harsh chemicals that can damage the tools.
- How do I know if my roller needs replacing?
- If the roller cover is flattened, frayed, or hardened, it’s time to replace it to ensure smooth application.
- What should I do if my paint tray is damaged?
- If your paint tray has minor damage, you can try repairing it with epoxy or replace it if the damage is extensive.